How To Clean Keurig Coffee Machine – Maintenance And Descaling Guide
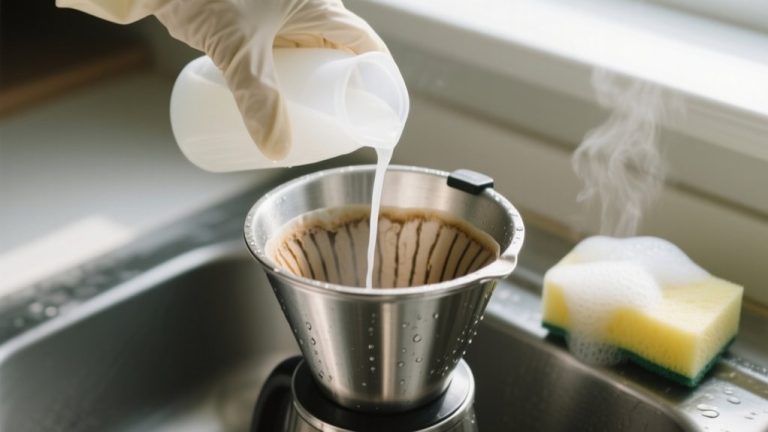
To clean your Keurig, start by unplugging it and letting it cool down. Then, remove the water reservoir, drip tray, and pod holder. Wash these parts with warm, soapy water.
Next, clear the brew needle using a paperclip or needle tool. This helps prevent any clogs that might affect your coffee.
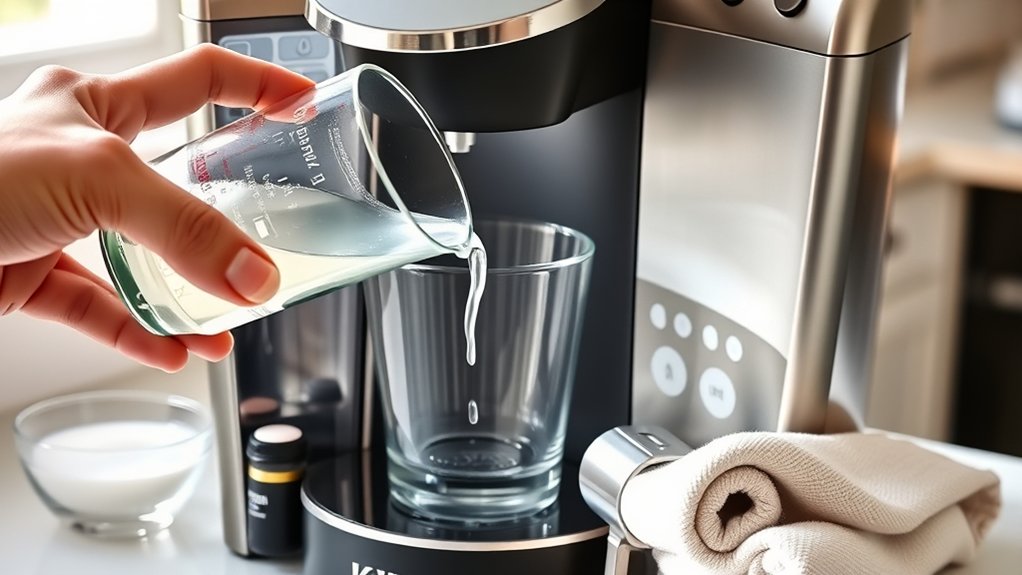
You should descale your machine every 3 to 6 months. Use a commercial descaling solution or a mix of half vinegar and half water. After descaling, run several rinse cycles to get rid of any leftover residue.
It’s also a good idea to flush the system weekly by brewing water only. Following these steps will help keep your Keurig running smoothly and your coffee tasting fresh. If you stick to this routine, maintaining your machine will be easy and effective.
Why Regular Cleaning Matters for Your Keurig
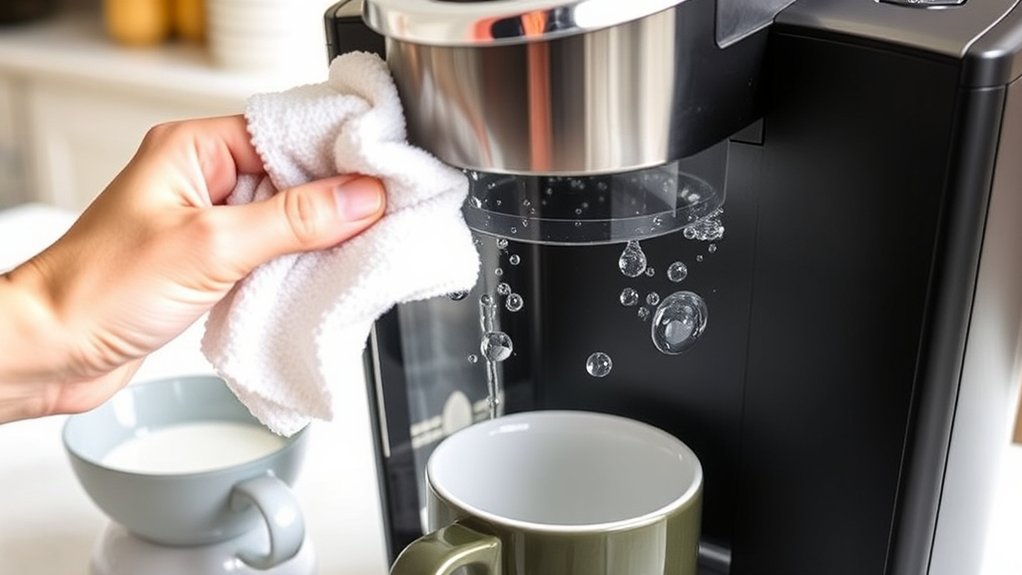
Although your Keurig brews coffee quickly and conveniently, regular cleaning is essential to maintain its performance and longevity. Over time, mineral deposits from water accumulate inside the machine, affecting water quality and obstructing flow paths. These blockages degrade coffee flavor by causing inconsistent extraction and off-tastes.
Residual coffee oils and grounds also build up, promoting bacterial growth and further compromising taste. By cleaning your Keurig methodically, you prevent scale buildup and microbial contamination. This ensures each brew reflects ideal water quality and preserves the intended coffee flavor.
Neglecting this maintenance results in malfunction risks and diminished beverage quality. So, you really need to clean your machine routinely to support precise water flow, maintain hygienic conditions, and consistently enjoy superior coffee flavor.
Essential Supplies for Cleaning and Descaling Your Keurig
To maintain your Keurig’s ideal function and flavor quality, you’ll need specific supplies designed for effective cleaning and descaling. Start with a descaling solution formulated to dissolve mineral buildup without harming internal components. Avoid harsh chemicals that could compromise coffee flavor or machine longevity.
Distilled white vinegar is a common alternative but may leave residues, so use it cautiously. You’ll also need a clean water reservoir to flush out residues after descaling. Moreover, a soft brush or cloth helps remove debris from small parts without scratching.
Using filtered water consistently reduces scale buildup, extending machine longevity and preserving coffee flavor. Having these essential supplies on hand ensures you perform maintenance accurately and efficiently. That way, your Keurig keeps brewing at its best over time.
How to Clean Your Keurig’s Exterior and Removable Parts
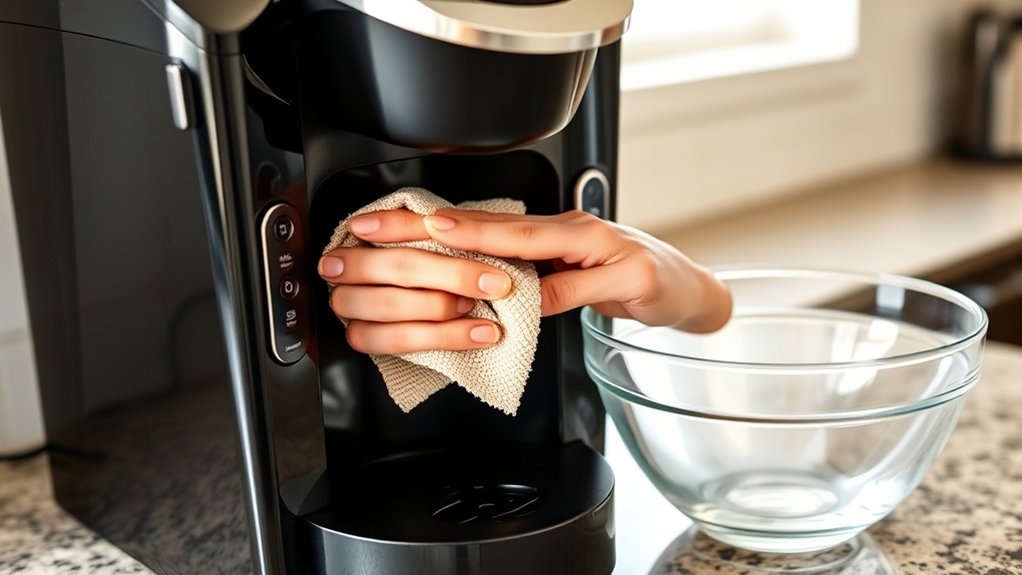
First, grab a damp cloth and give the outside of your Keurig a good wipe to get rid of any dust or spills.
Once that’s done, go ahead and take off all the removable parts—like the water reservoir and the drip tray.
Wash them well using warm, soapy water.
Make sure to dry each piece completely before putting everything back together.
That way, your machine will work just right!
Wiping Down Surfaces
When you’re cleaning your Keurig, make sure to unplug the machine and allow it to cool before wiping down its exterior and removing parts.
Begin by performing surface dusting with a soft, dry microfiber cloth to eliminate loose particles.
For stain removal, dampen the cloth slightly with a mild detergent solution, making sure it’s not overly wet. You don’t want liquid getting into the internal components.
Gently wipe all accessible surfaces, focusing on areas prone to spills and fingerprints, like the control panel and drip tray edges.
Avoid abrasive materials that could scratch the finish.
After cleaning, use a dry microfiber cloth to remove any leftover moisture.
This methodical approach keeps your Keurig’s exterior clean without risking damage or moisture getting inside.
That way, you preserve both its appearance and function.
Cleaning Removable Components
Although cleaning your Keurig’s exterior is important, maintaining the removable components guarantees peak performance and hygiene. Begin by detaching the water reservoir, drip tray, and pod holder. Rinse each under warm water to eliminate residue and mineral buildup, which can impair water filtration efficiency.
Avoid harsh detergents that might damage seals or affect machine calibration. Inspect the water reservoir’s filter cartridge and replace it regularly to guarantee optimal filtration and prevent scale accumulation.
Clean the pod holder thoroughly, removing any coffee grounds obstructing the needle.
This precise maintenance supports accurate machine calibration, assuring consistent brew temperature and pressure. Regular, methodical cleaning of these parts prevents malfunction and extends your Keurig’s lifespan. Doing this keeps your coffee experience high-quality every time.
Drying And Reassembling
Once you’ve thoroughly rinsed and inspected all removable components, make sure each part is completely dry before reassembling. This helps prevent moisture buildup that could cause mold or damage internal electronics. Use a lint-free cloth or let parts air-dry in a low-humidity environment.
Double-check that the water reservoir, drip tray, and K-cup holder are dry. This avoids water mineral deposits that can degrade your coffee’s flavor over time.
When putting everything back together, align each component carefully to ensure proper sealing and function. This step-by-step approach keeps your machine in good shape and maintains ideal brewing conditions.
Don’t force parts into place, as that can cause damage or misalignment. Proper drying and reassembly not only protect your device but also help maintain consistent extraction.
That way, you preserve the nuanced coffee flavor by preventing mineral buildup and electrical issues caused by leftover moisture.
How to Safely Clear and Clean the Keurig Needle
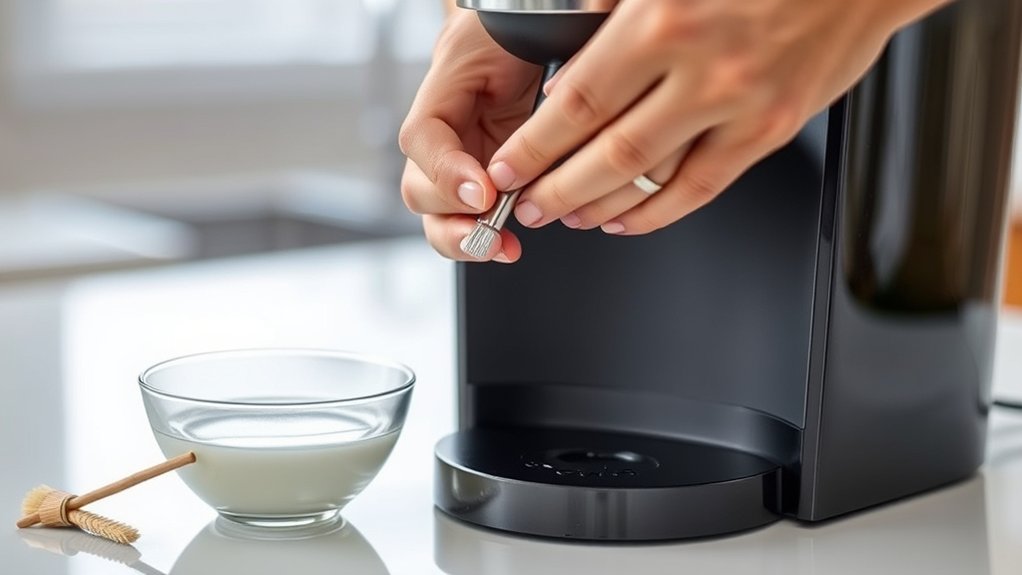
To clear and clean the Keurig needle, start by finding the sharp, narrow needle inside the brew head—that’s the part that punctures the K-Cup.
You’ll want to grab a paperclip or a needle-cleaning tool, plus a soft brush to help get rid of any coffee grounds or debris safely.
Make sure your machine is unplugged before you begin.
Then, gently use those tools to dislodge any blockages without damaging the needle.
Taking your time here is key to keeping your Keurig in good shape!
Identifying The Needle
Because the Keurig needle plays an essential role in brewing, you need to locate and understand it before cleaning. The needle is a slender, pointed metal component inside the K-cup holder that punctures the coffee pod to allow water flow.
There are two needles: the top needle, which punctures the pod’s lid, and the bottom needle, which punctures the pod’s foil seal, enabling water to pass through the grounds.
For effective Keurig maintenance, identifying these needles is critical since clogs here cause poor water flow and weak brews. Carefully lift the pod holder lid to reveal the top needle and look beneath it to find the bottom needle.
Both needles require precise needle cleaning to maintain the best brewing performance and prevent machine damage.
Cleaning Tools Needed
Now that you know where the Keurig needles are located and why they require careful attention, gathering the right tools will help you clean them effectively without causing damage. Proper cleaning preserves coffee flavor and guarantees *ideal* water filtration. This prevents buildup that can clog the needles.
| Tool | Purpose |
|---|---|
| Needle cleaning tool | Safely clears needle punctures |
| Paperclip | Removes debris gently |
| Soft brush | Cleans surrounding areas |
| Microfiber cloth | Wipes moisture and residue |
| Distilled water | Flushes internal passages |
Use distilled water to avoid mineral buildup affecting water filtration. Avoid sharp objects that could puncture or damage the needles. That could compromise your coffee flavor and the machine’s function.
When and Why You Should Descale Your Keurig
Although your Keurig brews quickly and conveniently, mineral deposits from water accumulate inside its internal components over time. These deposits, primarily calcium and lime scale, impair water flow and heating efficiency. You should descale your machine every 3 to 6 months, depending on water hardness and usage frequency.
Neglecting descaling affects coffee flavor by causing bitterness and reducing extraction quality. Using filtered water can slow mineral build-up but won’t eliminate the need for descaling.
Regular descaling restores peak water filtration within the system, ensuring consistent temperature and pressure.
How to Descale Your Keurig With Vinegar
How exactly do you descale your Keurig using vinegar? Descaling removes mineral buildup that impairs coffee brewing and water filtration efficiency. Follow these steps carefully:
First, empty the water reservoir and fill it with a 50/50 mixture of white vinegar and water. This solution helps break down calcium deposits inside the machine.
Next, run multiple brew cycles without inserting a K-Cup, letting the vinegar solution pass through the internal components. Make sure to discard the brewed solution after each cycle.
After you finish the vinegar cycles, flush the reservoir with fresh water.
Then, run several brewing cycles with clean water only to ensure all vinegar residue is removed. This will restore your Keurig’s maximum water filtration and coffee brewing performance.
Using Commercial Descaling Solutions for Your Keurig
Several commercial descaling solutions are specifically formulated to remove mineral buildup from your Keurig efficiently. These solutions contain acids designed to break down calcium and lime deposits without damaging internal components.
To use one, follow the manufacturer’s instructions precisely, typically diluting the solution in water before running it through the machine’s reservoir.
Sticking to a regular maintenance schedule, usually every 3 to 6 months, helps prevent scale buildup that can mess with water flow and affect your coffee’s flavor.
Using commercial descalers ensures a thorough clean, restoring the ideal brewing temperature and extraction quality.
This method is a consistent and reliable alternative to vinegar and cuts down on the risk of leftover odors.
Adding commercial descaling to your routine keeps your Keurig performing at its best and helps preserve the great taste of your coffee over time.
How to Rinse and Test Your Keurig After Cleaning
First, you’ll want to give the water reservoir a good rinse. Then, run several brew cycles using just water—no coffee pods—to flush out any leftover cleaning solution.
While you’re doing this, keep an eye on how the water flows and listen for any strange sounds. This helps make sure your machine is working properly.
Finally, try brewing a cup of coffee without a pod to check the taste. It should be clean and free of any lingering residue.
Proper Rinsing Steps
Although the main cleaning steps remove most residue, proper rinsing guarantees no cleaning agents remain inside your Keurig. This process preserves coffee flavor integrity and supports machine durability.
Follow these precise steps:
- Fill the water reservoir with fresh, clean water only. Avoid any additives or soap.
- Run multiple brew cycles without a K-Cup, flushing water through the system until the reservoir empties. This helps expel lingering cleaning solutions.
- Refill the reservoir and perform an additional two full brew cycles, discarding the water each time to ensure thorough rinsing.
Completing these steps prevents chemical residues from altering coffee flavor or corroding internal components. Proper rinsing maintains your Keurig’s performance and longevity by guaranteeing the internal pathways are clean and free from contaminants.
Testing Brew Quality
After completing the rinsing process, verify your Keurig’s brew quality by running a test cycle with fresh water and no K-Cup. This step guarantees all cleaning agents are flushed from the system, preventing flavor contamination. Watch the water flow closely for uniformity. If the flow is inconsistent, it could mean there are blockages that need more attention.
Next, brew a cup using a fresh K-Cup to check the coffee flavor and brew consistency. Taste the coffee carefully. If you notice any off-flavors or weak extraction, it might be due to leftover mineral buildup or incomplete rinsing.
If needed, repeat the test cycle until you get the ideal brew consistency and clean flavor. Regularly testing your brew quality after maintenance helps keep your Keurig performing well.
This way, every cup delivers the coffee flavor and strength you want.
Taking these steps methodically not only preserves your machine’s longevity but also makes your daily coffee experience better.
Simple Tips to Keep Your Keurig Running Smoothly Between Deep Cleans
To maintain the best performance, regularly wiping down the exterior and rinsing removable parts prevents buildup that can impair your Keurig’s function. This routine care preserves ideal coffee flavor and maintains water quality remains uncompromised.
Follow these tips between deep cleans:
- Flush Water Reservoir Weekly: Empty and refill with fresh, filtered water to minimize mineral deposits that degrade taste and machine efficiency.
- Clean Needle Assembly: Use a paperclip to dislodge grounds from the needle regularly, preventing clogs that reduce extraction quality.
- Wipe Exterior and Drip Tray: Use a damp cloth to remove coffee oils and dust, reducing residue that can affect machine components.
Implementing these steps methodically keeps your Keurig operating smoothly, preserving coffee flavor integrity and prolonging machine lifespan without unnecessary downtime.
Troubleshooting Keurig Cleaning and Performance Issues
When your Keurig shows signs of inconsistent brewing or unusual noises, troubleshooting cleaning and performance issues becomes vital to restore peak function. Start by checking the water reservoir for cleanliness and proper seating. Debris or misalignment often disrupts flow, so make sure everything is in place.
Next, inspect the needle that punctures the K-Cup for clogs. You can use a paperclip to carefully clear any blockages. Running a descaling cycle with a manufacturer-approved solution helps dissolve mineral buildup that impacts heating efficiency.
Make sure all removable parts are clean and correctly reassembled to maintain optimal water pressure. Regular Keurig maintenance helps prevent common problems like weak coffee or machine errors.
If issues persist after these steps, check your user manual for error codes or reach out to customer support for more advanced troubleshooting.
Frequently Asked Questions
Can I Use a Keurig Without Descaling It Regularly?
You can use a Keurig without descaling it regularly, but neglecting how often you descale it will affect performance and taste. Minerals build up inside the machine, causing clogs and slower brewing times.
Sticking to a regular cleaning schedule helps prevent damage and keeps your Keurig working at its best. Experts usually recommend descaling every 3 to 6 months, depending on how hard your water is.
Skipping this step can shorten the lifespan of your machine and hurt the quality of your coffee. So, keeping up with descaling is really important if you want your Keurig to work reliably.
How Do I Store My Keurig if Not Used for Weeks?
Think of your Keurig as a delicate instrument needing a pause. For storage tips, drain all the water, remove the water reservoir, and dry every part thoroughly.
Make sure to store it in a cool, dry place. Avoid extreme temperatures because they can damage the internal components.
Cover it with a breathable cloth to keep dust from building up. When you’re ready to use it again, run a cleansing brew cycle to guarantee peak performance.
Are There Any Foods or Drinks That Can Damage My Keurig?
Yes, using anything other than water and K-Cup compatible coffee can cause coffee stains and machine malfunction. Avoid oils, sugary drinks, or powdered mixes since they clog internal components and promote residue buildup.
These residues lead to blockages, affecting heating elements and sensors.
To keep your Keurig running smoothly, only brew clean water and approved coffee pods. Regular cleaning helps prevent stains and mechanical issues.
This way, you’ll make sure your machine works efficiently without damage.
Can I Use Hard Water in My Keurig Machine?
You shouldn’t use hard water in your Keurig machine because the high mineral content causes mineral buildup inside. This buildup clogs internal components, reduces brewing efficiency, and shortens your machine’s lifespan.
To keep things running smoothly, use filtered or distilled water instead. And don’t forget to regularly check and descale your machine to get rid of any minerals that have accumulated.
Taking these simple steps helps make sure your coffee tastes great every time and keeps your Keurig working well for longer.
How Long Does a Typical Keurig Coffee Machine Last?
You can expect your Keurig coffee machine to last around 3 to 5 years with proper care. Studies show regular descaling every 3 months can extend its lifespan considerably.
Make sure to follow strict maintenance tips like cleaning removable parts and using filtered water to prevent mineral buildup.
Consistent descaling frequency prevents clogs and preserves heating elements, ensuring peak performance.
Staying methodical with these routines helps you get the most out of your machine’s durability. It really pays off to keep up with these simple steps!
Conclusion
Regular cleaning and descaling keep your Keurig operating at peak efficiency, extending its lifespan. Did you know that neglecting descaling can reduce brewing speed by up to 25% due to mineral buildup?
By following precise cleaning steps, using proper supplies, and descaling every 3-6 months, you guarantee ideal water flow and coffee quality. Consistent maintenance minimizes malfunctions and keeps your machine performing reliably.
This saves you time and costly repairs in the long run. Taking care of your Keurig is easier than you might think!