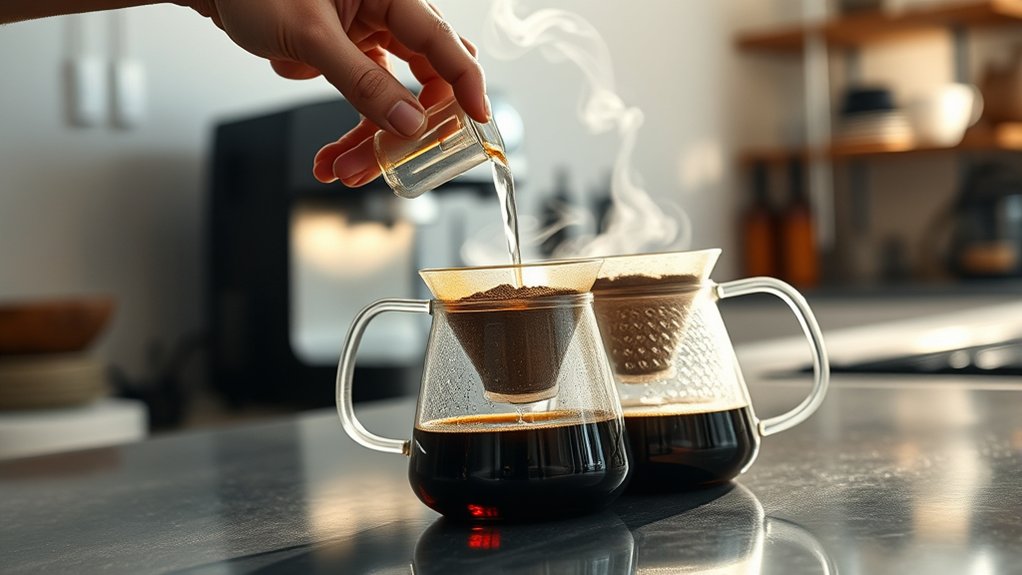
How To Use A Coffee Pot – Simple Brewing Instructions For Beginners
To use a coffee pot, start by selecting the right pot and measuring 1-2 tablespoons of coffee per 6 ounces of water for a balanced brew. Grind beans just before brewing and fill the reservoir with fresh, cold water. Rinse removable parts, place the carafe properly, and start brewing for 4-5 minutes.
Pour steadily into a warmed cup and serve immediately. Proper cleaning and precise measurements really help make your coffee taste better. Keep going to discover expert tips and troubleshooting advice.
Choose the Right Coffee Pot
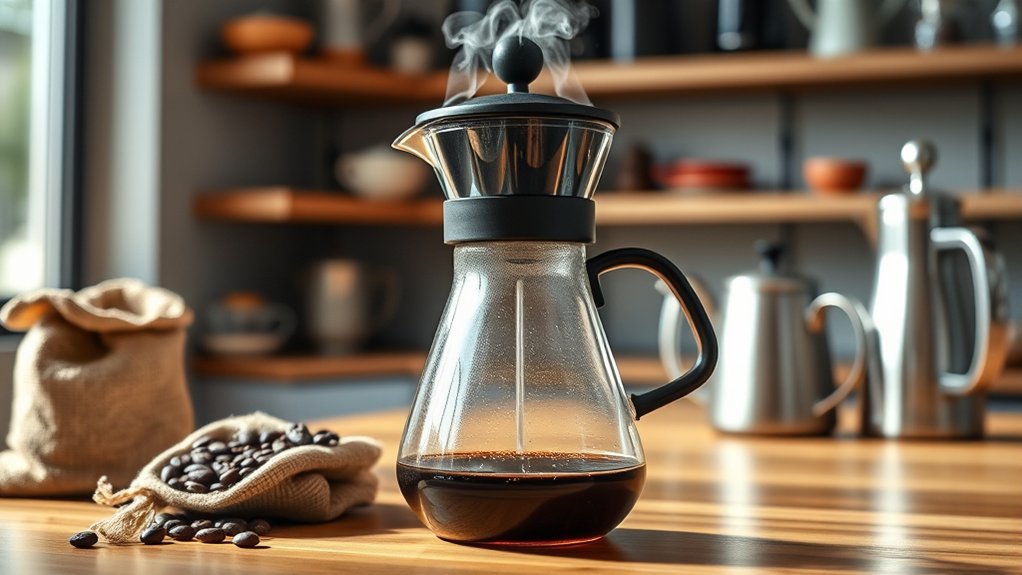
When selecting a coffee pot, what factors should you prioritize to guarantee the best brew? Start by considering the brewing techniques you prefer. Drip, pour-over, or French press all demand different pots. Your choice should complement these methods to extract maximum flavor.
Next, evaluate materials. Glass offers visual clarity, stainless steel ensures durability, and ceramic maintains heat well.
Don’t overlook essential coffee accessories like filters, tampers, or thermal carafes. These enhance your setup and streamline the process.
Size matters too. Pick a pot that matches your daily coffee volume to avoid waste or repeated brewing.
Measure Coffee and Water Correctly
Selecting the right coffee pot sets the stage, but the perfect brew hinges on how accurately you measure your coffee and water. To achieve optimal coffee flavor, stick to the standard ratio: 1 to 2 tablespoons of coffee per 6 ounces of water. Adjust this based on your taste preference, but avoid guessing. Precision is key.
Use a digital scale for the best consistency, as brewing techniques demand exactness to release your coffee’s full potential. Measuring water with a marked carafe or cup ensures balance, preventing weak or bitter results.
Prepare Coffee Grounds Properly
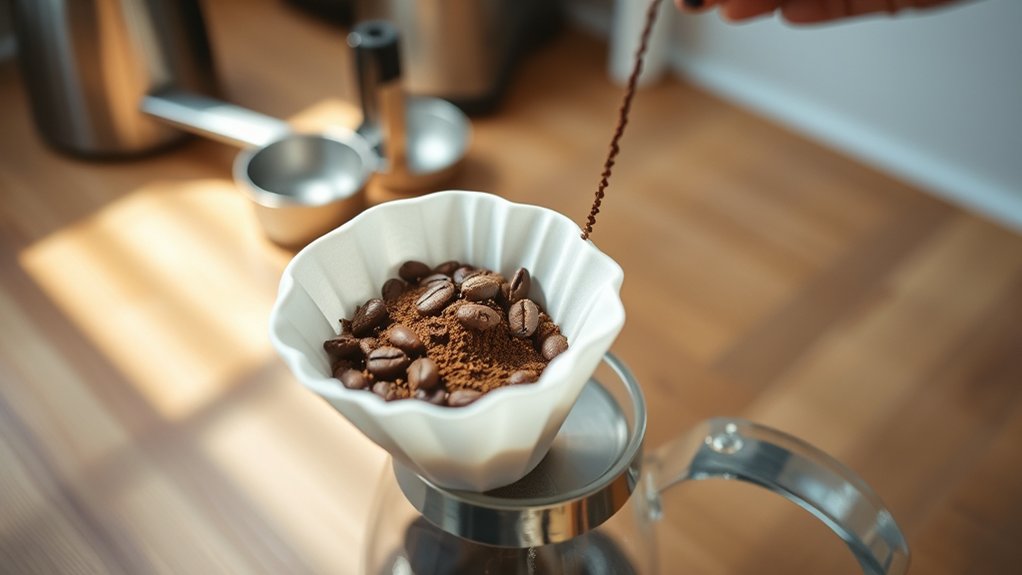
To get the best flavor, you’ll want to choose the right grind size for your coffee pot. It really makes a difference!
Also, measuring your coffee grounds accurately helps you get a balanced brew every single time.
And don’t forget—storing your grounds properly keeps them fresh and flavorful for longer.
It’s all about those little details!
Choosing The Right Grind
Although it might seem simple, choosing the right grind is crucial for extracting the best flavor from your coffee. Your coffee bean selection influences the grind size you need, and maintaining grind consistency guarantees even extraction.
Too coarse, and your brew will be weak. Too fine, and it could taste bitter.
Here’s a quick guide to grind size based on brewing methods:
| Grind Size | Brewing Method |
|---|---|
| Coarse | French Press |
| Medium | Drip Coffee Pot |
| Fine | Espresso Machine |
Match your grind to your coffee pot type for maximum flavor. Always grind just before brewing to preserve freshness and maximize aroma.
This precision step makes a noticeable difference in your cup.
Measuring Coffee Grounds
One simple but essential step to perfect coffee is measuring your grounds accurately. The right amount depends on your coffee bean variety and the brew strength you prefer. Typically, use one to two tablespoons of coffee grounds per six ounces of water.
Too little results in weak coffee; too much can make it bitter. Use a kitchen scale for precision, especially if you want consistent flavor. Remember, freshly ground beans yield the best results, so measure immediately after grinding.
While measuring, keep in mind ground storage techniques to preserve freshness. Avoid measuring too far in advance to prevent flavor loss.
Storing Grounds Properly
How long you keep your coffee grounds and how you store them directly impact the flavor of your brew. To preserve coffee bean freshness, transfer your grounds into airtight ground storage containers immediately after grinding. Avoid exposure to air, moisture, heat, and light, as these elements accelerate staling and degrade flavor.
Choose containers made of opaque materials with tight seals to block light and oxygen effectively. Store the container in a cool, dry place away from your stove or sunlight. Never keep grounds in the original bag once opened unless it has a resealable, airtight closure.
Get Your Coffee Pot Ready
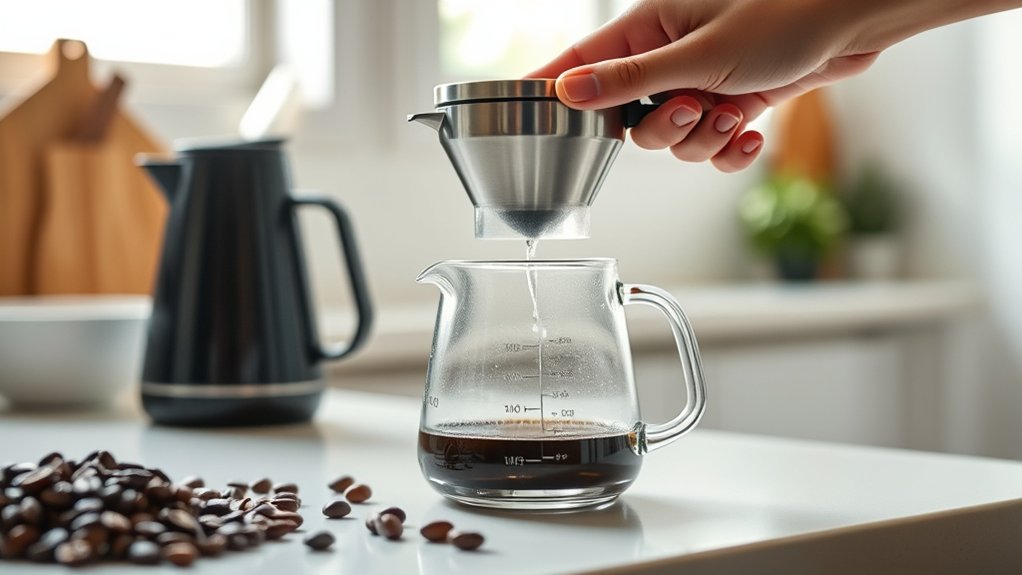
Before you start brewing, make sure your coffee pot is clean and properly assembled. This step is essential for preserving your coffee flavor and mastering effective brewing techniques. Residue from old coffee can alter taste, so a spotless pot ensures pure flavor extraction.
Here’s what to check:
- Rinse all removable parts with warm water.
- Verify the filter basket is securely in place.
- Ensure the carafe sits correctly on the warming plate.
- Fill the reservoir with the right amount of fresh, cold water.
- Inspect the coffee pot for any cracks or damage.
Start Brewing and Time Your Coffee
You’ll want to measure your coffee grounds carefully to guarantee the perfect strength.
Then, start the brew and keep an eye on the ideal brew time—this helps you avoid bitterness or weak flavor.
Timing your pour precisely makes a big difference and will help you get the best extraction every time.
Measuring Coffee Grounds
Since the quality of your coffee hinges largely on the right amount of grounds, measuring them accurately is vital. Proper measurement ensures a balanced coffee flavor and preserves ground freshness, resulting in a consistently delicious brew. Use a kitchen scale or standard measuring spoon to get it right every time.
Remember, too little coffee makes a weak brew; too much overwhelms the taste.
Here’s what to keep in mind:
- Use 1 to 2 tablespoons of coffee per 6 ounces of water.
- Weigh grounds for precise consistency.
- Grind just before brewing to maintain freshness.
- Adjust measurements to suit your taste preferences.
- Avoid scooping directly with the pot’s filter basket.
Measuring grounds carefully sets a solid foundation before you start brewing. It really makes a difference in the final cup!
Optimal Brew Time
Getting your coffee grounds measured just right sets the stage, but timing your brew correctly shapes the final flavor. Once you start brewing, aim for a perfect brew time between 4 to 5 minutes.
This window allows the hot water to extract the ideal balance of oils, acids, and compounds that create rich coffee flavor without bitterness.
Brew too quickly, and your coffee will taste weak and under-extracted. Brew too long, and it becomes overly strong and harsh.
By controlling the brew time, you directly influence the brew strength and overall taste profile.
Keep a close eye on the clock as the water saturates the grounds. Make sure you stop brewing within this suitable range to enjoy a smooth, flavorful cup every time.
It’s all about finding that sweet spot!
Timing Your Pour
Although measuring your grounds and setting brew time are essential, the way you pour water over the coffee grounds profoundly impacts extraction. Timing your pour is a vital brewing technique that directly influences flavor enhancement.
Start by pouring slowly in a circular motion to saturate the grounds evenly.
Pause briefly to let the coffee bloom, releasing trapped gases for better extraction.
Then, continue pouring steadily to maintain consistent water flow.
Keep these tips in mind:
- Begin with a small initial pour to bloom the coffee.
- Use a steady, controlled pour to avoid channeling.
- Time your pour to match your brew method’s requirements.
- Avoid rushing; slow pours enhance flavor complexity.
- Adjust pouring speed based on grind size and coffee freshness.
Mastering timing your pour guarantees a balanced, vibrant cup every time.
Pour and Serve Freshly Brewed Coffee
How do you make sure your freshly brewed coffee tastes just right when you pour it? First, pour steadily and avoid rushing to preserve the rich brewing aroma that enhances your coffee flavor. Use a clean, pre-warmed cup to maintain ideal temperature and prevent flavor loss.
Pouring slowly allows the coffee to release its complex notes fully, making sure you capture the full depth of taste. Once poured, serve immediately to enjoy the freshest experience. Coffee flavor diminishes quickly as it cools.
If you’re using a carafe, pour only what you plan to drink within 15 minutes to avoid bitterness from prolonged exposure to heat.
Clean and Maintain Your Coffee Pot
To keep every cup tasting as fresh as the first, you need to clean and maintain your coffee pot regularly. Residue from coffee bean origins and oils can build up, affecting flavor regardless of your brewing techniques. Proper upkeep preserves the nuanced taste profiles you cherish.
Follow these key steps:
- Rinse the pot after each use to remove leftover grounds and oils.
- Deep clean weekly with a vinegar-water solution to eliminate mineral deposits.
- Scrub removable parts gently with a soft brush to avoid damage.
- Replace water filters as recommended to maintain purity.
- Store your coffee pot in a dry, dust-free environment.
It’s pretty simple once you get into the habit. Just a little care goes a long way in keeping your coffee tasting great every single time.
Fix Common Coffee Brewing Problems
When your coffee doesn’t taste quite right, pinpointing the problem quickly can save your morning. Inconsistent brewing or off coffee flavor usually stems from simple issues like grind size, water temperature, or coffee-to-water ratio.
Adjusting these factors guarantees brewing consistency and a balanced cup every time. It’s easier than you think to get it right once you know what to look for.
| Problem | Solution |
|---|---|
| Bitter or sour flavor | Use fresh coffee; check grind size |
| Weak or watery coffee | Increase coffee amount; check water temperature |
| Uneven extraction | Stir grounds gently; ensure even water distribution |
Experiment With Coffee Types for Coffee Pots
Although sticking to a familiar coffee type feels safe, experimenting with different beans and roasts can reveal new flavor profiles that perfectly suit your coffee pot. By adjusting coffee flavor through variety, you enhance your brewing experience and better understand how brewing techniques impact taste.
Try exploring single-origin beans for unique regional notes. You can also test light, medium, and dark roasts to find your preferred strength. Freshly ground versus pre-ground coffee is another factor to consider for aroma and flavor.
Blends that balance acidity and body are worth trying too, as well as decaffeinated options that don’t sacrifice taste. Each choice interacts differently with your coffee pot’s brewing process, influencing extraction and overall flavor.
Experimenting sharpens your palate and helps you optimize brewing techniques. This way, you can consistently enjoy coffee tailored to your preferences. Give it a shot and see what new favorites you discover!
Tips to Simplify Your Coffee Pot Routine
To make your coffee pot routine easier, try sticking with the same type of coffee grounds each time. This way, you get a reliable flavor every single brew.
Also, pay attention to the water temperature—it should be just right to bring out the best taste without any bitterness.
Oh, and don’t forget to clean your pot regularly. Keeping it fresh means every cup will taste smooth and delicious.
Consistent Coffee Grounds
Ensuring you use consistent coffee grounds can dramatically improve the quality of your brew and simplify your routine. Maintaining grind consistency ensures even extraction, preventing bitterness or weak flavors.
Prioritize coffee freshness by grinding beans just before brewing to lock in aroma and taste. Avoid pre-ground coffee sitting exposed, as it quickly loses essential oils.
To master consistent coffee grounds, consider these tips:
- Use a burr grinder for uniform particle size.
- Measure your coffee grounds accurately each time.
- Store beans in an airtight container away from light and heat.
- Grind only what you need immediately before brewing.
- Experiment with grind size to match your coffee pot’s brewing method.
Give these a try, and you’ll notice a real difference in your cup!
Optimal Water Temperature
How hot should your water be for the perfect cup? Aim for a temperature between 195°F and 205°F. This range guarantees ideal extraction without scorching the coffee grounds.
Precise temperature control matters because water that’s too cool produces weak, under-extracted coffee, while boiling water burns the beans, resulting in bitterness.
Besides temperature, water quality plays a vital role. Use filtered water to avoid impurities that can alter taste and clog your coffee pot over time.
To simplify your routine, avoid letting water boil vigorously before brewing. Instead, let it sit for 30 seconds after boiling to reach the perfect temperature.
Mastering this balance between temperature control and water quality guarantees a consistently rich, flavorful brew every time you use your coffee pot.
Regular Pot Cleaning
Although brewing great coffee starts with quality ingredients, maintaining your coffee pot is just as essential for consistently excellent results. Regular cleaning preserves your coffee aroma and guarantees ideal brew strength, preventing buildup that dulls flavor.
To make things easier, try these simple tips: rinse the pot and filter basket after each use to avoid stale residues. Use a mixture of vinegar and water once a week to remove mineral deposits.
Scrub gently with a soft brush to clean hard-to-reach areas. Avoid harsh detergents that can leave unwanted flavors behind.
And don’t forget to dry all components thoroughly before putting everything back together to prevent mold growth.
Frequently Asked Questions
Can I Use Flavored Syrups With a Coffee Pot?
Yes, you can use flavored syrups with a coffee pot, but make sure to pay attention to flavor compatibility so you don’t overpower your brew.
Start with a small amount of syrup, about one to two tablespoons per cup, and then adjust it to your taste.
Add the syrup after brewing to ensure it mixes evenly and helps preserve your coffee’s aroma.
Try experimenting with complementary flavors like vanilla or caramel. These can enhance your coffee without masking its natural profile.
Give it a go and find what works best for you!
How Do I Store Leftover Brewed Coffee Properly?
Think of leftover brewed coffee like a delicate treasure. You want to guard its freshness carefully. For ideal coffee storage, pour your leftover brew into an airtight container and refrigerate it promptly.
This slows oxidation and preserves its rich flavors. Avoid leaving coffee on a hot plate because heat breaks down taste quickly.
When you’re ready, reheat gently to keep that fresh-brewed quality intact.
Enjoy every last drop with vibrant flavor.
Is It Safe to Leave Coffee Pot Water Overnight?
It’s generally not safe to leave water in your coffee pot overnight because of coffee pot safety concerns. Stagnant water at room temperature can encourage bacterial growth.
Plus, the water temperature drops, which increases the risk of contamination.
To keep things safe, empty and rinse the pot after use. Then, refill it with fresh water before brewing.
This simple habit keeps things hygienic and guarantees better-tasting coffee every time you brew.
Can I Use Cold Brew Coffee Grounds in a Coffee Pot?
Wondering if cold brew coffee grounds can moonlight in your coffee pot? Technically, you *can*, but it’s not ideal.
Cold brew grounds are coarser and meant for slow extraction, so brewing them hot in a coffee pot might yield a bitter or weak cup.
For the best flavor, stick to grounds designed for drip coffee makers.
Using cold brew grounds this way is like fitting a square peg in a round hole. It’s possible, but imperfect.
What Type of Power Outlet Does an Electric Coffee Pot Need?
You’ll need to check power compatibility before plugging in your electric coffee pot. Most models require a standard 120V power outlet, which is commonly found in North America. They usually use a Type A or Type B plug.
If you’re outside these regions, your coffee pot might need a different outlet type or a voltage converter. Always verify the pot’s voltage rating and outlet type to guarantee safe, efficient brewing without damaging your appliance.
It’s better to be safe than sorry, right? Taking a quick look at these details can save you from a lot of trouble down the line.
Conclusion
Now that you’ve mastered the art of using a coffee pot, you’re basically a coffee wizard, brewing liquid gold with every cup. With the right grind, perfect measurements, and a spotless pot, your mornings will transform from zombie mode to pure brilliance.
Don’t just settle for average coffee. Experiment and elevate your routine until your brew rivals the best café creations.
Your coffee pot isn’t just a tool; it’s your gateway to daily perfection.