How To Clean A Keurig Coffee Machine – Maintenance Guide
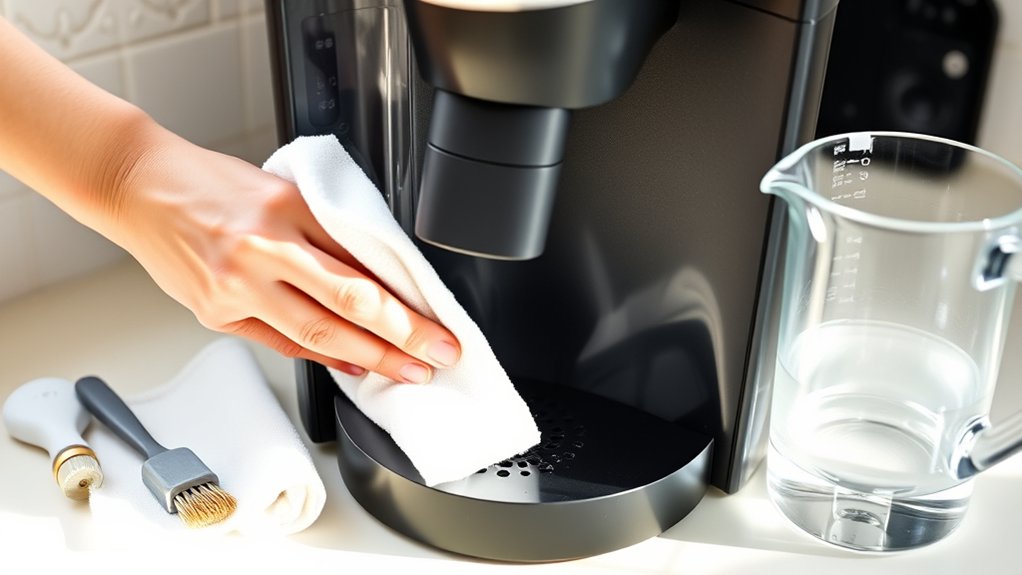
To clean your Keurig, first unplug it and let it cool. Remove and wash the water reservoir with warm, soapy water. Remember to replace the charcoal filter every two months.
Next, disassemble the pod holder and clear the needles using a straightened paperclip and a soft toothbrush. This helps keep everything flowing smoothly.
You should descale the machine every 3 to 6 months with vinegar or a commercial solution. Make sure to flush it thoroughly afterward to get rid of any residue.
Regular cleaning prevents clogs, guarantees consistent brew quality, and extends the machine’s life. Keep reading to learn how to optimize maintenance and troubleshoot common issues.
Why Regular Cleaning Keeps Your Keurig Brewing Great
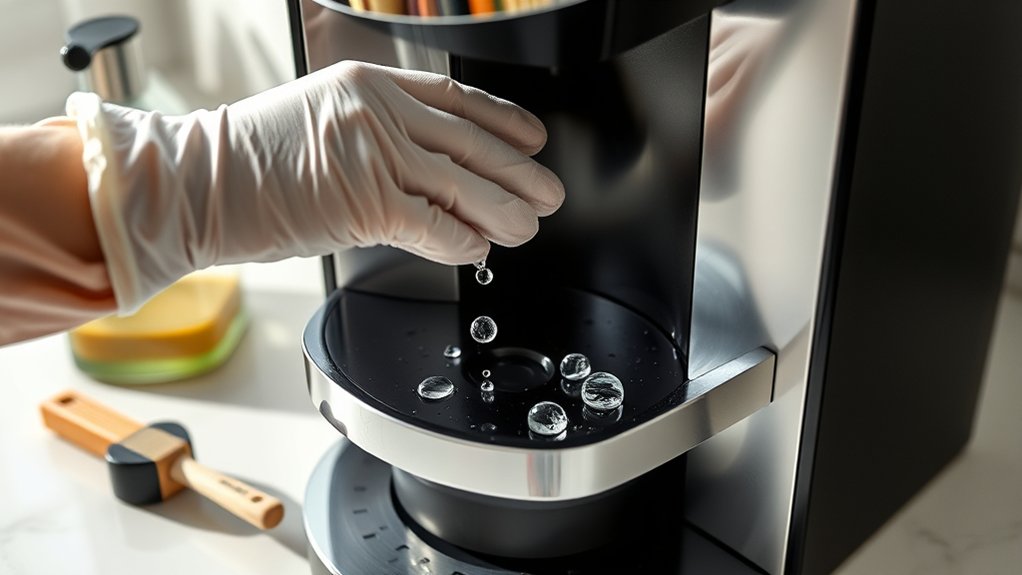
Although you mightn’t see it, regular cleaning plays an essential role in preventing mineral scale and coffee oil buildup inside your Keurig. This buildup directly impacts the consistency and quality of each brew. Keeping up with cleaning means your machine stays free from clogs caused by hardened mineral deposits or accumulated coffee oils.
When these clogs happen, water flow slows down and your coffee ends up weak. Cleaning also helps remove stains, which keeps the water temperature and pressure just right for brewing strong coffee. If you skip cleaning, you might notice off flavors and stale tastes in your cup.
Plus, routine cleaning protects your Keurig from internal corrosion and helps it last longer by avoiding damage from buildup. So, staying on top of cleaning means you get fresh, consistent coffee every time and a machine that works well for years to come.
Unplug and Prep Your Keurig for Cleaning
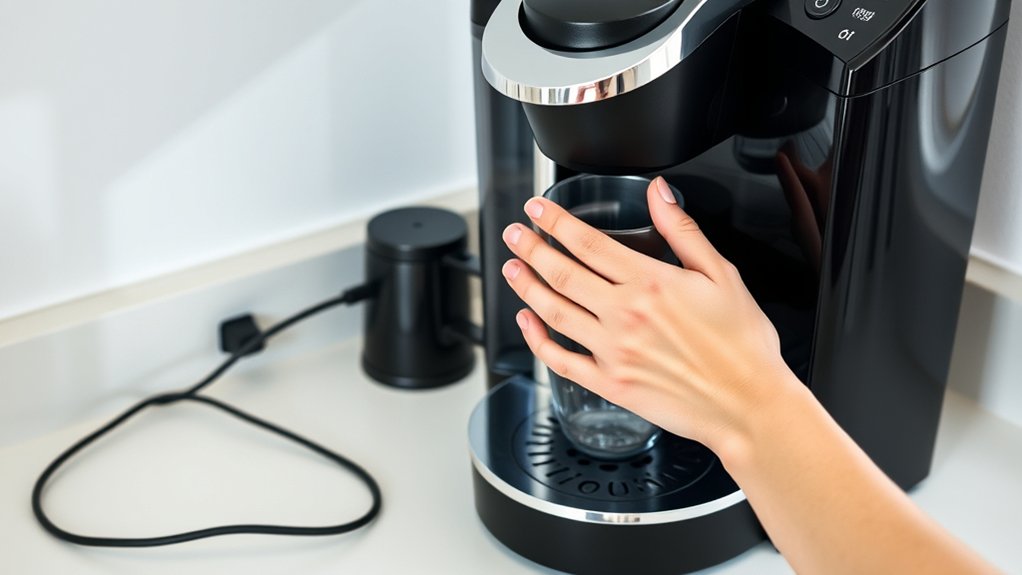
Before you start cleaning, make sure to unplug your Keurig. This helps avoid any electrical hazards. Also, give it some time to cool down so you don’t accidentally burn yourself.
Next, gently take off the water reservoir and remove any reusable filters or accessories. This way, you can get to all the parts that need cleaning.
Finally, clear your workspace and gather all the cleaning tools you’ll need. Being organized will make the whole process quicker and safer.
Safety First Steps
Once you finish brewing, make certain you unplug your Keurig from the power outlet to eliminate any risk of electrical shock during cleaning. Adhering to safety precautions is essential before starting maintenance.
Allow the machine to cool for several minutes to avoid burns or damage.
Follow your cleaning schedules strictly to ensure regular upkeep without compromising safety. Remove the water reservoir and drip tray carefully to prevent water damage and improve cleaning access.
Detach the pod holder, whether reusable or single-use, to access internal parts safely.
Prepare all cleaning supplies, such as a damp microfiber cloth and descaling solution, before unplugging to streamline the process.
These safety first steps establish a controlled environment, minimizing hazards and ensuring efficient, effective Keurig maintenance.
Remove Components Carefully
While guaranteeing your Keurig is unplugged, you should carefully remove each component to avoid damage. Begin with component handling by lifting the water reservoir straight up to preserve seals and connections.
Next, focus on disassembly safety when detaching the pod holder. Press the release handle and gently lift it out to prevent breaking delicate parts. Remove the drip tray and any removable elements, like the drip tray grid, to enable thorough cleaning.
Before disassembling, clear the surrounding area and gather all necessary cleaning tools to streamline the process. This methodical approach ensures safe, precise removal of parts while protecting your machine from accidental damage during maintenance.
Prioritize disassembly safety for comprehensive cleaning results and extended Keurig lifespan. Taking your time here really pays off!
Cleaning the Water Reservoir and Replacing the Filter
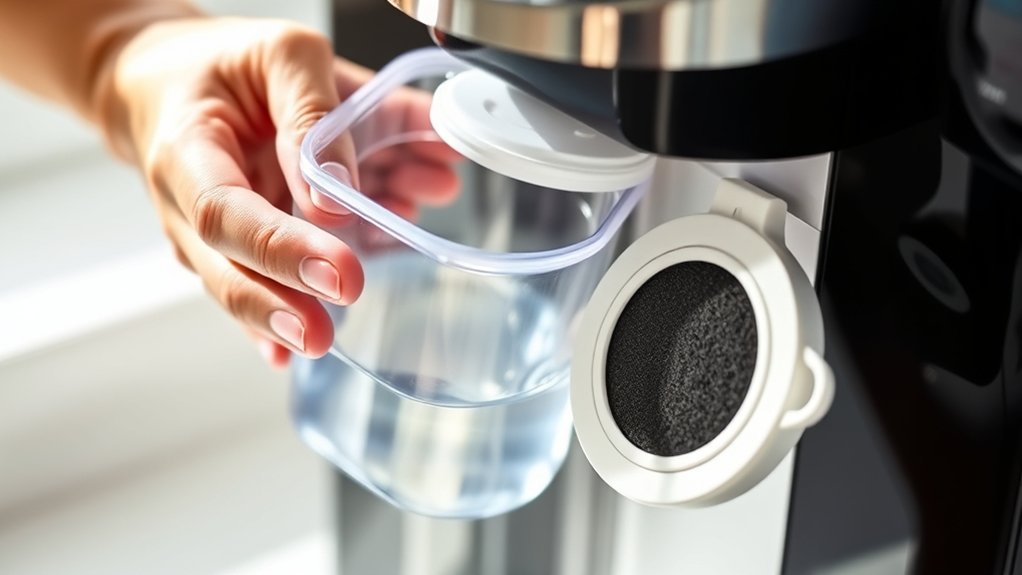
Start by taking out the water reservoir. You’ll want to wash it once a week using warm, soapy water to keep mold and mineral buildup at bay. Make sure to rinse it really well to get rid of any soap residue before putting it back—this helps keep your coffee tasting just right.
When it comes to the water filter, go ahead and replace it every two months. Before you install a new one, soak it in cold water for about five minutes. After that, run a brewing cycle to flush it through, and you’ll be all set!
Cleaning The Water Reservoir
Clean the Keurig water reservoir weekly by removing it and washing it with warm, soapy water to prevent mold and residue buildup. This essential reservoir maintenance step guarantees excellent water quality and prolongs machine lifespan.
After scrubbing, rinse the reservoir thoroughly to eliminate all soap residue, which could otherwise affect taste and brewing performance.
Use a soft cloth or sponge to avoid scratching the plastic surface. Once clean, refill the reservoir with fresh, cold water to maintain purity.
Securely reinstall the reservoir onto the machine, making sure it’s properly aligned and fits well.
Doing this regularly directly impacts water quality by preventing mineral deposits and microbial growth. That way, your Keurig keeps running smoothly and your coffee tastes great every time.
Replacing The Water Filter
Since the water filter plays a critical role in maintaining water quality and machine performance, you should replace it every two months or after about 60 refills.
First, remove the water reservoir and empty any remaining water. Rinse the reservoir thoroughly with warm water to eliminate buildup that could affect coffee temperature and brewing speed.
Next, soak the new filter in water for 5 minutes to activate its filtration properties. Insert the filter securely into the reservoir, following the manufacturer’s guidelines to guarantee proper placement.
Then, refill the reservoir with fresh water.
Finally, run a brewing cycle without coffee to flush out residual carbon particles. This procedure preserves consistent water quality, which directly influences coffee temperature stability and helps maintain the ideal brewing speed for balanced extraction.
It’s a simple step that really makes a difference in your coffee’s taste and your machine’s health.
Disassembling and Cleaning the Pod Holder and Brewing Needles
Before you can thoroughly clean the pod holder and brewing needles, you’ll need to disassemble the assembly by removing the drip tray and pressing the release latch to lift out the entire pod holder. Focus on pod holder disassembly to avoid damage.
Next, apply needle clearing techniques by carefully using a straightened paperclip or cleaning needle to clear clogs from both entrance and exit needles.
Wash pod holder components with warm, soapy water or dishwasher-safe if applicable. Rinse and dry all parts completely before reassembly to ensure optimal functionality.
| Step | Action |
|---|---|
| 1. Drip Tray Removal | Slide out drip tray |
| 2. Release Latch Press | Gently press to lift pod holder |
| 3. Needle Clearing | Use paperclip to clear needles |
| 4. Washing | Soapy water or dishwasher |
| 5. Dry & Reassemble | Fully dry before reassembling |
Clearing Clogs With a Paperclip and Toothbrush
You’ll start by straightening out a paperclip and using it to carefully clear the entrance and exit ports of the brew needles. This helps get rid of coffee grounds and debris that can cause blockages.
Then, take a toothbrush and gently insert it into the needles to loosen any mineral buildup or residue that might be slowing down your brews.
Using these simple tools really helps keep the water flowing properly and makes sure the pod holder stays free of clogs, so your coffee machine performs at its best.
Needle Cleaning Techniques
Although it may seem delicate, cleaning the needles with a straightened paperclip and a soft-bristled toothbrush is vital for preventing clogs caused by coffee grounds and mineral buildup.
First, unplug your Keurig to avoid injury from moving parts. Carefully insert the paperclip into both the entrance and exit needles to dislodge compacted coffee grounds obstructing water flow.
Next, use the soft-bristled toothbrush to gently scrub the needle interiors, removing residual coffee oils and mineral deposits that can affect brewing temperature consistency.
After cleaning, run a water-only brew cycle to flush out loosened debris and verify unobstructed needle flow.
Doing this needle cleaning every 1-2 months guarantees ideal water flow, maintains brewing temperature accuracy, and preserves overall machine performance.
It might sound like a small step, but it really makes a difference in keeping your coffee tasting great and your machine running smoothly.
Removing Pod Holder Blockages
When you remove the pod holder from your Keurig and take it apart into the funnel and housing, you get full access to the parts where blockages usually happen. Start by carefully removing the pod holder so you don’t damage any pieces.
Use a straightened paperclip to clear the needles with precision. Focus on any debris or coffee grounds stuck in the entrance and exit needles. Then, gently scrub the needles and inside of the pod holder with a soft toothbrush to break up mineral deposits and dried residue.
After that, rinse all the parts thoroughly with warm water to wash away any loosened buildup. Checking and cleaning these parts regularly helps keep water flowing properly. This prevents brewing problems caused by clogs and keeps your Keurig working great.
Tools For Effective Clearing
Because clogs often form in the narrow entrance and exit needles of your Keurig, using the right tools is crucial for effective clearing. A straightened paperclip works well to dislodge coffee grounds and mineral deposits inside these needles without causing damage. Gently insert the paperclip to clear blockages and restore consistent coffee flow.
Complement this by using a toothbrush with soft bristles, an effective cleaning brush, to scrub residue from the pod holder and needle openings. Always unplug your machine before cleaning to avoid electrical hazards.
Incorporating descaling agents during regular maintenance dissolves internal mineral buildup, enhancing the efficiency of your cleaning brushes and paperclip clearing process.
Together, these tools guarantee ideal performance and prolong your Keurig’s lifespan.
When and How to Descale Your Keurig for Mineral Buildup
Since mineral deposits from hard water gradually accumulate inside your Keurig, you should descale the machine every 3 to 6 months to prevent clogs and keep it running smoothly. This schedule helps target mineral buildup in the internal pathways and heating elements that can mess with water flow and brewing efficiency.
To descale, just fill the reservoir with a descaling solution. Then, run a few brew cycles without a K-Cup to make sure the solution circulates thoroughly.
Let the machine sit for at least 30 minutes so the scale can dissolve properly.
After that, flush the system by running several cycles with plain water to get rid of any leftover solution. Doing this regularly keeps scale from building up, which means better water flow, great-tasting coffee, and a longer life for your Keurig.
Choosing White Vinegar or Descaling Solutions
How do you decide between using white vinegar or a commercial descaling solution for your Keurig? Vinegar advantages include its natural composition and low cost, effectively dissolving mineral deposits inside the machine. However, it may leave a residual odor or taste if not rinsed thoroughly.
Choosing white vinegar for your Keurig offers natural, cost-effective cleaning but may leave lingering odors if not rinsed well.
On the other hand, descaling solution benefits stem from formulations containing citric acid or specialized agents. These offer superior removal of mineral buildup and oily coffee residues without leaving an odor.
Studies indicate commercial descaling solutions provide more thorough cleaning, especially for stubborn residues.
To guarantee ideal maintenance, always follow the manufacturer’s instructions for either method. Choosing between them depends on your preference for a natural, economical option versus a more targeted, odorless cleaning agent designed specifically for coffee makers.
Flushing and Rinsing Your Keurig After Descaling
After choosing between white vinegar or a commercial descaling solution, the next step is to flush and rinse your Keurig thoroughly. Start by emptying and refilling the water reservoir with fresh water before each rinse cycle. Use a large mug to catch the rinse water during each brew. This helps make sure all the descaling residue gets flushed out from the machine’s internal pathways.
Run at least 3 or 4 rinse cycles to completely remove any leftover residue. This prevents any chemical or vinegar taste from sticking around in your coffee. Taking the time to do this flushing process properly helps restore your machine’s peak performance and protects its internal parts.
Skipping or rushing this step could lead to contamination or less-than-great brews. So, make sure you finish all the recommended rinse cycles carefully. It’s an important part of keeping your Keurig in great shape!
Maintaining Keurig Reusable K-Cups to Avoid Brewing Issues
When you want to avoid brewing issues with your Keurig, maintaining your reusable K-Cups is essential. Start by regularly cleaning them with warm soapy water, making sure all coffee residue is removed from the filter mesh and sealing rim. This helps prevent blockages. Rinse them thoroughly to keep the flow just right.
Using durable materials like stainless steel for your reusable K-Cup is a smart move. They resist heat and staining, which helps keep the cup’s structure intact over time. Always check for cracks or damage, and replace any cups that look compromised.
Also, make sure you align and seat the reusable K-Cup properly in the machine. This prevents leaks and uneven extraction. Follow these tips, and you’ll enjoy a reliable, full-flavored cup every time while helping your Keurig last longer.
Troubleshooting Common Keurig Cleaning Problems
Maintaining your reusable K-Cups is just one part of keeping your Keurig running smoothly, but you might still encounter cleaning-related issues affecting performance. Clogs in the needles from coffee oils or mineral buildup can reduce coffee flavor and cause slow brews. You can clear these with a straightened paperclip.
Clogs from coffee oils or minerals can slow brews—clear needles gently with a straightened paperclip.
Mineral scale inside triggers error messages and leaks, which can compromise your machine’s longevity. So, it’s a good idea to regularly descale using appropriate solutions like PureHQ. This helps keep everything running as it should.
Mold in the reservoir, which comes from leftover moisture, can mess with taste and isn’t great for health either. Make sure to clean it thoroughly with warm, soapy water and let it dry before you use it again.
If you notice your brew sizes varying, try reseating the reservoir, clearing any needle blockages, and giving the machine a good descale. Taking care of these problems quickly helps preserve your coffee’s flavor and keeps your Keurig working well for a long time.
How Water Quality and Filtration Affect Keurig Longevity and Taste
Since water is the primary ingredient in every cup your Keurig brews, its quality directly impacts both machine longevity and coffee taste.
Hard water contains minerals like calcium and magnesium that cause scale buildup, which can impair internal components and shorten your Keurig’s lifespan.
Using a charcoal water filter effectively removes up to 97% of chlorine, sediment, and impurities. This helps minimize corrosion and scale formation.
To keep your machine running smoothly, replace the filter every two months or after 60 refills. Doing this preserves the filter’s lifespan and keeps filtration efficient.
Properly filtered water reduces mineral residues and chemical tastes. That means clearer flavor profiles and less frequent descaling.
Starting with consistent filtration protects your machine’s internal mechanisms and delivers a fresher, more enjoyable cup of coffee every time.
Accessories to Improve Keurig Durability and Flavor
Water quality plays a significant role in preserving your Keurig’s internal components, but selecting the right accessories also enhances durability and flavor. Using high-quality stainless steel reusable coffee pods, such as PureHQ, prevents warping, staining, and flavor contamination. This helps extend your machine’s lifespan.
Durable accessories with reinforced hinges and sturdy materials reduce leaks and breakage, which keeps your machine running smoothly. Properly aligned reusable pods minimize damage to the Keurig needles. This directly improves brewing consistency and coffee extraction quality.
Upgrading to premium water filters and accessory components further reduces mineral buildup inside the machine. That means you’ll have to clean it less often.
Frequently Asked Questions
Can I Use Bleach to Clean My Keurig Coffee Machine?
You shouldn’t use bleach cleaning on your Keurig machine; it risks corrosion and residue.
Instead, remove the water filter and descale with vinegar or approved solutions. This helps protect internal components and keeps your coffee tasting great.
It’s a safer way to maintain your machine without any harsh chemicals. Just stick to what the manufacturer recommends, and you’ll be good to go!
How Do I Deep Clean the Keurig’s Drip Tray?
To deep clean the drip tray, you’ll start by removing it from the Keurig.
Next, soak the tray in a cleaning solution made of vinegar and water. This helps break down any buildup or stains.
After soaking, scrub away stubborn spots with a soft brush. Then rinse the tray thoroughly and dry it completely before putting it back in place.
It’s an easy way to keep your machine clean and running smoothly!
What Is the Best Way to Store My Keurig When Not in Use?
To store your Keurig, start by emptying the water reservoir and detaching any removable parts. Make sure to dry everything thoroughly to avoid moisture buildup.
It’s a good idea to use machine insulation or a dedicated container to keep dust and moisture away. This helps protect your machine and keeps it clean.
Store your Keurig in a cool, dry place. This not only preserves your coffee’s freshness but also helps extend the life of your machine.
Can I Run the Keurig Without a Water Filter?
You can run your Keurig without water filtration, but doing so compromises machine longevity. Without filtering, mineral buildup accelerates, increasing maintenance needs and risking internal clogs. These issues degrade performance and shorten your Keurig’s operational lifespan.
How Often Should I Replace the Keurig’s Internal Parts?
You should replace Keurig internal components like needles and filters annually or biannually to guarantee peak function.
Timely Keurig repair prevents clogs, weak brews, and error messages. This helps maintain consistent coffee quality and keeps your machine running longer.
Regular maintenance really makes a difference in how your coffee tastes and how well your Keurig performs.
Conclusion
By keeping your Keurig clean and well-maintained, you make sure every brew tastes as fresh as the first drop of morning dew. Regularly cleaning the reservoir, filters, and needles helps prevent clogs and keeps the flavor just right.
Don’t forget about your reusable K-Cups or the quality of your water because these also affect how your coffee tastes and how well your machine works. With a little care and the right tools, your Keurig will keep delivering rich, consistent coffee.
Every cup becomes a perfectly brewed little masterpiece you can enjoy anytime.