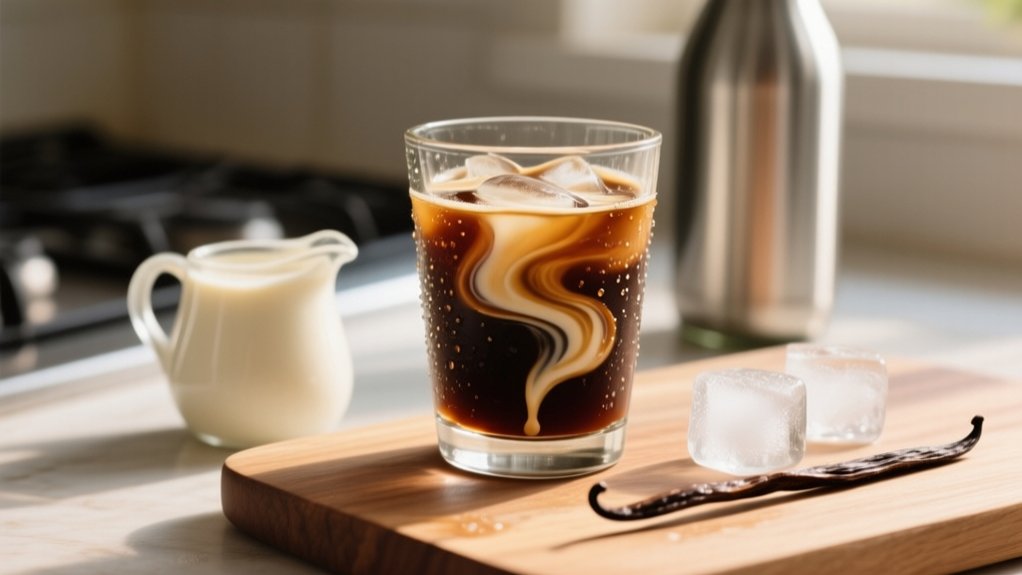
How To Make Vanilla Sweet Cream Cold Brew – Copycat Recipe Guide
To make vanilla sweet cream cold brew at home, start by brewing smooth cold brew with medium-dark coffee grounds steeped 12-24 hours. Mix equal parts sugar and water to create a vanilla syrup, adding vanilla extract for flavor.
Whip together vanilla syrup, milk, and heavy cream for the sweet cream topping. Pour cold brew over ice, add syrup, then layer sweet cream on top without stirring.
Try this easy method now, and you’ll find simple ways to customize and perfect your brew further.
What Is Vanilla Sweet Cream Cold Brew?

Vanilla Sweet Cream Cold Brew is a smooth, invigorating coffee drink that blends rich cold brew coffee with a sweet, creamy topping made from vanilla syrup, milk, and heavy cream.
This revitalizing choice combines the bold, less acidic flavor of cold brew coffee with a velvety sweet cream mixture that elevates every sip.
When you try this Starbucks copycat recipe at home, you’ll appreciate how customizable it is. You can easily adjust the amount of vanilla syrup or swap milk types to suit your taste.
Making Vanilla Sweet Cream Cold Brew homemade not only lets you control sweetness and creaminess but also saves money compared to buying it out.
This drink perfectly balances bold coffee with creamy sweetness in a simple, delicious way.
Choosing Coffee Beans and Cold Brew Methods for Vanilla Sweet Cream
You’ll want to go for medium-dark to dark roast beans. They make for a smooth, less acidic cold brew that pairs perfectly with vanilla sweet cream.
Using coarsely ground coffee is key, and steeping it in filtered water for about 12 to 24 hours really helps bring out the best flavors without any bitterness.
Feel free to experiment with different brewing methods too. Whether it’s a French press or just a large jar, try out what works best for your taste and daily routine.
It’s all about finding that perfect balance you enjoy!
Selecting Coffee Bean Types
When selecting coffee beans for your cold brew, focus on coarsely ground medium-dark to dark roasts. This helps prevent bitterness and brings out rich flavors. Using filtered water during brewing lets the coffee’s natural flavor shine without unwanted impurities.
Pay attention to the coffee grounds’ origin because it impacts the tasting notes of your vanilla sweet cream cold brew. Fruity, nutty, or chocolatey tones fit perfectly. Proper straining methods like fine mesh strainers guarantee a smooth, clear cold brew coffee.
Here’s a quick guide:
| Roast Level | Flavor Profile | Ideal Tasting Notes |
|---|---|---|
| Medium-Dark Roast | Balanced, rich | Chocolate, nutty |
| Dark Roast | Bold, robust | Smoky, bittersweet |
| Medium Roast | Mild, bright | Fruity, floral |
Choose wisely to complement your vanilla sweet cream!
Cold Brew Brewing Techniques
Mastering cold brew brewing techniques starts with selecting the right coffee beans and understanding proper extraction methods.
Choose coarsely ground medium-dark to dark roast coffee beans to prevent bitterness during brewing.
Use filtered water to maintain a clean taste and avoid impurities.
Combine the coffee grounds and water in an airtight container, then let it steep for 12 to 24 hours. This steeping time assures balanced flavor without acidity.
After brewing, strain out the coffee using a fine mesh strainer or cheesecloth to achieve a smooth consistency free of sediment.
Store your cold brew in the airtight container in the refrigerator to keep it fresh for up to one week.
Following these steps guarantees a smooth, flavorful cold brew perfect for making Vanilla Sweet Cream Cold Brew.
Impact On Flavor Profile
Selecting the right coffee beans and brewing method shapes the flavor profile of your Vanilla Sweet Cream Cold Brew. Choose medium-dark to dark roast coffee beans for a rich base that balances perfectly with the sweetness of the vanilla-infused sweet cream.
Use coarsely ground coffee grounds and steep them in filtered water using the cold brew method for 12-24 hours to extract smooth, less acidic flavors.
Maintaining a brewing ratio of 1 cup coffee grounds to 4 cups filtered water guarantees your cold brew isn’t too diluted when mixed with heavy cream.
This careful balance highlights the nuanced coffee notes and lets the creamy vanilla sweetness shine through.
Brewing and Straining Cold Brew Coffee
Because cold brew coffee requires a long steeping time, you’ll want to use coarsely ground coffee and cold water, letting them sit together for 12 to 24 hours.
Use a coffee-to-water ratio of 1:4 to create a strong, smooth flavor that’s less acidic than hot brewed coffee.
Maintain a 1:4 coffee-to-water ratio for a bold, smooth cold brew with lower acidity than hot coffee.
For best results, choose a dark roast coffee to avoid bitterness during steeping.
Once the steeping is complete, strain the mixture through a fine mesh strainer or cheesecloth to remove all grounds, ensuring a clean finish.
Finally, transfer your cold brew to an airtight container and store it in the refrigerator. This preserves freshness and allows you to enjoy your smooth, rich cold brew coffee for up to a week.
Making Vanilla Syrup for Sweet Cream

You’ll start by combining sugar and water.
Then, heat the mixture until the sugar dissolves completely.
After that, add vanilla for flavor.
Let it steep and cool before straining it to get a smooth syrup.
Once you store it properly in the fridge, you can use this syrup to sweeten your cold brew or other treats.
Ingredients For Vanilla Syrup
Anyone making vanilla syrup for sweet cream starts with simple ingredients: equal parts granulated sugar and water.
You’ll combine these in a saucepan, heating until the sugar dissolves completely.
To infuse flavor, add a split vanilla bean or 1-2 teaspoons of vanilla extract after dissolving the sugar. This step is key to achieving that rich vanilla taste.
For a homemade alternative, use 1 cup of granulated sugar and 1 cup of water to yield about 1 cup of syrup.
Remember to let the syrup cool before using it in your sweet cream to keep the texture smooth.
Store any leftover vanilla syrup in an airtight container in the refrigerator, where it will last up to six months for future use.
Cooking And Cooling Process
Once your sugar and water are combined in a saucepan, heat the mixture until the sugar fully dissolves. After the sugar is dissolved, add a split vanilla bean and let it steep for at least 2 hours. This process extracts the rich vanilla flavor that makes your vanilla syrup special.
Once steeped, remove the bean and let the syrup cool completely before using it in your sweet cream.
| Step | Action | Purpose |
|---|---|---|
| 1 | Combine sugar and water | Base for vanilla syrup |
| 2 | Heat until sugar dissolved | Guarantee smooth syrup |
| 3 | Add vanilla bean | Infuse vanilla flavor |
| 4 | Steep for 2 hours | Maximize flavor extraction |
| 5 | Cool syrup | Prepare for storage/use |
Storage Tips And Uses
Although making vanilla syrup is simple, storing it properly guarantees you get the best flavor and longevity. Your homemade vanilla syrup should always be kept in an airtight container and stored in the refrigerator. This keeps it fresh and lasting for up to six months.
When you make your vanilla sweet cream by mixing syrup with cream and milk, remember these tips:
Shake well before use to blend flavors evenly.
Consume within 3-4 days for the freshest, most flavorful addition to your cold brew.
Label your syrup with the date prepared to track its freshness.
Following these steps assures your vanilla syrup and sweet cream stay delicious and ready to enhance your drinks anytime.
Choosing Milk and Dairy-Free Options for Sweet Cream
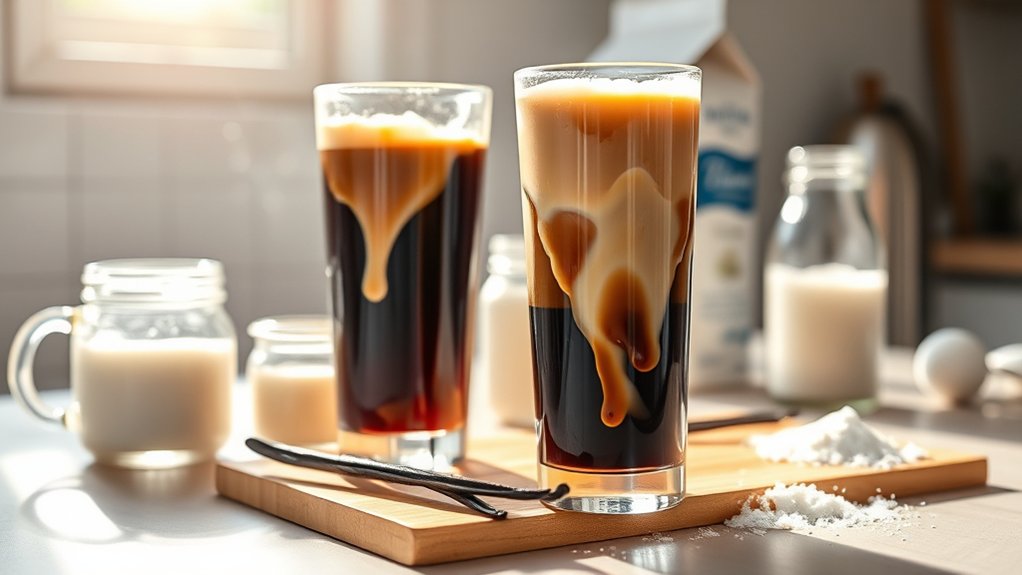
When choosing milk for your vanilla sweet cream cold brew, 2% dairy milk strikes the perfect balance between creaminess and lightness. It gives you a smooth texture without overwhelming richness.
You can combine it with heavy cream to boost the rich flavor and create that velvety sweet cream consistency.
If you prefer dairy-free options, oat milk, almond milk, and coconut milk are excellent choices. While they may not match the creaminess of dairy, they still add a pleasant texture and flavor.
For a dairy-free sweet cream with a similar mouthfeel to the traditional version, try plant-based heavy cream alternatives like Silk heavy whipping cream.
This way, you can enjoy your cold brew with the perfect creamy touch, no matter your preferences.
Preparing Vanilla Sweet Cream for Cold Brew
To prepare your vanilla sweet cream for cold brew, start by combining 1 tablespoon of vanilla syrup, 2 tablespoons of milk, and 3 tablespoons of heavy cream in a jar.
Stir well to create your copycat Vanilla Sweet Cream that’s ideal for your Cold Brew recipe.
Use heavy whipping cream for a velvety texture, and choose 2% or whole milk for richer flavor.
You can also make it customizable with dairy-free alternatives like oat or almond milk.
Remember to mix thoroughly for a smooth homemade vanilla sweet cream.
Store it in the refrigerator in an airtight container, and use within 3-4 days for peak freshness.
This simple preparation guarantees your sweet cream complements your cold brew perfectly.
How to Froth Sweet Cream Into Cold Foam
If you want to elevate your cold brew experience, frothing your sweet cream into cold foam is key.
Start with chilled sweet cream made from a blend of heavy cream and milk. Whole or 2% works best to achieve a balanced, creamy texture.
Add a splash of vanilla syrup to enhance the flavor and sweetness.
Use a milk frother or blender to froth the mixture for about 30 seconds. Stop once it’s thick and creamy without overwhipping.
This cold foam should hold its shape beautifully atop your cold brew.
Remember, keeping the cream cold before frothing guarantees ideal texture and prevents separation.
Mastering this step in your recipe transforms your drink into a smooth, flavorful delight every time.
Assembling Your Vanilla Sweet Cream Cold Brew
Alright, now it’s time to layer your cold brew and vanilla sweet cream carefully to get that perfect look and flavor.
You can totally adjust the sweetness by adding more or less vanilla syrup to your cream before you pour it over the coffee.
Just take your time pouring gently so the layers stay nice and distinct.
Then, enjoy a deliciously balanced drink!
Layering The Ingredients
While assembling your vanilla sweet cream cold brew, start by filling a tall glass with ice, leaving enough room at the top for the sweet cream layer.
To master the Starbucks-style layering, follow these steps:
- Pour cold brew over the ice, filling the glass about three-quarters full to keep the balance perfect.
- Add 1 tablespoon of vanilla syrup and stir gently to blend the sweetness without melting the ice.
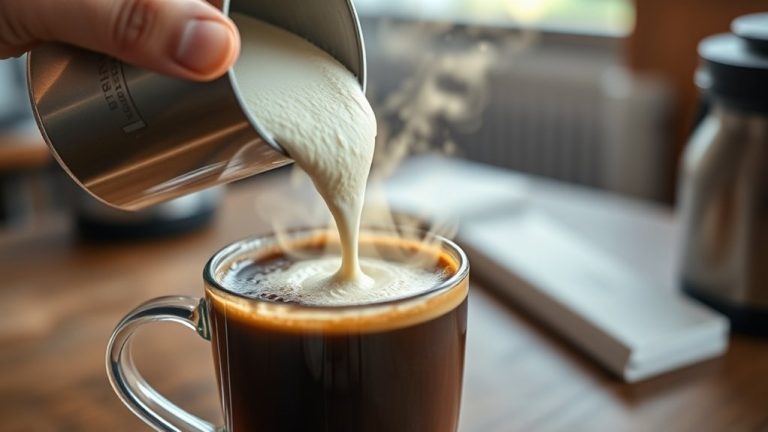
- Carefully pour the vanilla sweet cream on top, allowing it to float as a distinct layer of cold foam.
Avoid stirring after layering to maintain that beautiful contrast between the cold brew and the sweet cream, creating the signature look and flavor of this delicious coffee treat.
Adjusting Sweetness Levels
Once you’ve layered your vanilla sweet cream cold brew, you can fine-tune the sweetness to suit your taste.
Start by adding 1 tablespoon of vanilla syrup and give it a taste before adding more.
If you want a sweeter drink, increase the vanilla syrup in 1 tablespoon increments.
For variety, try flavored syrups like caramel or hazelnut alongside the vanilla syrup to customize your flavor.
If you prefer a sugar-free option, use vanilla extract paired with a sugar substitute to keep the sweetness without extra calories.
After adding your sweetener, stir the drink well to evenly distribute the sweetness throughout the cold brew.
Adjusting sweetness levels this way guarantees your vanilla sweet cream cold brew is perfectly balanced every time.
Customizing Your Vanilla Sweet Cream Cold Brew
Although the classic vanilla sweet cream cold brew is delicious on its own, you can easily customize it to suit your taste buds.
Start by adjusting the amount of vanilla syrup to control sweetness. Then, try different milk options like oat milk for a dairy-free, creamy texture.
For a richer sweet cream, swap half-and-half with heavy cream. You can also add flavored syrups to bring extra flavor and create unique blends.
Here are three ways to customize your cold brew:
- Vary vanilla syrup from 1 tablespoon upward to find your perfect sweetness.
- Use oat milk or almond milk for a smooth, dairy-free option.
- Add flavored syrups like caramel or hazelnut for a personal twist.
These tweaks let you tailor your cold brew exactly how you like it.
Storing and Reheating Vanilla Sweet Cream and Cold Brew
If you want to keep your vanilla sweet cream cold brew fresh and flavorful, store the cold brew in an airtight container in the fridge for up to one week.
Keep the vanilla sweet cream refrigerated in a sealed container for 3 to 4 days.
To maintain ideal freshness, don’t freeze the cold brew as it can change its flavor and texture.
Shake the vanilla sweet cream well before using to restore its creamy consistency, especially after separation during storage.
You can also store vanilla syrup in the refrigerator for up to six months in a sealed container, making it easy to whip up future drinks.
When reheating, gently warm your cold brew without boiling to preserve its smooth taste.
Proper storage helps you enjoy every sip just right.
Frequently Asked Questions
Can I Use Instant Coffee to Make Cold Brew?
You can use instant coffee for cold brew, but the instant coffee quality affects flavor extraction and caffeine levels.
Unlike ground coffee, instant dissolves instantly, so brewing time and cold brew ratio don’t apply the same way.
For best taste, mix instant with cold water, then add milk alternatives and sweetener options to suit you.
Serve over ice and store in the fridge up to 2 days for freshness.
How Long Does Cold Brew Coffee Last in the Fridge?
Cold brew shelf life in the fridge typically lasts about 1 to 2 weeks, but for the best cold brew freshness and coffee flavor preservation, aim to consume it within 7 days.
Use airtight storage container tips to avoid odor absorption issues from other foods.
Refrigeration best practices, like keeping it sealed and cold, help maintain brewed coffee longevity.
Smaller brewing batch sizes also keep your iced coffee tasting fresh without waste.
Is It Possible to Make This Recipe Vegan Without Compromising Taste?
Yes, you can make this recipe vegan without losing flavor. Use vegan milk options like oat or almond milk and swap traditional sweeteners for maple syrup or agave.
Pay attention to texture by choosing dairy-free creamers that add creaminess. For flavor balance, adjust sweetness and vanilla carefully.
Try ingredient substitutions and taste testing methods to perfect it.
These recipe variations not only maintain great taste but also offer health benefits compared to dairy versions.
What Equipment Do I Need to Start Cold Brewing at Home?
You’ll need a brewing container like a mason jar or a dedicated cold brew maker, a coarse coffee grind, and filtered water with a 1:4 to 1:8 coffee-to-water ratio.
Think of a knight’s hourglass measuring your steeping time, usually 12 to 24 hours.
Refrigerate promptly to preserve flavor extraction and enjoy cold brew benefits like smoothness and low acidity.
Serving suggestions include adding ice, milk, or vanilla sweet cream for extra indulgence.
Can I Add Flavored Syrups Other Than Vanilla?
Yes, you can definitely add flavored syrups other than vanilla to your cold brew.
Experimenting with syrup combinations lets you create homemade flavors and taste variations that suit your mood.
Try seasonal additions like pumpkin spice or caramel for a twist.
You can also use dairy substitutes in your sweet cream to keep it creamy and delicious.
These coffee alternatives make your cold brew uniquely enjoyable every time.
Conclusion
Now that you know how to craft the perfect vanilla sweet cream cold brew at home, you might wonder if it really rivals your favorite café’s version. The truth is, with the right coffee beans, fresh vanilla syrup, and a little frothing technique, you can create a delicious, creamy treat that tastes just as good, if not better!
Give it a try, and you might never go back to store-bought again. Enjoy your homemade indulgence!