How To Use A Percolator For Coffee – Step By Step Guide
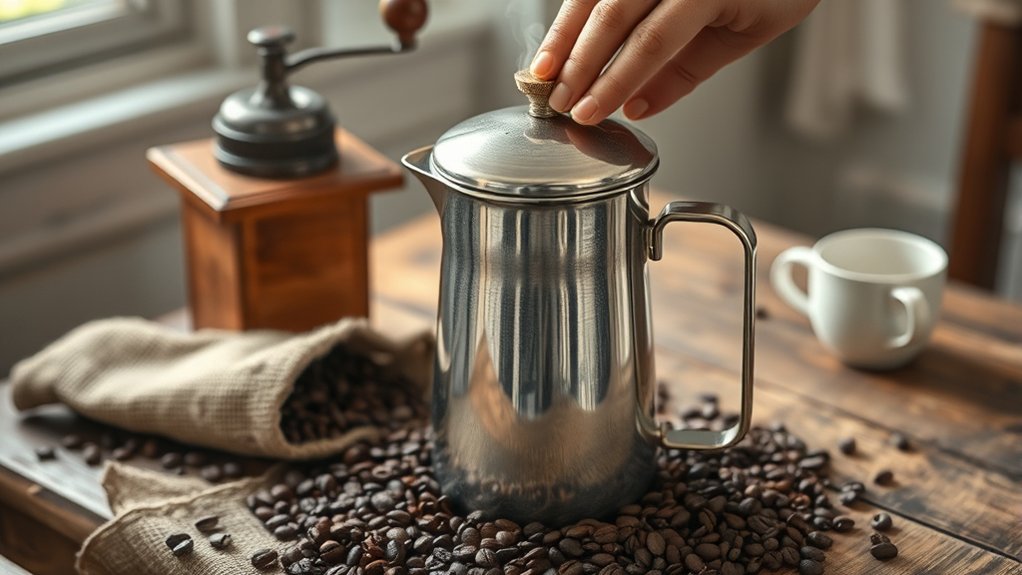
To use a percolator for coffee, start by filling the water chamber just below the spout and securely inserting the stem. Add coarse coffee grounds to the basket, then fasten the lid tight.
Place the percolator on medium heat and listen for bubbling, which signals the water cycling through the grounds. Brew for 7-10 minutes on medium-low for a rich flavor. Then, remove it from heat promptly to avoid bitterness.
Master these steps, and you’ll discover deeper tips and tricks for perfect percolator coffee. It’s easier than it sounds once you get the hang of it!
What Is a Coffee Percolator and How Does It Work
How exactly does a coffee percolator brew such a distinctive cup? Rooted deeply in percolator history, this device uses a simple yet effective method to extract rich coffee flavor profiles.
You fill the water chamber, place coarsely ground coffee in the basket, and heat the percolator.
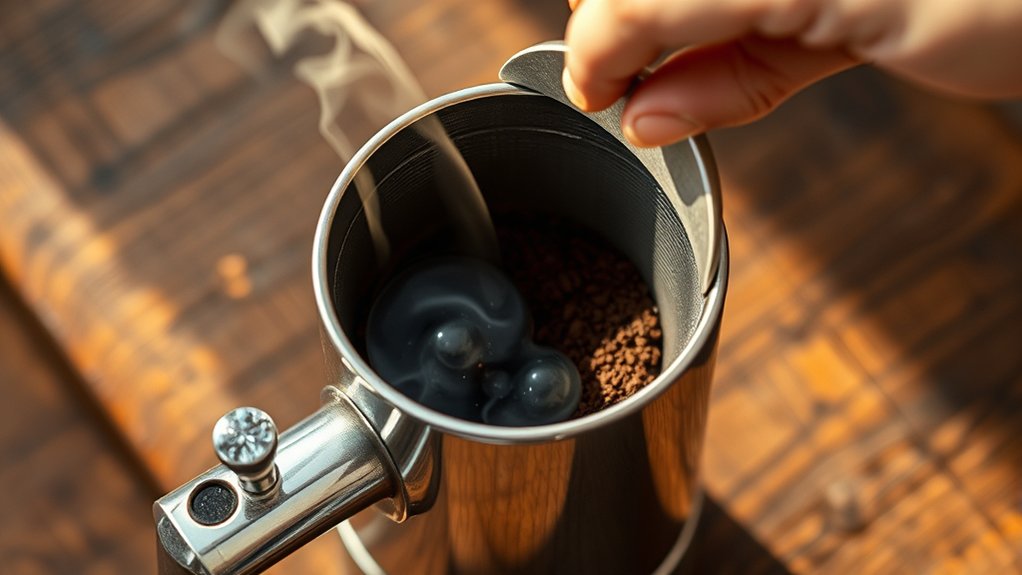
As the water boils, it percolates up the vertical tube, then cascades over the grounds repeatedly, cycling until you stop it.
This repeated brewing intensifies the coffee’s boldness and strength, creating that signature rich, full-bodied taste you crave.
The transparent lid lets you monitor the brew’s color, ensuring precision.
Whether on a stovetop, campfire, or electric base, the percolator’s design and process uniquely combine to deliver robust coffee that stands apart in flavor and tradition.
How to Pick the Right Percolator for You
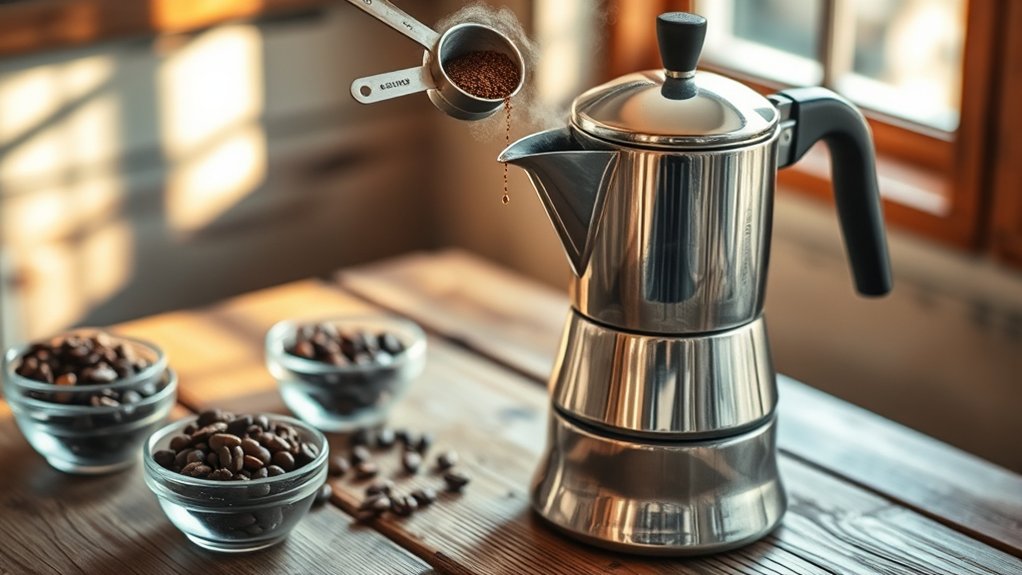
When selecting the perfect percolator, you’ll want to take into account how and where you plan to brew your coffee most often. Understanding percolator history helps you appreciate the brewing innovations behind each type. For indoor ease, an electric percolator offers consistent temperature control.
Outdoors, stovetop or campfire models provide rugged versatility. Size matters. Choose one matching your usual coffee volume to avoid waste.
| Type | Material | Feature |
|---|---|---|
| Electric | Stainless Steel | Consistent temperature |
| Stovetop | Enamelware | Classic manual operation |
| Campfire | Stainless Steel | Durable, glass knob for monitoring |
Choose wisely, blending tradition with modern brewing innovations for your ideal cup.
Coffee and Water Ratios for Percolator Brewing
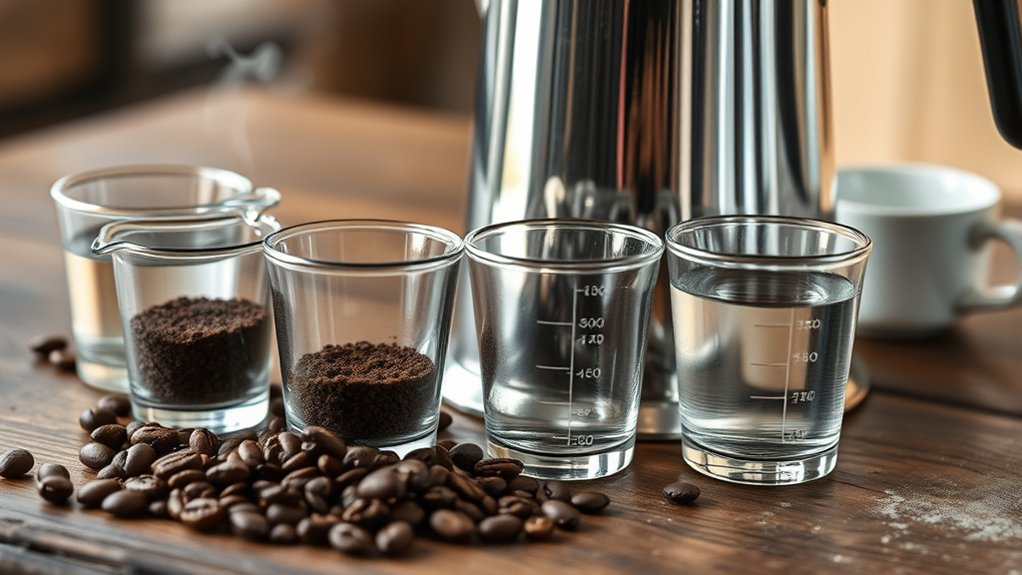
You want to start with about one tablespoon of coarsely ground coffee per cup of water. Measuring carefully helps guarantee a good balance.
If you like a bolder brew, feel free to adjust the ratio a bit. Just be careful—too much coffee can make it bitter, and too little will leave your cup weak.
Also, make sure to fill the water just below the percolator’s spout. Doing this will give you consistent, flavorful results every time.
Ideal Coffee To Water
Why does the coffee-to-water ratio matter so much in percolator brewing? It directly influences your coffee flavor and extraction balance. Using about 1 tablespoon of coarsely ground coffee per 8 ounces of water is a reliable starting point.
This ratio lets the water quality shine through while pulling out rich, full-bodied flavors. If you use too little coffee, your brew might taste weak and underwhelming. On the other hand, too much coffee leads to bitter, over-extracted notes.
Ideally, keep the ratio between 1:15 and 1:16. This balance respects the percolator’s unique brewing style.
Always measure your coffee and water precisely to make sure every pot turns out consistent.
Pay attention to this ratio, and you’ll get a smooth, satisfying cup of percolated coffee every time. It’s a simple step that makes a big difference!
Adjusting Ratios For Strength
Getting the coffee-to-water ratio right sets the foundation, but fine-tuning those amounts lets you tailor your brew’s strength exactly how you like it. Start with the standard 1 tablespoon of coarsely ground coffee per 8 ounces of water, but adjust based on your preferred coffee bean variety and desired intensity.
A bolder coffee bean variety will naturally pack more punch, so you might use less coffee or a lighter grind size to avoid over-extraction. Conversely, a milder bean benefits from a higher coffee-to-water ratio or slightly finer grind size.
For a lighter brew, try 1 teaspoon per cup; for a stronger one, increase to 1.5 or 2 tablespoons. Remember, these tweaks combined with brewing time help you craft the perfect strength, ranging typically from 1:8 to 1:12 ratios.
Measuring Grounds Accurately
Although precise measurement might seem tedious, it’s essential for achieving the perfect percolator brew every time. Start by selecting quality coffee beans and grinding them coarsely. The grind size impacts extraction and flavor clarity.
Use about one heaping tablespoon of coarsely ground coffee per 6-ounce cup of water for a robust brew. For balanced flavor, weigh 30 grams of coffee for every 500 grams of water. Always rely on a measuring spoon or scale to maintain consistent coffee-to-water ratios, ensuring repeatable results.
Fill the water chamber accordingly, typically 500 grams for two cups, to preserve these ratios. Don’t hesitate to tweak the coffee amount to suit your taste. You can increase it for a stronger or decrease it for a milder cup.
Precision here really elevates your percolator coffee to expert-level quality. So take a little extra time, and enjoy the difference it makes.
Cleaning and Assembling Your Percolator
Before every brew, it’s important to give each part of your percolator a good clean—basket, stem, and water chamber—so no leftover residue messes with the flavor.
Just take it apart carefully and check for any mineral buildup. If you spot some, a little vinegar or baking soda can work wonders to get it back to pristine condition.
When you’re putting it all back together, make sure every piece fits snugly. That way, you’ll avoid leaks and enjoy a smooth, flawless brewing experience every time.
Thorough Cleaning Steps
When you want to maintain your percolator’s peak performance and flavor quality, thorough cleaning is essential. Start by disassembling the coffee basket, stem, and lid. Wash each part with warm, soapy water, focusing on removing coffee oils and residues in the coffee basket and water chamber. These residues really impact the flavor, so it’s important to get them all.
For stubborn buildup, use baking soda or vinegar to deep clean. Make sure you rinse everything thoroughly to avoid any soap residue. Then dry completely to prevent rust or mineral deposits. This step is crucial for keeping your coffee tasting just right.
| Cleaning Step | Purpose |
|---|---|
| Disassemble parts | Access all components |
| Wash with soapy water | Remove oils and residues |
| Rinse & dry | Prevent rust, preserve flavor |
This routine guarantees your percolator brews rich, clean coffee every time.
Proper Part Assembly
Since a perfectly brewed cup depends on precise assembly, you’ll want to guarantee every part of your percolator is thoroughly cleaned and correctly positioned. Proper handling of your coffee accessories is essential to master brewing techniques that deliver rich flavor.
Start by cleaning the basket, stem, and water chamber before assembling to avoid any off-flavors.
Then, fill the water chamber with cold water, just below the spout. This helps ensure you use the correct volume.
Next, place ground coffee in the basket, leveling it without compacting.
After that, seat the basket in the upper chamber.
Make sure to securely position the stem and firmly tighten the lid to maintain pressure and prevent leaks.
Following these steps will help your percolator work flawlessly. You’ll get that perfect cup you crave every time.
Checking For Residue
How thoroughly do you inspect your percolator parts before brewing? Checking for residue is vital to preserving the pure coffee flavor you crave. Start by examining the basket, stem, and water chamber for leftover grounds or oily stains.
Use warm, soapy water to clean every nook, then rinse thoroughly to avoid soap traces that can affect taste. Don’t forget to inspect the rubber gasket and lid for buildup or damage. Any compromise here risks poor sealing and flavor contamination.
Consistent residue prevention not only maintains the integrity of your brew but also guarantees your percolator performs at its best each time. Taking these steps diligently ensures each cup delivers the rich, untainted coffee flavor you expect from a perfectly maintained percolator.
Add Water to the Percolator Base
Before you start brewing, make sure to fill the percolator’s water chamber with fresh, cold water up to the designated fill line or just below the spout. Water safety is essential. Using clean, cold water ensures your coffee tastes pure and untainted.
The percolator design relies on the water level to control brewing pressure and prevent overflow. Follow these steps to add water correctly:
- Measure about 500 grams (2 cups) of fresh, cold water for a standard brew.
- Pour water carefully into the base, stopping at the fill line or just below the valve.
- Avoid exceeding the maximum fill line to prevent spillage during boiling.
- Adjust water quantity depending on how many cups you want to brew.
Proper water filling guarantees an even, flavorful extraction every time. It really makes a difference in your coffee’s taste and consistency.
Insert the Stem and Coffee Basket
Start by firmly inserting the vertical stem into the water chamber. Make sure it’s straight and secure so everything fits just right.
Next, take the coffee basket filled with the right amount of coarse grounds and place it onto the stem. Be sure to align it perfectly to prevent any leaks.
When these parts are secured properly, you’ll get smooth water flow and a rich, balanced brew.
Proper Stem Placement
When you insert the vertical stem into the water chamber, make sure its lower end rests firmly at the bottom. This helps guarantee proper water flow during brewing. Correct stem alignment is key for consistent heat transfer and maximum extraction.
Here’s how to place the stem properly:
- Center the stem vertically and keep it straight. This promotes even water circulation through the grounds.
- Check that the stem’s opening is unobstructed and seated correctly. This allows heated water to rise efficiently.
- Place the coffee basket snugly on top of the stem. Avoid gaps so grounds don’t escape.
- Secure the lid tightly with the glass knob. This helps you monitor percolation without any leaks.
Getting the stem alignment just right means smooth water flow and a rich, balanced brew every time.
Basket Positioning Tips
Once you’ve positioned the stem correctly in the water chamber, focus on seating the coffee basket firmly and aligning it precisely with the stem. Make sure the stem fits snugly into the basket’s center to allow water to rise smoothly during brewing.
Avoid overpacking the basket. Use the right amount of coarsely ground coffee to maintain ideal water flow, which directly impacts your coffee aroma and brewing time.
Check that the stem’s opening remains unobstructed. Any blockage can disrupt consistent percolation. Proper basket positioning ensures even extraction and prevents leaks that could affect pressure and flavor.
Securing Components Correctly
Although it might seem straightforward, securing the stem and coffee basket correctly is essential for a flawless brewing process. Understanding this step honors the percolator history and refines your brewing techniques by ensuring *ideal* extraction.
Follow these steps carefully:
- Insert the vertical stem firmly into the water chamber, making sure it sits solidly at the bottom without any wobble.
- Place the coffee basket onto the stem’s top opening, aligning it to prevent leaks.
- Evenly fill the coffee basket with coarsely ground coffee, avoiding overflow or gaps.
- Secure the lid tightly to avoid spills during brewing.
Double-check that all components are firmly in place before heating. Proper assembly guarantees a smooth, rich coffee experience rooted in authentic percolator tradition.
Add Coffee Grounds Correctly
Because the quality of your brew depends heavily on the coffee grounds, you’ll want to use coarsely ground coffee that won’t slip through the percolator basket.
Measure about one heaping tablespoon per cup of water for balanced coffee flavor. Avoid packing the grounds too tightly; this guarantees proper water flow and prevents uneven extraction.
Make sure to distribute the coffee grounds evenly in the basket to maintain a consistent brewing temperature throughout. This is essential for extracting the best flavors.
Don’t overfill the basket, as that can clog the system and lead to over-extraction, resulting in bitterness.
Assemble Your Percolator for Brewing
Before you start brewing, make sure every component of your percolator is spotless and completely dry. This helps avoid any off-flavors or blockages. Paying attention to these details honors the rich percolator history and guarantees the purest coffee flavor.
Now, let’s assemble your percolator with precision:
- Insert the coffee basket filled with coarsely ground coffee into the upper chamber, making sure it sits securely.
- Place the vertical stem into the water chamber, aligning it perfectly with the basket.
- Secure the lid tightly so steam and water don’t escape during brewing.
- Check that the handle and moving parts are properly assembled and working well.
Following these steps will guarantee a flawless assembly and set the stage for an exceptional coffee experience.
Brew Percolator Coffee on the Stovetop
When you’re ready to brew, start by filling the water chamber with cold water up to the designated level, just below the spout or valve. Insert the coffee basket filled with coarsely ground coffee, making sure it sits securely.
Place the percolator on medium heat and cover tightly. As water percolates through the coffee grounds, you’ll hear bubbling sounds signaling the brewing process. It’s a classic part of the percolator’s charm.
Reduce heat to medium-low and brew for 4-7 minutes, crafting a rich coffee flavor unique to this method. You’re going to love how bold and satisfying it tastes.
| Anticipation | Aromatic Bliss |
|---|---|
| Warmth | Bold Flavor |
| Tradition | Satisfaction |
When to Remove the Percolator From Heat
As the rich aroma fills your kitchen, you’ll want to remove the percolator from heat once the coffee reaches your preferred strength, usually after 7 to 10 minutes of brewing. Timely removal is key for enhancing the coffee’s flavor and keeping your percolator in good shape.
Overheating risks over-extraction, which can make your coffee bitter.
To master this step, keep an eye on the coffee’s color. A rich, deep hue means it’s ready. Listen for a steady, gentle bubbling sound as a helpful clue.
Watch for a rich, deep color and steady bubbling to know when your coffee is perfectly brewed.
Using a timer can prevent over-brewing and help preserve that ideal taste.
When it’s time, carefully lift the percolator from heat to avoid burns and protect your equipment.
Follow these expert tips, and you’ll extract the perfect cup while making sure your percolator lasts.
How to Clean and Maintain Your Percolator
Although brewing your perfect cup is rewarding, cleaning and maintaining your percolator is just as essential for lasting performance and flavor integrity. After each use, disassemble all percolator accessories, including the coffee basket, stem, and water chamber. Wash them with warm, soapy water to prevent residue buildup.
If you notice stubborn stains or oil residues on metal surfaces, try using a solution of baking soda or vinegar mixed with water.
Regularly descale by boiling equal parts water and white vinegar inside the percolator to eliminate mineral deposits that affect taste.
Make sure to rinse everything thoroughly and dry completely before reassembling to avoid corrosion. Proper cleaning guarantees your coffee storage stays uncontaminated.
Plus, your percolator will deliver consistent, rich flavor every time you brew.
Tips for Perfect Percolator Coffee Every Time
Perfecting your percolator coffee goes beyond just cleaning; it requires attention to grind size, heat control, and timing. To consistently achieve flavor enhancement and highlight your favorite coffee variety, follow these expert tips:
Use coarsely ground coffee to avoid clogging and prevent bitterness from over-extraction. Brew between 7 to 10 minutes, adjusting time to match your taste preference for strength. Maintaining the right grind and brew time makes a big difference.
Keep your heat at medium-low and steady to ensure smooth cycling. This helps avoid burnt flavors that can ruin your coffee.
Also, watch the percolator’s water flow to guarantee consistent extraction and vibrant flavor.
With these simple steps, you’ll enjoy perfect percolator coffee every time. Give it a try and taste the difference!
Frequently Asked Questions
Can I Use a Percolator on an Electric Stove?
Yes, you can use a percolator on an electric stove, but make sure you maintain it properly for safety.
It’s helpful to understand a bit about the percolator’s history because it gives you a better appreciation of its design. When you’re brewing, use medium heat and keep an eye on it. This helps avoid any damage or bitterness in your coffee.
What Grind Size Is Best for Percolator Coffee?
You’ll want a grind consistency that’s charmingly coarse, think French press level, to balance coffee strength perfectly. This avoids over-extraction and clogging.
It lets your percolator brew a clean, rich cup full of nuanced flavors every time. Pretty great, right? Just the right grind makes all the difference.
How Long Does Percolated Coffee Stay Fresh?
You’ll enjoy peak coffee freshness right after brewing. Percolated coffee stays fresh for about 30 minutes at room temperature.
If you want to keep it longer, just refrigerate it in an airtight container. Try to consume it within 24 hours, though, to avoid losing flavor and getting bitterness.
Can I Use Flavored Coffee in a Percolator?
You can definitely use flavored beans in your percolator, but watch out. Coffee additives tend to intensify during brewing.
Make sure to clean your percolator thoroughly afterward to prevent any lingering flavors. This way, every cup stays pure and your percolator stays fresh for future brews.
Is a Percolator Suitable for Making Tea?
You shouldn’t use a percolator for tea preparation or herbal infusions. It’s designed for coffee’s high heat and cycling water.
Instead, use a teapot or kettle. These tools help you control steeping time and preserve delicate flavors perfectly.
Trust me, it makes a big difference in taste and aroma!
Conclusion
Using a percolator is like nurturing a slow-burning campfire. Patience transforms simple ingredients into rich, soulful coffee. Just like a fire rewards your careful tending, your percolator rewards precise water ratios and timing with bold, aromatic brews.
Remember, every great cup starts with clean equipment and the right touch. Master these steps, and you’ll consistently enjoy coffee that feels like a warm embrace. It’s brewed perfectly just for you.