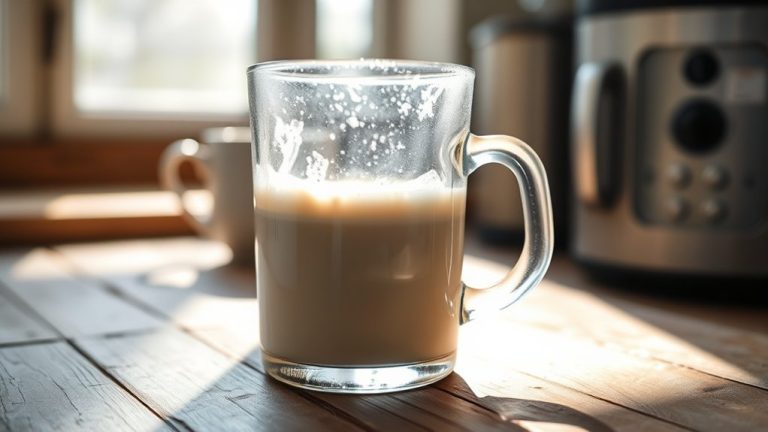
How To Make Foam For Coffee – Easy Frothing Methods At Home
To make perfect coffee foam at home, start by heating whole milk gently to about 140–155°F to preserve sweetness and proteins. Use a French press, a jar with a tight lid, or a whisk to froth. Pump or shake vigorously for around 30 seconds to create creamy, stable foam.
Skim and plant-based milks work too but may need extra care. Master these simple steps, and you’ll discover richer coffee textures and flavors. There’s more to explore for coffee foam perfection.
Key Elements of Perfect Coffee Foam at Home

Although creating perfect coffee foam may seem challenging, understanding a few key elements can make the process straightforward and enjoyable.
First, choosing the right coffee bean varieties impacts your espresso’s flavor, which forms the base for your foam. Opt for beans with a balanced profile and good crema potential, as this enhances foam texture and taste.
Next, mastering espresso extraction techniques is vital. You’ll want to ensure proper grind size, tamp pressure, and extraction time to achieve a rich, concentrated shot that supports stable foam.
A well-extracted espresso creates a solid foundation for your milk foam to blend seamlessly.
Which Milk Types Work Best for Frothing?
You’ll find that whole milk creates rich, creamy foam.
On the other hand, skim milk produces lighter, airier froth.
Different milk types also affect the texture and stability of your foam, so picking the right one really makes a difference.
Let’s explore which options give you the best results for your coffee.
Best Milk For Frothing
Which milk froths best to create that perfect, creamy foam for your coffee? Whole milk tops the list thanks to its balanced fat and protein content. It produces rich, stable foam with a smooth texture.
If you prefer milk alternatives, oat milk is a popular choice. It froths well and offers a naturally sweet, creamy consistency.
Almond and soy milks can foam too, but they often require specific frothing equipment and careful temperature control to avoid separation.
Remember, the quality of your frothing equipment also plays a vital role. A powerful steam wand or electric frother can make even challenging milk alternatives foam beautifully.
Milk Froth Texture Differences
When you froth milk, the texture of the foam really depends on the type of milk you choose. Different milks create varying milk texture and froth density. This impacts your coffee’s mouthfeel and appearance.
Whole milk gives you a creamy, dense froth thanks to its fat content. On the other hand, skim milk produces lighter, airier foam with higher froth density but less creaminess. Plant-based milks vary widely. Oat milk typically creates smooth, stable foam, while almond milk’s froth tends to be more delicate and less dense.
| Milk Type | Milk Texture & Froth Density |
|---|---|
| Whole Milk | Creamy texture, dense froth |
| Skim Milk | Light texture, high froth density |
| Oat Milk | Smooth texture, stable froth |
Tips for Heating Milk for Better Frothing
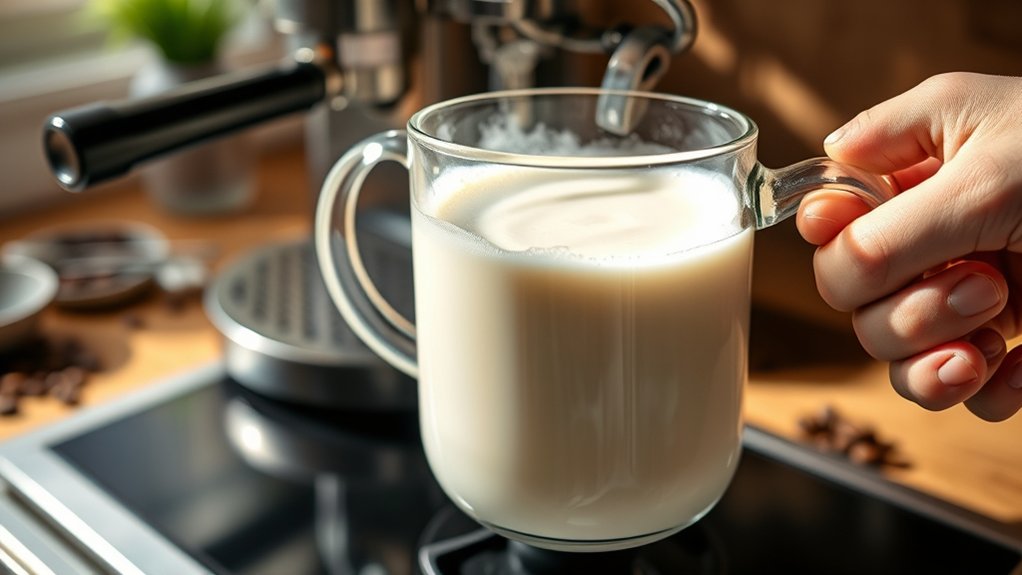
How hot should milk be for the perfect froth? Aim for a milk temperature between 140°F and 155°F (60°C to 68°C). Heating beyond this range can scald the milk, ruining its natural sweetness and messing with frothing consistency.
Use a thermometer or the touch test—warm but not hot—to avoid burning your milk. Milk proteins that create foam form best within this temperature range, helping you get a stable, velvety froth.
Also, avoid overheating since it breaks down these proteins and leads to weak foam. Heating gently and evenly keeps your milk’s texture smooth, giving you that rich, creamy froth that’s perfect for your coffee.
Mastering milk temperature is the key to consistent, quality foam every time you froth.
Froth Milk Without a Steamer
You don’t need an expensive steamer to get creamy milk froth at home. Honestly, with just a few simple household tools like a whisk, a jar, or even a French press, you can whip up rich, velvety foam without much hassle.
It’s pretty cool how these manual frothing methods can bring that café-quality texture right to your morning coffee. So, let’s dive in and see how easy it’s to make your own frothy milk!
Manual Frothing Techniques
Although electric steamers make frothing quick and easy, you can achieve rich, velvety foam manually with just a few simple tools. Manual frothing techniques not only enhance your coffee aesthetics but also give you full control over texture and density.
Key frothing tools include a French press, a handheld frother, and a milk jug.
| Technique | Tool Needed | Outcome |
|---|---|---|
| French Press | French press | Dense, creamy foam |
| Handheld Frother | Battery-operated | Light, airy texture |
| Whisking | Balloon whisk | Moderate foam |
| Jar Shaking | Mason jar | Quick, frothy milk |
Each method lets you tailor your foam’s thickness and creaminess. That way, you can perfect your homemade brew’s look and feel.
Using Household Tools
When a traditional milk steamer isn’t available, everyday household items can step in to create surprisingly good foam. You can use a French press by heating milk alternatives gently, then pumping the plunger vigorously to introduce air and generate froth.
Alternatively, a simple jar with a lid works well. Just pour warm milk alternatives inside, seal tightly, and shake vigorously until foam forms.
Whisking by hand or with a fork also works. It’s a bit more effort but effective. These household tools double as practical frothing accessories without requiring specialized equipment.
Remember, the temperature is vital. Heat your milk alternatives to around 140°F (60°C) for the best foam texture.
With these methods, you can enjoy rich, creamy foam for your coffee anytime. No steamer needed!
Make Coffee Foam With a French Press

If you want to create rich, velvety foam without specialized equipment, a French press offers a simple and effective solution. Beyond coffee extraction, this tool doubles as a frother. Here’s how to do it:
Pour warm milk into the French press, filling it no more than halfway to allow room for froth.
Pump the plunger vigorously up and down for about 30 seconds. This motion incorporates air, creating foam.
Let the foam settle for a few seconds, then gently pour the milk and foam into your coffee.
The French press’s mesh filter evenly aerates the milk, producing a creamy texture that complements your coffee extraction perfectly.
This method is quick, easy, and requires no extra gadgets. It’s a great way to get that café-style foam right at home without any fuss.
Give it a try!
Froth Milk With a Handheld Electric Whisk
Since a handheld electric whisk combines convenience with power, it’s an excellent tool for frothing milk quickly and efficiently.
Simply heat your milk or milk alternatives like almond, oat, or soy to around 140°F, then immerse the whisk just below the surface. Move it gently up and down to create rich, creamy foam.
The whisk’s rapid rotation introduces air evenly, producing a smooth texture ideal for lattes or cappuccinos. You can also add flavor infusions such as vanilla or cinnamon before frothing to enhance your coffee experience.
Remember, avoid overheating the milk to preserve natural sweetness and prevent scalding.
With this method, you get consistent foam without specialized equipment. It’s perfect for home baristas seeking quality and ease.
Froth Milk Using a Jar or Bottle
To froth milk with a jar or bottle, first pick one that has a tight lid and enough space for the milk to expand. It’s a good idea to warm your milk beforehand because that helps create a richer foam.
Once it’s warm, pour the milk into your jar or bottle, screw the lid on tightly, and shake it vigorously. The shaking is what gets the air in, giving you that nice, creamy froth.
If you get the hang of these simple steps, you’ll be able to make smooth, creamy froth without needing any fancy equipment. It’s pretty easy once you try it!
Choosing The Right Jar
How do you pick the perfect jar for frothing milk at home? Choosing the right jar is essential to complement your coffee bean quality and brewing method. A well-selected jar guarantees ideal foam texture and ease of use.
Consider these factors:
- Size: Pick a jar that holds twice the volume of milk you intend to froth. This allows room for expansion and creates airy foam.
- Material: Glass jars are ideal. They withstand heat, are non-reactive, and let you monitor the frothing process.
- Seal and Shape: Choose a jar with a tight lid and a wide mouth. The seal keeps air in while shaking, and the wide mouth makes cleaning and pouring milk easier.
With the right jar, you set the stage for perfect foam every time. It really enhances your coffee experience.
Shaking Techniques For Froth
Once you’ve selected the perfect jar, it’s time to master the shaking technique that creates rich, velvety froth.
Pour cold milk into the jar—fill it only halfway to allow space for expansion. Screw the lid on tightly to prevent spills.
Now, shake the jar vigorously for about 30 seconds, using quick, controlled movements. This agitation introduces air, forming tiny bubbles that increase foam volume.
To boost foam stability, shake consistently without pauses, ensuring even aeration.
After shaking, let the jar sit for a few seconds to let the foam settle and thicken.
Using these shaking techniques, you can achieve a creamy, dense froth suitable for your coffee.
Heating Milk Before Frothing
Although shaking cold milk creates good foam, gently heating it beforehand improves texture and flavor dramatically. When you heat milk before frothing using a jar or bottle, you enhance both milk temperature control and frothing accuracy. This results in creamier, more stable foam.
Aim for a milk temperature between 140°F and 155°F. Too hot, and you risk burning; too cold, and the foam won’t hold well.
Follow these steps for best results:
- Warm the milk gently on the stove or microwave, checking with a thermometer.
- Pour the milk into a jar or bottle, leaving space for expansion.
- Shake vigorously for 30-60 seconds until you achieve thick, velvety foam.
This method balances precise temperature control with effective frothing. It’s perfect for homemade coffee.
Fix Common Milk Frothing Problems
If your milk isn’t frothing properly, you’re likely facing one of several common issues that can be easily corrected. Milk alternatives like almond or oat milk sometimes produce less foam, so choose barista blends designed for frothing.
Also, avoid overheating milk. Keep it below 150°F to maintain the protein structure that’s essential for good foam. Flavor infusions like vanilla or cinnamon should be added after frothing to prevent the foam from collapsing.
Here’s a quick guide to troubleshoot:
| Problem | Cause | Solution |
|---|---|---|
| No foam | Milk too warm or cold | Heat milk to 140-150°F |
| Foam collapses | Overheating or agitation | Use gentle frothing motions |
| Thin foam | Using non-frothing alternatives | Try barista-style milk alternatives |
| Foam too bubbly | Too much air incorporated | Froth slower, with controlled motion |
| Off flavor | Adding flavor before frothing | Add flavor infusions after frothing |
Creative Coffee Drinks With Milk Foam
When you master the art of frothing milk, you open endless possibilities for creative coffee drinks that elevate both flavor and presentation. Milk foam isn’t just about texture. It’s your canvas for coffee art and a medium for flavor infusion.
Here are three ways to get inventive:
- Top your espresso with a thick foam layer, then dust cocoa or cinnamon for added aroma.
- Create layered drinks by pouring frothed milk slowly, letting foam sit on top. This enhances visual appeal and taste.
- Experiment by adding flavored syrups to the milk before frothing. This way, you infuse unique tastes right into the foam.
Storing and Reheating Frothy Milk
Since milk foam tends to lose its texture quickly, you’ll want to store and reheat it carefully to maintain its creamy consistency.
For effective milk preservation, keep frothy milk in an airtight container in the refrigerator and use it within 24 hours. Avoid freezing, as ice crystals can ruin the foam’s structure.
When reheating, gentle techniques matter. Use a microwave at low power in short bursts or warm it slowly on the stovetop over low heat. Stir gently to restore some volume without breaking down the foam entirely.
Avoid boiling, which damages the proteins responsible for froth. By following these reheating techniques and proper storage, you can extend the usability of your frothy milk while preserving its rich texture.
It’s perfect for that next cup of coffee.
Frequently Asked Questions
What Is the History of Milk Frothing in Coffee Culture?
Milk frothing techniques date back to the early 20th century when baristas started experimenting with steam wands, a key historical coffee innovation.
You’ll find that these frothed milk techniques evolved to create creamy textures enhancing espresso drinks like cappuccinos.
As coffee culture spread, you’ve seen frothing become an art form, blending science and creativity.
Understanding this history helps you appreciate the skill behind every silky foam topping your coffee.
Can Non-Dairy Creamers Be Frothed for Coffee?
Yes, you can froth non-dairy creamers, especially plant-based alternatives like oat, almond, or soy milk. These options are great for dairy-free frothing but require a bit of technique since their protein and fat content differ from dairy milk.
You’ll get the best foam by choosing barista blends designed for frothing and using steam or a frother.
Experiment with temperature and frothing time to achieve that creamy, airy texture you want.
Give it a try and see what works best for your favorite coffee!
How Does Altitude Affect Milk Frothing?
Altitude effects can seriously impact your milk frothing experience. At higher elevations, lower atmospheric pressure means water boils at a lower temperature. This can cause your milk to heat unevenly or too quickly, leading to frothing challenges.
You’ll need to adjust your technique. Froth at slightly cooler temperatures and pay close attention to the milk’s texture.
Mastering this will help you create that perfect foam, no matter how high you’re above sea level.
Are There Any Health Benefits to Drinking Frothed Milk?
Yes, drinking frothed milk offers nutritional benefits since it retains all the vitamins, calcium, and protein found in regular milk. The frothing process introduces air, making it lighter and easier on your stomach, which can help improve digestion.
Plus, the creamy texture can encourage you to consume more milk, boosting your intake of essential nutrients. Just remember to choose milk types that suit your dietary needs for the best health impact.
What Equipment Brands Are Best for Frothing Milk?
You’ll want to check out brands like Breville, Nespresso, and Aerolatte for reliable frothing equipment. They help you control milk temperature precisely, which is key for silky foam.
Mastering frothing techniques with these tools ensures consistent microfoam, perfect for your coffee.
Each brand offers various designs, so pick one that suits your style. With the right equipment, you’ll elevate your coffee game and enjoy creamy, well-textured foam every time.
Conclusion
Mastering coffee foam at home is easier than you think. Did you know that 85% of coffee lovers say well-frothed milk considerably enhances their experience?
By choosing the right milk and using simple tools like a French press or jar, you can create café-quality foam without expensive equipment. With a bit of practice, you’ll enjoy creamy, velvety coffee drinks anytime.
You’ll impress yourself and your guests with every cup. Keep experimenting and savor the frothy perfection!