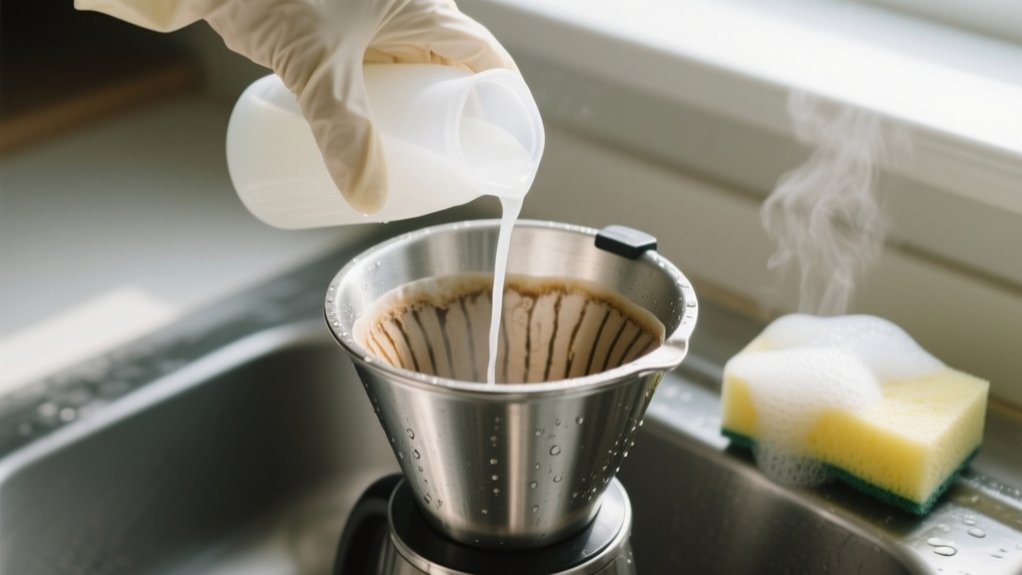
How To Clean Inside Of Coffee Maker – Step-By-Step Guide
To clean the inside of your coffee maker, start by emptying the carafe and removing any used grounds. Mix equal parts white vinegar and water, then pour the solution into the water chamber.
Begin a brew cycle but pause halfway to let the mixture soak for an hour. Finish brewing and discard the solution. Rinse by running 2-3 water-only cycles, then wash removable parts with soapy water.
Wipe the exterior dry, reassemble, and your machine will be fresh and ready. Keep going to uncover handy maintenance tips.
Get Your Supplies Ready and Prep the Coffee Maker
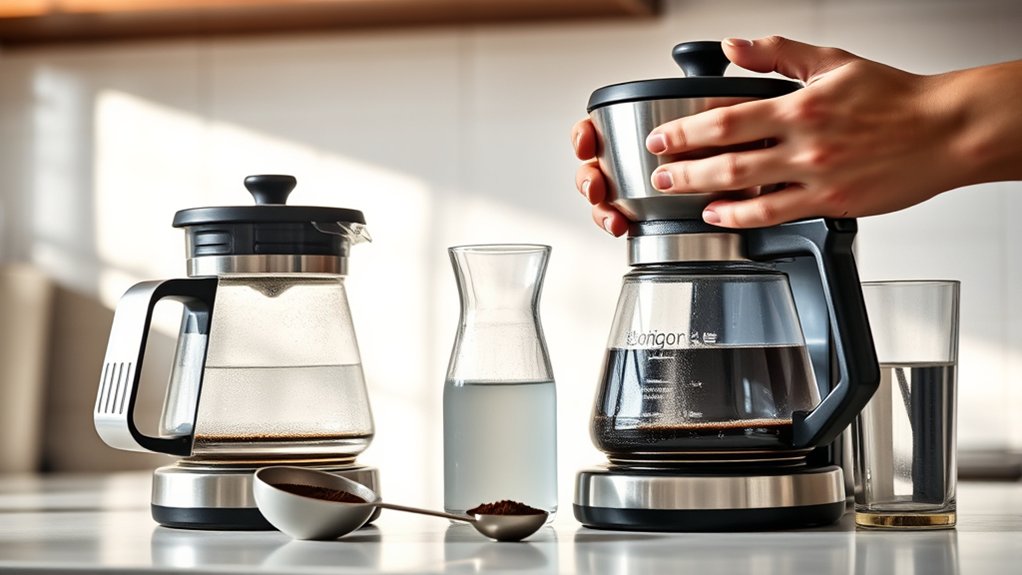
Before you plunge into cleaning, make certain you’ve emptied the coffee carafe and tossed any used grounds.
Next, rinse the carafe thoroughly with warm water to wash away leftover coffee oils and debris.
Now, gather your cleaning supplies: white vinegar, water, hot soapy water, a sponge, and towels for drying.
Essential supplies include white vinegar, water, hot soapy water, a sponge, and towels for drying.
To prep the coffee maker, unplug it and remove any detachable parts like filters or baskets.
For effective descaling, mix equal parts white vinegar and water in the carafe. This solution will break down mineral buildup inside your machine.
Having everything ready guarantees a smooth cleaning process and keeps your coffee maker running efficiently.
Taking these prep steps will save you time and help your coffee taste great every time.
Empty the Carafe and Remove Used Coffee Grounds
Start by pouring out any leftover coffee from the carafe to prevent stale flavors from affecting your next brew.
Next, empty the carafe completely and rinse it with warm water to remove residual coffee oils that can alter taste.
If your coffee maker has a removable filter basket, take it out and discard the used coffee grounds carefully.
Leaving grounds in the filter basket can cause bitterness and mold growth, so make certain it’s clean.
Rinse the filter basket thoroughly to maintain hygiene and prepare it for your next brew.
Regularly emptying the carafe and removing used coffee grounds not only keeps your coffee maker hygienic but also guarantees your coffee tastes fresh every time.
This simple step is key to a better coffee experience.
Mix Vinegar and Water Cleaning Solution for Your Coffee Maker
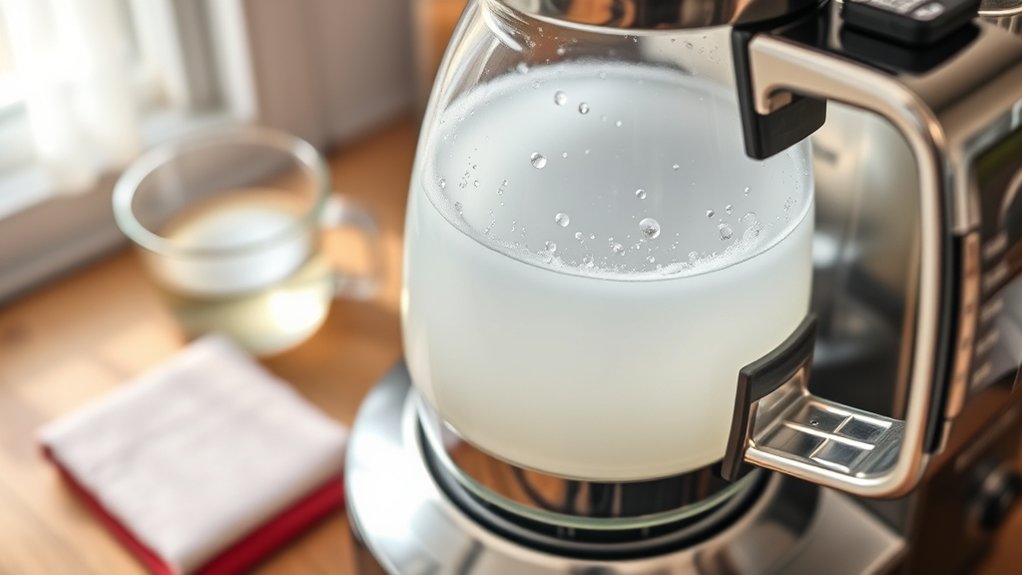
To clean your coffee maker effectively, mix equal parts of white vinegar and water in the carafe until well combined. This simple cleaning solution acts as a natural descaler, breaking down mineral buildup and eliminating odors inside your coffee maker.
Mix equal parts white vinegar and water to naturally descale and deodorize your coffee maker effectively.
Once mixed, pour the vinegar and water solution into the water chamber. This step is essential to guarantee the cleaning agents reach all internal parts.
Using this mixture regularly not only keeps your coffee maker fresh but also improves the taste of your coffee and extends the appliance’s lifespan.
Remember, the key is to mix the right proportions so the solution works efficiently without harming your machine.
This natural, easy-to-make cleaning solution is a smart way to maintain your coffee maker.
Start Brewing and Pause Halfway to Let the Solution Soak
Once you’ve poured the vinegar and water solution into the coffee maker’s water chamber, turn on the brew cycle.
Let the solution start flowing through the machine, then pause the brew cycle halfway. This pause is essential because it allows the solution to sit inside the coffee maker, breaking down stubborn mineral deposits and buildup.
By soaking mid-cycle, you guarantee a deeper clean that running a full cycle alone can’t achieve.
After letting the solution sit for the recommended time, resume and complete the brew cycle. This flushes out loosened deposits and the remaining vinegar solution.
Finally, discard the used solution and run several fresh water brew cycles to rinse the coffee maker thoroughly.
This step ensures your coffee maker is clean and free of any lingering vinegar taste.
Let Vinegar Solution Sit Inside the Machine for 1 Hour
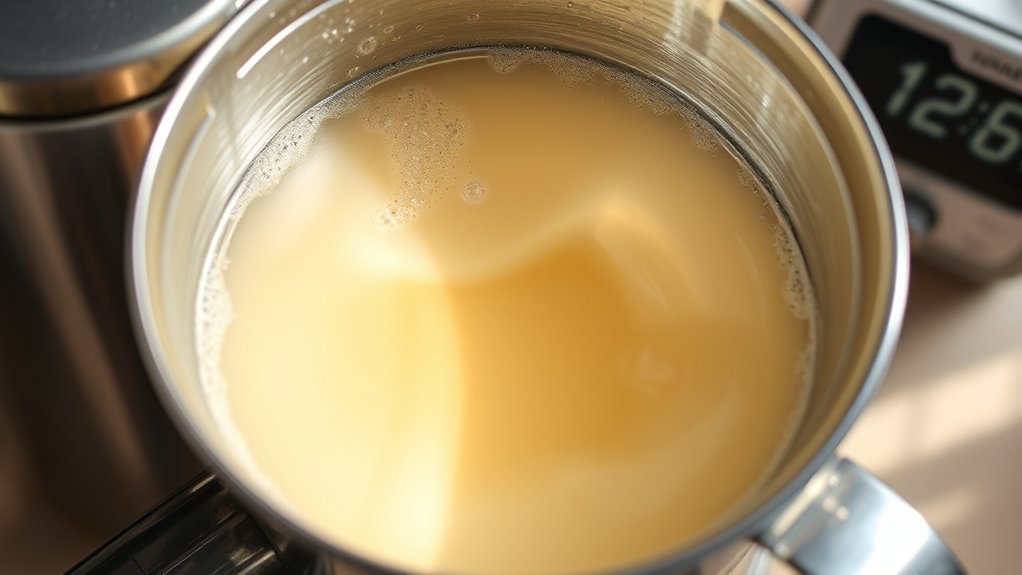
While the brew cycle is paused, let the vinegar solution sit inside your coffee maker for a full hour. This step is essential to break down stubborn mineral deposits and residue that can affect the flavor of your coffee.
Here’s what to do next:
- Allow the vinegar solution to work its magic, dissolving buildup inside the machine.
- Avoid starting the brew cycle until the hour is complete to maximize cleaning power.
- After an hour, resume and complete the brew cycle to flush out the loosened deposits.
- Discard the used vinegar solution and thoroughly rinse the machine to remove any lingering vinegar taste.
Taking this time guarantees a clean coffee maker and better tasting coffee every time you brew.
Complete the Brew Cycle and Discard the Cleaning Solution
Restart your coffee maker to complete the brew cycle, letting the vinegar solution fully pass through the system. This helps break down mineral buildup and flush out odors.
Once the cycle finishes, discard the cleaning solution from the carafe and water chamber. Be sure to rinse the carafe thoroughly with fresh water to remove any lingering vinegar taste.
| Step | Tip |
|---|---|
| Complete the brew cycle | Let solution fully pass through |
| Discard the cleaning solution | Empty carafe and water chamber |
| Rinse the carafe | Use fresh water to avoid residue |
Following these steps guarantees you effectively clean a coffee maker and prepare it for the next rinse cycles.
Rinse Your Coffee Maker With 2-3 Fresh Water Brew Cycles
After discarding the vinegar cleaning solution, you’ll want to rinse your coffee maker thoroughly to remove any lingering taste.
Here’s how to flush out the cleaning solution with fresh water brew cycles:
- Fill the water reservoir with fresh water only, no coffee or vinegar.
- Start a full brew cycle to rinse the internal parts and flush out any leftover cleaning solution.
- Once done, empty the carafe and repeat the process 2 more times to guarantee all vinegar residue is gone.
- Let the machine cool between cycles to avoid damage and help prevent mineral buildup.
Doing 2-3 fresh water brew cycles keeps your coffee maker clean and tasting great by effectively rinsing away leftover cleaning solution and mineral buildup.
Wash the Carafe and Filter Basket With Warm, Soapy Water
First, wash your carafe and filter basket using warm, soapy water to get rid of any coffee oils and residue.
Be sure to scrub every corner thoroughly. Then, rinse everything well so you don’t end up with any soap taste.
Keeping these parts clean regularly helps your coffee stay fresh and your machine run smoothly.
Proper Cleaning Techniques
To properly clean your coffee maker, start by thoroughly washing the carafe and filter basket with warm, soapy water. Follow these steps for the best results:
- Empty the coffee carafe and remove any used grounds to prevent buildup.
- Rinse the carafe and filter basket with warm water to wash away coffee oils.
- Use a sponge or soft cloth dipped in warm soapy water to gently scrub all surfaces, focusing on stained areas.
- Rinse both pieces thoroughly with clean water to remove all soap residue before reassembling.
Benefits of Regular Washing
Keeping the carafe and filter basket clean with warm, soapy water does more than just maintain their appearance. It directly improves your coffee’s flavor and your machine’s performance.
Regular washing prevents coffee oils and residue from building up, which can otherwise alter taste and cause unpleasant odors. By committing to daily cleaning, you eliminate germs and bacteria that thrive in moist parts of your coffee maker, ensuring a healthier brew every time.
This simple step helps clean the whole system more effectively, enhancing flavor and freshness.
Plus, consistent care extends your coffee maker’s lifespan, saving you money in the long run.
Make regular washing part of your routine to enjoy better-tasting coffee and a machine that works smoothly day after day.
Wipe the Exterior Clean and Reassemble Your Coffee Maker
First, unplug your coffee maker.
Then, take a soft cloth dipped in warm, soapy water and gently wipe down the exterior. If your machine has stainless steel parts, be sure to clean them with the grain to avoid scratches.
Once you’ve wiped everything, dry and polish all the surfaces using a soft, dry cloth. This helps prevent water spots and keeps your coffee maker looking shiny.
Finally, before putting everything back together, double-check that all removable parts are completely dry. This will help your coffee maker run smoothly every time.
Exterior Cleaning Techniques
Two simple steps will help you keep your coffee maker’s exterior spotless and functional. Start by unplugging the machine to guarantee safety while cleaning the exterior of your coffee maker.
Then, follow this easy routine:
- Dampen a soft cloth with warm soapy water and gently wipe all glass and stainless steel surfaces.
- Use a sponge to clean the warming plate thoroughly, removing any coffee drips or stains.
- Dry every surface with a clean, soft cloth to avoid water spots and preserve the finish.
- Reassemble all removable parts securely before plugging your coffee maker back in for use.
Drying and Polishing
Once you’ve wiped down the exterior and cleaned the warming plate, it’s time to focus on drying and polishing your coffee maker. Use a damp cloth or dish towel to gently remove any leftover residue or stains from the exterior surfaces.
If your coffee maker has stainless steel parts, apply a stainless steel conditioner and wipe along the grain to keep it looking shiny and new.
Make sure all removable components, like the carafe and filter basket, are completely dry before reassembling to prevent moisture buildup and mold growth.
Finally, use a dry dish towel to give the exterior a final polish, enhancing its overall appearance. Proper drying and polishing after cleaning help maintain your coffee maker’s function and look.
Proper Reassembly Steps
Before putting your coffee maker back together, make sure every removable part is completely dry to prevent moisture buildup and mold.
Next, wipe down the exterior of your coffee maker with a damp cloth to remove stains and residue for a fresh look.
Then, carefully reassemble the unit by following these steps:
- Reattach the filter basket and carafe, ensuring they’re securely in place to avoid leaks.
- Check seals and all removable parts for damage or wear to maintain peak performance.
- Place the warming plate and control panel components back correctly.
- Plug in your coffee maker and verify everything fits snugly and functions properly.
Taking these steps guarantees your coffee maker runs smoothly and stays clean longer.
Frequently Asked Questions
Can I Use Lemon Juice Instead of Vinegar to Clean My Coffee Maker?
Yes, you can use lemon juice as a vinegar alternative to clean your coffee maker.
Lemon benefits include natural acidity that helps dissolve mineral buildup, offering effective cleaning with the added bonus of citrus freshness and odor removal.
While lemon juice might be less powerful than vinegar for heavy deposits, it’s a great natural cleaner.
Just mix equal parts lemon juice and water, run a brew cycle, and rinse thoroughly for best results.
How Often Should I Descale My Coffee Maker for Best Performance?
Just like clockwork, you should descale your coffee maker every six months for good descaling frequency.
But if your water quality is hard or you brew daily, monthly works best.
Using cleaning solutions like equal parts vinegar and water keeps mineral buildup away, improving coffee taste and preventing clogs.
Regular maintenance tips include watching for slow brewing or off flavors since neglecting this impacts performance.
Stay consistent, and your coffee will always taste great!
Is It Safe to Clean a Coffee Maker With Bleach or Other Chemicals?
You shouldn’t use bleach or harsh chemicals to clean your coffee maker because they can harm the machine and affect coffee flavor.
Instead, choose bleach alternatives like vinegar or baking soda for chemical safety.
To prevent mold and maintain great taste, clean your coffee maker regularly, following maintenance tips and cleaning frequency guidelines.
This keeps your coffee fresh and your machine working smoothly without risking damage or health concerns.
What Should I Do if My Coffee Maker Has a Mold Smell After Cleaning?
If your coffee maker has a mold smell after cleaning, run a brew cycle with equal parts water and white vinegar to eliminate odors.
Soak removable parts in warm, soapy water for at least 30 minutes. Rinse thoroughly with fresh water cycles.
For vinegar alternatives, try baking soda mixed with water.
Follow mold prevention tips by inspecting parts regularly, sticking to cleaning frequency guidelines, and using safe cleaning solutions to maintain your coffee maker and prevent odors.
Can I Run a Cleaning Cycle if My Coffee Maker Has a Water Filter?
Running a cleaning cycle with a water filter is like trying to polish a window through a curtain. It can block cleaning solutions like vinegar alternatives from fully reaching mineral deposits.
You can run a cleaning cycle, but check your manufacturer’s maintenance tips first.
Often, it’s best to remove the filter to protect it and maintain brewing efficiency.
Always replace the water filter afterward to keep coffee taste fresh and water quality ideal.
Conclusion
Cleaning your coffee maker is like giving your morning brew a fresh start. Clear, pure, and ready to energize your day. By following these simple steps, you’ll keep your machine running smoothly and your coffee tasting great.
Remember, a clean coffee maker isn’t just about hygiene. It’s about savoring every cup. Make it a regular habit, and you’ll enjoy the perfect brew every time because great coffee starts with a clean machine.