How Do You Roast Your Own Coffee Beans – Beginner’s Guide
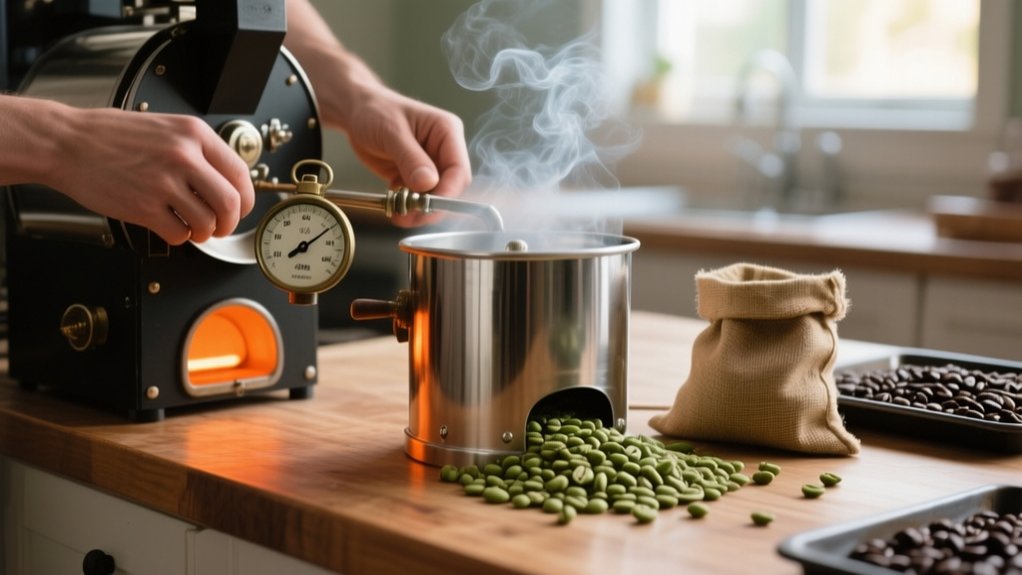
To roast your own coffee beans, start by sourcing quality green beans from a reputable vendor and storing them in a cool, airtight container. Use a simple roaster like an oven or popcorn maker, preheated to around 400-500°F.
Roast about half a cup while monitoring color and sound changes, like the first crack near 393°F. Cool beans quickly and let them rest to develop flavors.
As you get comfortable, you’ll discover how to customize roast levels and enhance your coffee experience.
Why Roast Coffee Beans at Home
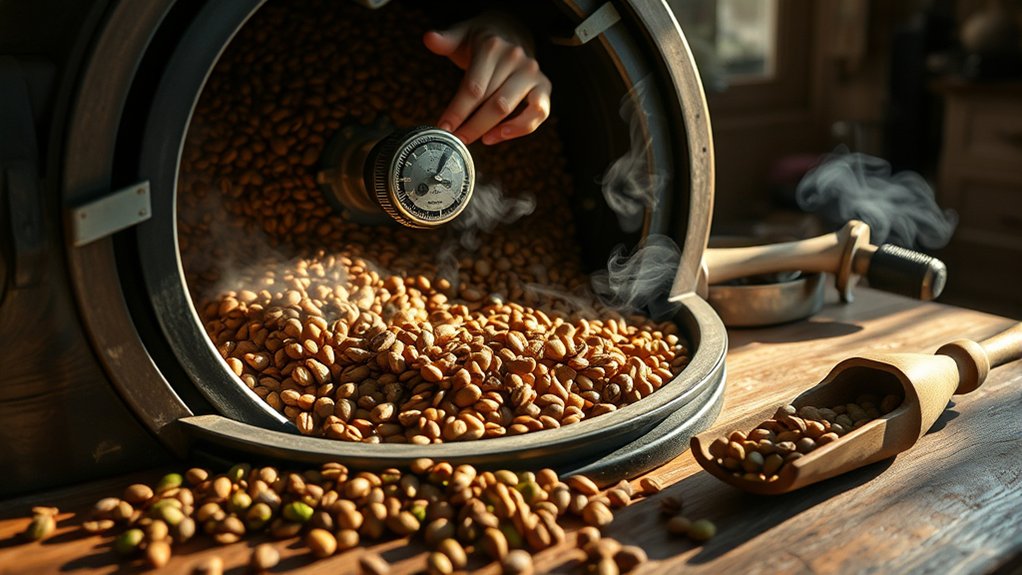
Although you can easily buy roasted coffee, roasting your own beans at home reveals a level of freshness and flavor you won’t find in store-bought options.
Home coffee roasting lets you work with green coffee beans that stay fresh longer and cost less than pre-roasted ones.
Roasting at home means using green beans that last longer and are more affordable than pre-roasted coffee.
By roasting at home, you gain full customization, adjusting roast levels from light to dark to match your taste perfectly.
This hands-on process unveils superior flavor, as freshly roasted beans deliver richer, more nuanced notes than anything from a store shelf.
Plus, home roasting transforms your coffee routine into an engaging hobby, allowing you to explore different origins and craft unique blends.
Embracing home coffee roasting means enjoying coffee exactly the way you want it—fresh, flavorful, and personal.
Choosing Your First Home Coffee Roaster
Where should you start when choosing your first home coffee roaster? Begin by considering your budget and roasting needs. For a budget-friendly option, you might try basic tools like an oven or popcorn maker to get a feel for the process.
However, dedicated entry-level roasters, such as those from Fresh Roast or Behmor, offer better temperature control and even heat distribution, which are essential for consistent results.
Think about how much coffee you want to roast at once. A smaller roaster suits personal use, while larger models work better for bulk roasting.
Starting with an affordable roaster lets you learn from initial mistakes without a big investment. This helps you build confidence and refine your technique before upgrading your equipment.
Where to Find Quality Green Coffee Beans
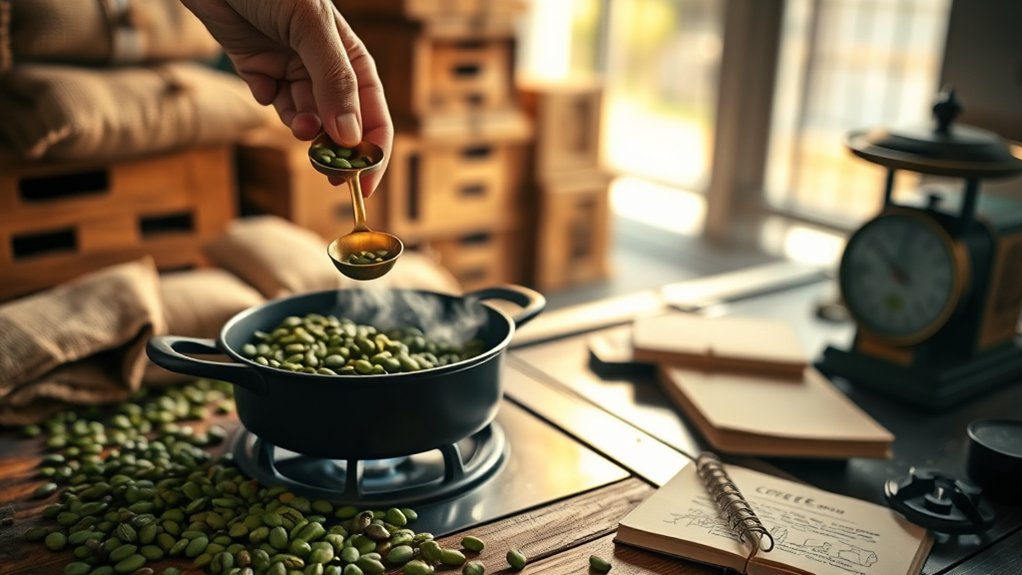
Wondering how to find the best green coffee beans for roasting at home? Start with reputable sources like Sweet Maria’s, known for quality coffee and a wide selection of green beans.
Pay close attention to the flavor profile tied to each origin. Ethiopian beans, for instance, offer fruity notes that can elevate your roast.
Buying in bulk saves money and guarantees you have fresh beans ready. Here’s a quick guide to help you choose:
| Source | Bean Origin |
|---|---|
| Sweet Maria’s | Ethiopia |
| Sweet Maria’s | Colombia |
| Sweet Maria’s | Brazil |
| Local Roasters | Various |
| Online Marketplaces | Various |
Selecting your beans based on flavor profile helps tailor your roasting experience perfectly.
How to Store Green Coffee Beans Properly
To keep your green coffee beans fresh, try storing them in a cool, dry spot—somewhere away from direct sunlight and moisture. That way, they won’t lose their quality too quickly.
It’s best to use airtight containers made from glass or food-grade plastic to prevent oxidation. This really helps maintain the beans’ freshness.
Also, don’t forget to label your containers with the purchase date. This way, you can keep track and aim to use the beans within a year for the best roasting results. It makes a noticeable difference in flavor!
Ideal Storage Conditions
Properly storing your green coffee beans is essential to preserving their freshness and flavor for up to two years. Keep your beans in a cool, dry place away from direct sunlight.
Use airtight containers made from unreactive materials like glass with plastic lids to prevent oxygen exposure while allowing gas release. Maintain a consistent temperature between 60°F and 70°F. Avoid refrigerators or freezers, as fluctuating temperatures damage quality.
Label and date your containers to track freshness effectively.
| Storage Tip | Recommendation |
|---|---|
| Location | Cool, dry place |
| Container Type | Airtight, unreactive materials |
| Temperature Range | 60°F to 70°F |
| Labeling | Date and track freshness |
Proper green bean storage guarantees your coffee beans stay vibrant until you’re ready to roast.
Avoiding Moisture Exposure
Although green coffee beans can last up to two years when stored correctly, exposure to moisture can quickly degrade their quality.
Controlling moisture content is essential to preserving the flavor and freshness of your unroasted coffee. To avoid this, you need airtight containers that block humidity and oxygen from reaching your green coffee beans.
Keep these tips in mind:
- Store beans in a cool, dry place away from sunlight and humidity.
- Use airtight containers made from glass or food-grade plastic.
- Avoid areas with fluctuating temperatures to prevent condensation.
- Keep beans sealed in original packaging or breathable bags that release gas but block moisture.
Long-Term Freshness Tips
When you want to keep your green coffee beans fresh for the long haul, storing them in the right conditions is key. Always use airtight containers made from unreactive materials like glass or ceramic to protect your beans from oxygen exposure.
Store these containers in a cool dry place, ideally between 60-70°F, away from sunlight and moisture. This helps maintain their flavor and guarantees long-term freshness for up to 1-2 years.
Avoid the fridge or freezer, as temperature changes can cause moisture buildup and degrade quality.
Don’t forget to label and date your containers, so you can track freshness and use the beans within their ideal timeframe.
Proper storage preserves the unique taste of your coffee right up to roasting day.
Preparing Your Coffee Roaster for the First Batch
Before roasting your first batch, you’ll want to make sure your roaster is clean and set up in a well-ventilated area. This helps handle smoke and odors safely.
It’s a good idea to preheat the roaster according to the manufacturer’s guidelines—usually somewhere between 400 and 500°F. That way, you’re starting at just the right temperature.
Also, take some time to get familiar with your roaster’s controls. Making precise adjustments can really help you get the best results.
Roaster Setup Tips
Setting up your coffee roaster properly is key to achieving a perfect first batch. Before you start roasting, follow these essential roaster setup tips to guarantee everything runs smoothly.
First, preheat the roaster as recommended. This helps maintain consistent temperature.
Next, measure green beans carefully—around 1/2 cup (75 grams) is ideal for your initial batch to get even roasting.
Choose a well-ventilated spot to manage smoke and odors effectively.
Finally, prepare your cooling tools, like a colander or cooling tray, to cool the beans quickly once roasting is complete. This preserves the flavor and stops the roast.
- Preheat the roaster to the right temperature
- Measure green beans precisely
- Set up in a ventilated area
- Have cooling tools ready and accessible
Preheating Guidelines
Properly heating your coffee roaster lays the foundation for a successful roast. Start by preheating your roaster to about 500°F (260°C) to guarantee even roasting and ideal flavor development. Let it run for 5-10 minutes before adding your green beans to stabilize the temperature.
Always monitor the temperature with a thermometer and check your roaster’s manual for specific guidelines. Proper ventilation during preheating is essential to manage smoke and odors.
| Step | Details |
|---|---|
| Temperature | Preheat to 500°F (260°C) |
| Duration | 5-10 minutes before adding beans |
| Ventilation | Maintain good airflow to reduce smoke |
Following these preheating guidelines helps you achieve a consistent roast right from your first batch.
Safety Precautions
Although roasting coffee at home can be a rewarding experience, you need to prioritize safety to protect yourself and your surroundings. Taking proper safety precautions guarantees a smooth roasting process and prevents accidents.
Before starting, make sure your roasting area is well-ventilated to avoid smoke buildup. Always wear heat-resistant gloves when handling hot equipment or beans to prevent burns. Keep a fire extinguisher nearby and know how to use it in case of emergencies.
Moreover, remove flammable materials from the roasting vicinity to reduce fire risks.
- Confirm your workspace is well-ventilated
- Wear heat-resistant gloves during handling
- Keep flammable items at least three feet away
- Have a fire extinguisher within reach and know its operation
These steps help you roast safely and confidently.
Step-by-Step Coffee Roasting Guide
Roasting coffee beans begins with selecting about half a cup of high-quality green beans that have been stored in a cool, dry place.
Preheat your roasting method, like a pan or popcorn popper, to around 500°F to kickstart the roasting process.
Add the beans and continuously stir or monitor them closely.
Watch for color changes and key temperature stages: the yellowing phase at 327°F and the first crack near 393°F, which signals a light roast.
Depending on your preference, you may stop here or continue roasting.
Once you’ve reached your desired roast, quickly cool the beans in a colander to halt roasting and allow de-gassing.
Keep detailed notes on times and temperatures to perfect your technique for consistent, delicious coffee roasts.
Recognizing Coffee Bean Roast Stages
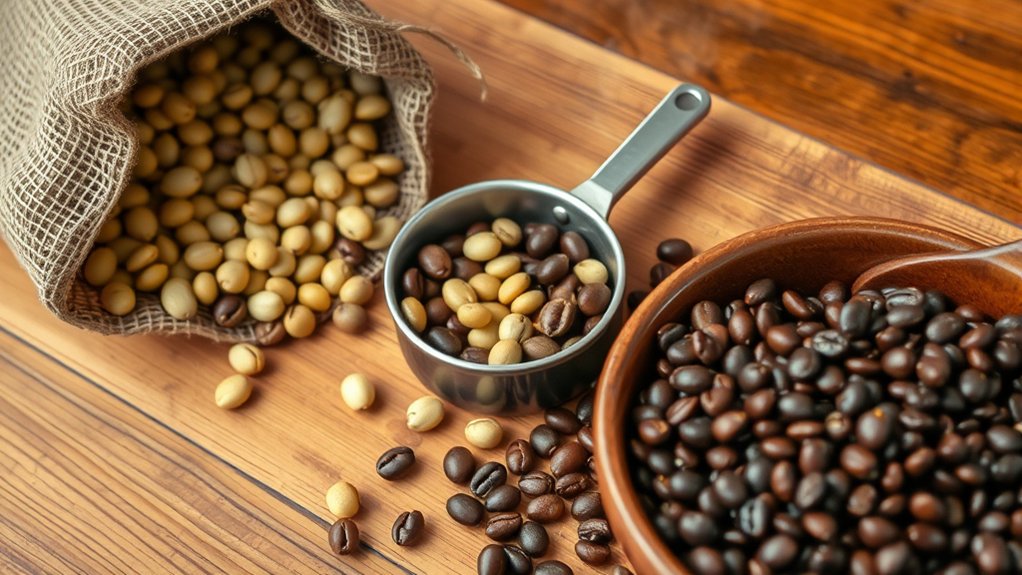
When you watch your coffee beans change through different roast stages, you’ll gain a better sense of flavor development and control.
The yellowing stage is your first visual sign, occurring around 327°F as beans lose moisture and shift to yellow.
Next, listen for the first crack near 393°F, marking the move to medium roast and sweeter flavors.
As heat climbs, the second crack starts around 444°F, signaling darker roasts with deeper aromas.
Understanding these stages helps you tailor your roast level perfectly.
- Yellowing stage: moisture loss and color change
- First crack: beans expand, sweetness develops
- Second crack: darker roast flavors emerge
- Roast level: timing between stages shapes taste
Master these cues to craft your ideal coffee profile.
How to Cool and Store Roasted Coffee Beans
Two essential steps follow roasting your coffee beans: cooling and storing them properly to preserve their flavor.
Start by transferring the hot beans to a cooling tray or colander to stop the roast quickly. Aim to cool them below 40°C within 4 minutes. This halts further cooking and locks in flavor.
Once cooled, store your beans in airtight containers made from unreactive materials to protect them from oxygen, light, and moisture, which can degrade freshness.
Remember to let the beans rest for at least 24 hours during the degassing period so the flavors can develop fully.
Keep your containers in a cool, dark place, and avoid grinding beans until brewing.
Label and date your containers to enjoy peak flavor within 5-7 days.
When and How to Taste Freshly Roasted Coffee
You’ll want to wait about 12 to 36 hours after roasting before tasting your coffee. This gives the gases time to escape and the flavors a chance to settle.
Also, how you cool and store your beans matters a lot. Ideally, keep them in airtight containers, away from light and moisture, to preserve freshness and taste.
When you’re cupping, really pay attention to the aroma and all the subtle flavor notes. That way, you can get a true feel for your roast’s unique profile.
Optimal Cupping Time
Although it might be tempting to taste freshly roasted coffee right away, you’ll get a much clearer sense of its true flavors by waiting between 12 to 36 hours after roasting. This ideal cupping time lets the gases released during roasting dissipate, stabilizing the flavor and aroma.
Tasting too soon can give you an overly smoky impression, masking the coffee’s nuances.
To make the most of your cupping experience, remember:
- Wait at least 12 hours but no more than 36 for ideal flavor.
- Use airtight containers away from light and moisture for proper storage conditions.
- Focus on sensory techniques like sniffing and slurping to identify flavor notes.
- Brew your coffee within 4 to 28 days post-roast for peak freshness.
Following these steps helps you appreciate the true profile of your freshly roasted beans.
Cooling Impact on Flavor
Understanding how to cool your roasted coffee beans quickly and properly plays a key role in preserving their flavor. Rapid cooling stops the roast, locking in the desired flavor profile by bringing the beans below 40°C within minutes.
After cooling, letting the roasted beans rest for 12-36 hours is essential. This resting period allows gases to escape, stabilizing flavors and enhancing freshness for a balanced taste. Tasting too soon can lead to sharp, smoky notes from residual gases.
Here’s what you can expect as you master cooling and tasting:
| Cooling Speed | Flavor Impact |
|---|---|
| Rapid (<4 min) | Preserves sweetness |
| Slow (>10 min) | Bitter, flat notes |
| Immediate tasting | Harsh, smoky flavor |
| Post-rest tasting | Balanced, rich flavor |
Storage Effects on Freshness
Because freshly roasted coffee beans continue to evolve after cooling, when and how you store them directly affects their flavor and aroma. To preserve your roasted coffee’s freshness, you should wait 12-36 hours before brewing to let gases escape and flavors develop.
After that, store your beans in airtight containers made from unreactive materials like glass or ceramic. This minimizes exposure to oxygen, light, and moisture, which degrade freshness.
Also, grind your beans only when you’re ready to brew, as ground coffee loses flavor quickly.
Label and date your storage containers to keep track of freshness and enjoy the best taste.
- Rest beans 12-36 hours before brewing
- Use airtight containers for storage
- Grind beans just before brewing
- Label and date containers for freshness tracking
Troubleshooting Common Home Roasting Issues
When your home roasting doesn’t go as planned, pinpointing the problem quickly can save your batch and improve future roasts. Uneven roasting often results from inconsistent heat distribution, so make sure your beans form an even layer in the roaster.
If your beans taste sour or underdeveloped, check that temperature rises stay steady above 350°F during the first crack. This is key for proper flavor development. Over-roasting leads to burnt notes, so watch your roasting times carefully. Medium roasts usually finish around 11 minutes.
If your beans turn too oily, indicating a dark roast, shorten your roasting time and lower the temperature to avoid bitterness.
Also, reduce heat or improve ventilation if excessive smoke appears, which can negatively affect flavor.
Experimenting With Roast Profiles for Your Flavor
If you’ve tackled common roasting issues and want to refine your coffee’s flavor, experimenting with different roast profiles is your next step. Adjust temperatures and timing carefully.
Light roasts usually stay around 385°F for up to 14 minutes, while darker roasts exceed 420°F near 15 minutes.
The first crack, happening around 393°F, marks a key moment to shift from light to medium roast, directly impacting flavors. Pay attention to the Rate of Rise (ROR) to keep a steady, upward temperature increase and avoid stalling.
Use tools like the SCAA Flavor Wheel to pinpoint and enhance flavor notes. Keep detailed records to track what works best for your taste.
- Adjust temperature and time for flavor control
- Monitor first crack timing closely
- Maintain steady Rate of Rise (ROR)
- Record each roast’s details and flavor notes
Tips to Keep Roasted Coffee Fresh Longer
Although roasting releases coffee’s vibrant flavors, keeping those flavors fresh requires careful storage and handling. To maintain freshness, store your roasted coffee in airtight containers made from unreactive materials to limit oxygen exposure.
Keep these containers in a cool, dark place away from heat and light, which speed up staleness. Let your freshly roasted beans rest for 3-7 days to allow gases to dissipate and flavors to develop fully.
Always grind only the amount you need for each brew, as whole beans retain freshness much longer than ground coffee. Using smaller airtight containers for different batches also helps prevent repeated exposure to air and moisture, preserving the rich flavor of your coffee over time.
Following these tips guarantees your coffee stays fresh and delicious longer.
Frequently Asked Questions
Can I Roast Coffee Beans Without Any Specialized Equipment?
Yes, you can roast coffee beans without specialized equipment using home methods like a skillet, oven, or electric popcorn popper.
These roasting techniques allow you to experiment with different bean types and develop unique flavor profiles.
Just keep a close eye on the beans during roasting to avoid burning and cool them quickly once done.
With practice, you’ll master how to bring out the best flavors from your chosen beans right at home.
How Does Altitude Affect Coffee Roasting at Home?
You might think roasting coffee at high altitudes is tricky, but understanding altitude effects helps. Higher elevation means increased bean density, which slows heat application during roasting.
That denser bean brings out a brighter, more complex flavor profile, but it also demands longer roasting times to reach the right roast level.
Keep an eye on your heat source and adjust timing carefully to avoid uneven roasts and maximize your beans’ unique altitude-enhanced flavors.
Is It Safe to Roast Coffee Beans Indoors?
Yes, you can safely roast coffee beans indoors if you follow proper ventilation requirements and smoke management techniques.
Make certain to roast near a window or use an exhaust fan to handle smoke.
Take safety precautions by keeping flammable items away and monitoring the roast closely.
Use a clean, well-maintained roaster and a thermometer to avoid overheating.
These indoor roasting tips help guarantee a safe, enjoyable experience without unwanted odors or fire risks.
What Is the Ideal Roast Level for Espresso Versus Drip Coffee?
You want a medium to medium-dark roast profile for espresso to bring out a rich espresso flavor with balanced sweetness and acidity, perfect for espresso brewing methods.
For drip coffee, lighter to medium roasts work best, highlighting the beans’ unique notes and acidity.
Your taste preferences matter, so experiment with roast levels to find what suits you.
Adjusting roast profiles helps you tailor flavor intensity for each brewing method.
How Long Do Roasted Coffee Beans Degas Before Brewing?
You can’t just brew roasted coffee beans right away. The degas duration is essential! Give your beans at least 12 to 36 hours to release carbon dioxide for proper flavor development.
Waiting 24 to 72 hours guarantees balanced taste, so don’t rush it.
Store them in airtight containers to maintain freshness and control pressure buildup.
Perfect brewing timing after degassing makes all the difference in your cup’s richness and aroma.
Conclusion
Roasting your own coffee beans is like painting with flavors. Each batch is a unique masterpiece. As you master your roaster, you’ll unveil a world of rich aromas and bold tastes right in your kitchen.
Keep experimenting with roast profiles and storage tips to preserve that fresh magic. Soon, every cup will tell your story, brewed to perfection and full of character.
Embrace the journey, and savor the art you create daily.