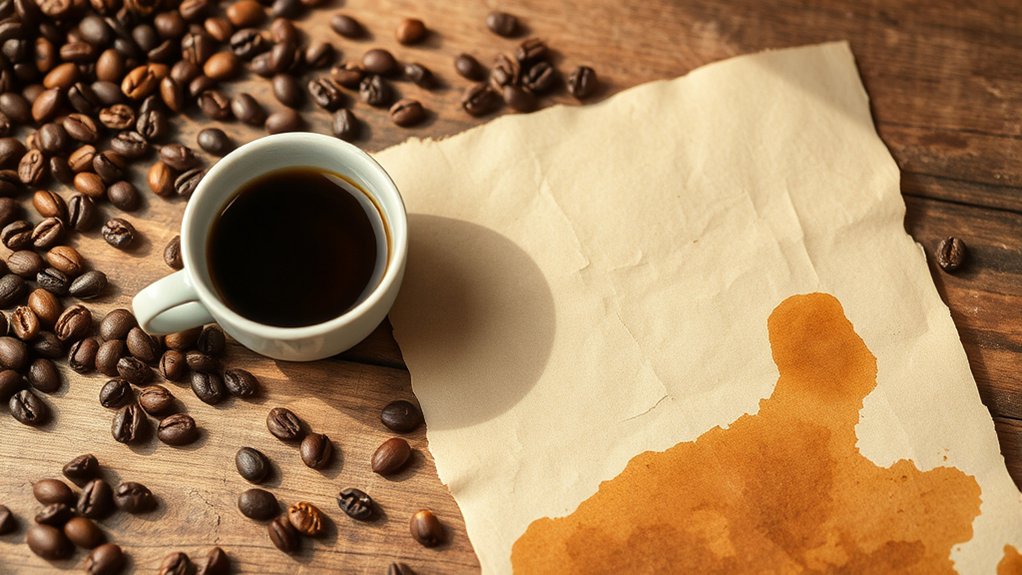
How To Coffee Stain Paper – Easy DIY Guide
You’ll want lightweight, porous paper like watercolor or craft paper to start. Mix 1.5 tablespoons of instant coffee into hot water for a rich stain solution. Use a wide brush or sponge to apply even coats, layering for depth, or soak the paper briefly for darker effects.
You can add coffee grounds for a vintage texture and bake gently to set. Flatten with a warm iron between fabrics after drying. Just be sure to handle your paper carefully to keep it smooth and vibrant.
There’s plenty more to explore for perfecting this art. Have fun experimenting and finding what works best for you!
What You Need to Coffee Stain Paper
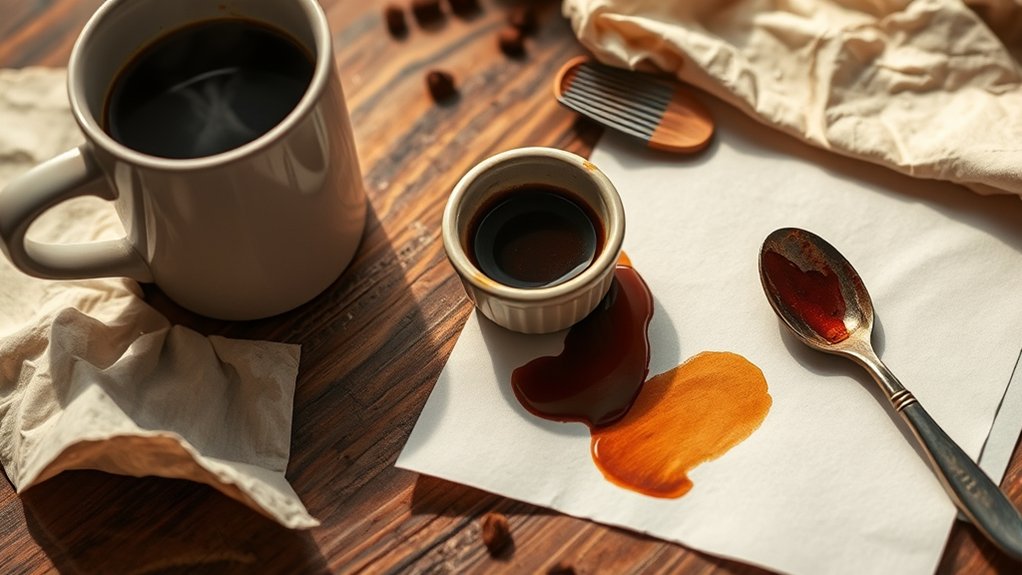
Before you begin coffee staining paper, make sure you have all the necessary materials ready to streamline your process. Gather instant coffee, water, a mixing container, and the paper you want to stain.
For a rich, deep color, dissolve about 1.5 to 2 tablespoons of instant coffee in less than a cup of hot water.
Prepare a protective surface like plastic or newspaper to keep your workspace clean.
You’ll also need a wide brush or sponge to apply the coffee mixture evenly. This is essential for coffee art and effective stain preservation.
Optional tools like a toothbrush or small sponge can help create unique textures and patterns.
Having everything within reach guarantees your coffee staining experience is smooth and enjoyable. It lets your creativity flow effortlessly.
Picking the Best Paper for Coffee Staining
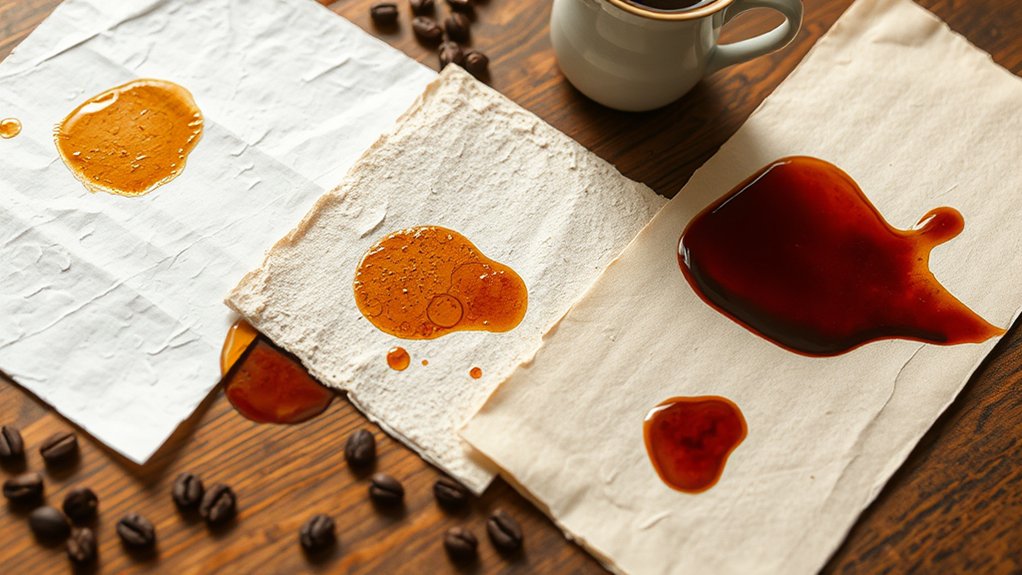
Now that you’ve gathered your coffee mixture and tools, choosing the right paper will considerably impact the final look of your stain. The paper texture plays a vital role in how the coffee absorbs, affecting stain consistency and the overall vintage effect.
Lightweight, porous papers absorb coffee better, creating richer, more authentic stains.
Choosing lightweight, porous paper enhances coffee absorption for deeper, more genuine vintage stains.
Here’s what to keep in mind when picking your paper:
- Use watercolor, craft, or recycled paper for excellent absorption and texture.
- Avoid glossy or coated papers, as they repel coffee and lack aged charm.
- Thinner papers soak up more stain but dry faster; thicker papers need more drying time.
- Standard printer paper can work but may warp or tear if over-saturated.
- Experiment with different textures and weights to find your perfect stained look.
How to Make the Perfect Coffee Stain Solution
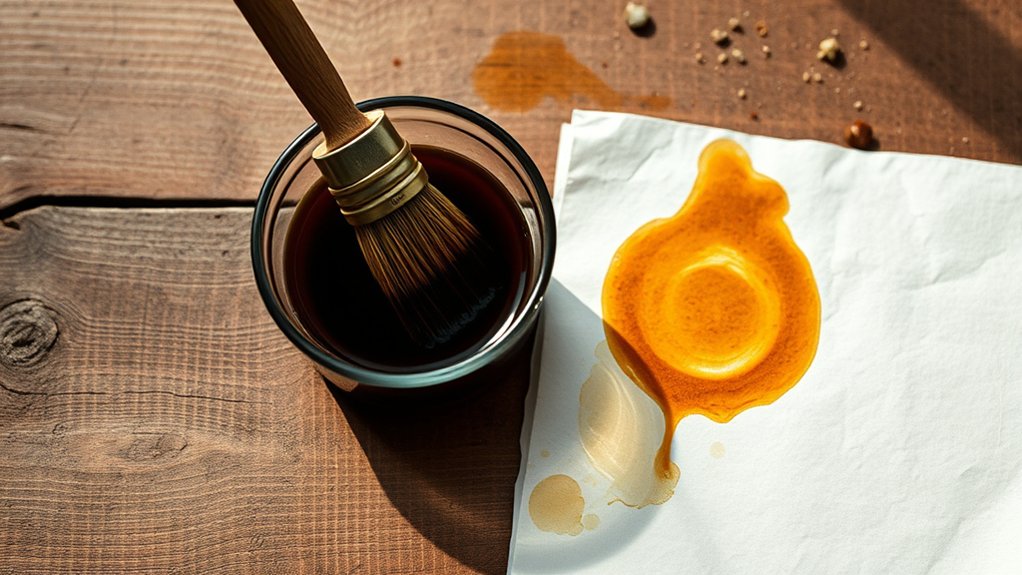
You’ll want to start by choosing the right type of coffee—instant coffee works best for a consistent stain.
Then, adjust the strength by dissolving about 1.5 tablespoons in less than a cup of hot water. Feel free to tweak the amount to get the shade you want.
Just make sure to mix thoroughly so the coffee is fully dissolved before soaking your paper. This way, you’ll get an even, rich stain every time.
Choosing Coffee Type
Selecting the right coffee type is essential for achieving the perfect coffee stain on your paper. Your choice between instant vs brewed coffee greatly affects the stain’s consistency and depth. Coffee bean varieties also influence the color and aroma, so consider what suits your artistic vision.
Here’s what to keep in mind:
- Instant coffee crystals dissolve quickly and offer consistent results.
- Brewed coffee, fresh or leftover, provides richer, more complex hues.
- Use hot water to fully dissolve instant coffee for smooth application.
Adjust the coffee-to-water ratio based on how dark you want your stain. You can also enhance your solution by adding flavorings or coffee grounds for extra texture and scent. It’s all about experimenting to find what works best for your art!
Adjusting Coffee Strength
Although choosing the right coffee type sets the foundation, adjusting the coffee strength determines how vivid and authentic your stain will appear.
To create a darker, richer stain, dissolve 1-2 tablespoons of instant coffee in half a cup of hot water. This stronger concentration enhances the coffee aroma and deepens the aging effect on your paper.
For a lighter, subtler stain, use 1 tablespoon of coffee in ¾ cup of water. Be sure to dissolve the coffee thoroughly to avoid clumps and guarantee even application.
Experiment with ratios to find your perfect tone, balancing intensity and stain preservation.
Mixing Coffee Solution
When preparing your coffee stain solution, dissolving 1.5 tablespoons of instant coffee in just under a cup of hot water creates a strong, dark base that’s perfect for rich, authentic stains. Make sure to mix thoroughly until all the coffee crystals dissolve to get an even color.
You can easily adjust the amount of water if you want lighter or darker shades.
To add some extra texture and scent to your paper, think about tossing in coffee grounds or a bit of coffee flavoring like vanilla. It really brings out a nice aroma.
Once your mixture is ready, pour it into a tray to make application super easy.
Use less water if you want deeper, darker stains. Stir until the coffee fully dissolves.
Adding coffee grounds can give your paper some cool texture. You can also add coffee flavoring to boost the scent.
Pour the solution into a shallow tray to dip or brush your paper.
This way, you’re all set for vibrant, aromatic coffee stains every time.
Applying Coffee Stain With Brush or Sponge
Because the texture and depth of your coffee stain depend heavily on the application method, using a brush or sponge offers versatile control over the effect. Dip a wide brush or sponge into your coffee solution, making sure it’s evenly coated without drips.
Apply broad, sweeping strokes for an even stain or create intricate pattern designs by layering coats. Let each coat dry partially for richer texture.
Apply broad strokes for smooth stains or layer coats for rich, textured patterns that bring your paper to life.
Use a sponge to dab or stipple coffee onto areas that need a mottled, distressed look. You can master color blending by feathering edges with the sponge, which helps achieve a natural, aged appearance.
This method lets you tailor the stain’s intensity and artistic detail.
In the end, you can transform ordinary paper into a beautifully weathered, vintage masterpiece with ease and precision. It’s all about how you apply it and the look you want to create.
Soaking Paper in Coffee for a Deeper Stain
To get a rich, deep stain, start by making a strong coffee solution. Then, fully submerge your paper in it for about 2 to 5 minutes.
The longer you soak it, the darker the color will be, so you can tweak the time depending on how intense you want the stain.
Just be gentle with delicate paper while it’s soaking. This way, you’ll keep it intact and make sure the stain spreads evenly.
Preparing Coffee Solution
How much coffee you use and how you prepare the solution can dramatically influence the depth of your paper stain. To get rich staining patterns and a warm coffee aroma, start with a concentrated mix. Here’s how to prepare it perfectly:
Dissolve 1.5 to 2 tablespoons of instant coffee in less than a cup of warm water. Heat the water before adding coffee for better dissolution and a richer aroma. Adjust the amount of water to control how dark the stain gets. Using less water will give you a deeper color.
Pour the mixture into a tray that’s deep enough to fully submerge your paper evenly. You can also add coffee grounds to the solution or sprinkle them on the paper if you want textured, aged effects.
This careful preparation sets the foundation for beautifully stained paper with an engaging coffee aroma and unique patterns. It’s pretty simple once you get the hang of it!
Soaking Duration Effects
When you soak your paper in coffee, the length of time it spends submerged dramatically shapes the stain’s depth and character. The coffee consistency interacts with the paper texture, altering how deeply the stain penetrates.
Shorter soaks (1-2 minutes) yield subtle, light stains, perfect for a gentle aged look. Longer soaks (3-5 minutes) produce richer, darker tones as the coffee saturates fibers more uniformly. However, soaking beyond 5 minutes risks weakening the paper, causing warping or tearing.
| Soaking Time | Stain Depth | Paper Impact |
|---|---|---|
| 1-2 minutes | Light, subtle | Firm, minimal warp |
| 3-5 minutes | Dark, pronounced | Softened, flexible |
| 5+ minutes | Very dark, rich | Fragile, risk tears |
Layering Coffee Stain for Richer Vintage Look
Although a single coffee stain can give your paper a charming vintage touch, layering multiple coats will truly deepen the color and add rich complexity to the aged effect. Mastering layering techniques is key to achieving impressive stain depth and a more authentic appearance.
Layering multiple coffee stains enriches color and adds authentic depth for a beautifully aged vintage look.
Here’s how you can enhance your coffee staining process:
- Apply multiple layers, letting each dry completely to avoid smudging.
- Reapply stain with a brush or dunk paper repeatedly for uniform depth.
- Vary coffee concentration in each layer for natural mottling.
Use a sponge or brush to build stain selectively in areas needing more richness.
Experiment with layering order and intensity to customize the vintage look.
Give it a try and see how layering transforms your paper into a beautifully rich vintage masterpiece!
Creating Texture With Coffee Grounds
You can add some really cool texture to your paper by sprinkling coffee grounds onto the wet surface. It creates these unique, vintage-looking spots that give your work a special touch. Just press the grounds gently into the paper and let them sit for a bit before blotting.
This helps achieve a rich, embedded effect that looks fantastic. Make sure to use fresh grounds, and once you’re done, let the paper dry completely. This will lock in all those textured details beautifully, giving your piece a lovely, tactile finish.
Adding Texture Effects
Sprinkling dry coffee grounds onto wet paper creates a beautifully textured, aged look that brings your project to life with natural granule patterns. This technique enhances color blending and encourages unique pattern formation, giving your paper an authentic vintage feel.
To add texture effects, try these tips:
Let coffee grounds rest briefly before blotting to deepen uneven textures. Dab grounds into the paper with a sponge for richer, layered patterns. Apply grounds during or after staining for mottled, spotty aging effects.
Experiment with pressing grounds lightly to vary depth and texture. Bake the paper at low heat to set textures and achieve a rugged, distressed surface. Give these a try and watch your paper transform!
Using Coffee Grounds
When you apply coffee grounds to damp paper, you release a dynamic way to create rich, tactile textures that bring your work to life. The ground consistency plays a vital role. Finer grounds create subtle speckles, while coarser ones add bold, gritty effects.
Sprinkle dry grounds onto wet paper to achieve a natural, aged look with intriguing speckles. Then let them sit for a few minutes before gently blotting to deepen the texture.
For darker, more pronounced spots, dip grounds in hot water and squeeze them onto the surface.
Layering grounds intensifies the distressed, vintage feel. Don’t forget the coffee aroma—it adds an authentic sensory dimension.
Finally, bake the paper to set the texture and enhance that gritty, timeworn charm, making your project truly stand out.
Heat Techniques for Drying and Texture
Although drying coffee-stained paper naturally is possible, applying heat techniques speeds up the process and enhances texture and durability. Heat not only helps the paper dry faster but also deepens the textured effects, giving your paper an authentic, vintage feel.
Using heat speeds drying and enriches texture, giving coffee-stained paper an authentic, vintage character.
You can try out different methods to find the perfect look. For example, bake the paper at 200°F for 5-10 minutes to add a crisp, aged texture. Or use a blow dryer on a low, cool setting to dry it quickly without causing any warping.
Another option is to iron the paper between thin cotton fabrics on low heat to smooth and flatten it after drying. Applying heat can also emphasize wrinkles or crinkles, creating a distressed, textured effect.
Plus, proper heat treatment prevents smudging and warping, helping preserve that vintage appearance over time.
Mastering these heat techniques ensures your coffee-stained paper looks beautifully aged and durable.
How to Flatten and Finish Coffee-Stained Paper
Applying heat techniques not only speeds up drying but also sets the stage for perfecting your coffee-stained paper’s final look. To flatten and finish it, place the paper between two sheets of clean cotton fabric or parchment to prevent sticking.
Use a warm iron on the lowest heat setting, pressing gently without steam to avoid warping the delicate, damp paper. Iron in small, steady sections applying light pressure, a method inspired by historical techniques used to preserve aged documents.
Once cool, your paper will lay flat and smooth, ready for artistic embellishments. This careful process honors tradition while ensuring your coffee-stained creation has a professional, finished appearance that’s perfect for your next project.
Fun Projects to Try With Coffee-Stained Paper
Since coffee-stained paper carries a charming, vintage character, it opens up countless creative possibilities for your projects. The natural warm tones create a perfect canvas for creative color blending, enhancing the aged look. You can experiment with vintage typography or hand-drawn details to elevate your designs.
Here are some fun projects to try with coffee-stained paper:
- Make vintage-looking postcards or greeting cards with nostalgic typography.
- Craft personalized bookmarks by cutting strips and adding quotes or drawings.
- Design antique-style maps or treasure charts with hand-drawn accents.
- Create rustic tags or labels for gifts and home decor.
- Use as backgrounds for scrapbooking or journaling to add depth and character.
These ideas let you blend history and creativity beautifully in your work. Give them a try and see where your imagination takes you!
How to Keep Your Coffee-Stained Paper Looking Great
After creating beautiful coffee-stained paper projects, you’ll want to make sure they stay looking just as enchanting over time. Drawing from historical techniques and modern applications, preserving your stained paper involves careful storage and protection.
Use archival sealants to lock in the coffee’s aged charm while shielding it from moisture. Store your paper flat in acid-free sleeves, away from sunlight and humidity. Avoid touching with oily or wet hands to prevent damage.
| Preservation Tip | Historical Technique | Modern Application |
|---|---|---|
| Storage | Keep flat, dry | Use acid-free sleeves |
| Protection | Avoid moisture exposure | Apply fixative sprays |
| Handling | Handle with clean hands | Use gloves or clean hands |
| Light Exposure | Store away from direct light | Keep in cool, shaded areas |
| Longevity | Prevent folding or bending | Maintain flat, protected storage |
Troubleshooting Common Coffee Staining Issues
Though coffee staining paper can add a unique, vintage charm to your projects, you might run into some common issues that affect the final look. Addressing these problems guarantees your coffee scent lingers and stain longevity improves.
Coffee staining adds vintage charm, but fixing common issues ensures lasting scent and vibrant stains.
If stains look too light, boost coffee concentration or apply multiple coats. Prevent uneven staining by saturating and coating paper evenly before drying.
Avoid smudging by using less coffee and limiting brushing or soaking.
To stop warping, dry paper flat under a weight or between sheets.
For a textured effect, sprinkle coffee grounds on wet paper and let it dry naturally.
These simple tips can make a big difference in your coffee staining results.
Frequently Asked Questions
Can I Use Tea Instead of Coffee for Staining Paper?
Yes, you can use tea as a staining alternative. Its tannic acid offers unique staining techniques that produce a lighter, mottled vintage effect.
Though it won’t create the rich, dark consistency coffee stains provide, tea still gives a nice, subtle look. So, if you want something softer and more delicate, tea is a good choice.
How Long Does Coffee-Stained Paper Last Without Fading?
You can expect coffee-stained paper to last several years without fading if you focus on paper preservation. Protect it from sunlight and moisture to maintain its artistic effects.
This way, you keep the stain vibrant and beautifully aged over time. It’s all about giving it the right care.
Is Coffee Staining Safe for Archival Documents?
Don’t fool yourself. Coffee staining isn’t safe for archival documents. Just like furniture preservation and antique restoration require proper care, coffee’s acids damage paper fibers.
This can cause brittleness and discoloration over time. So, avoid using coffee if you want your documents to last. It’s better to play it safe when it comes to lasting preservation.
Can I Use Coffee Staining on Fabric or Other Materials?
You can absolutely use coffee staining for fabric dyeing and material crafting. Just soak or brush coffee onto fabric or porous materials, then let it dry.
After that, seal with heat to preserve the vintage look and avoid fading. It’s pretty simple and gives a great aged effect.
Give it a try and see how your project turns out!
How Do I Remove Coffee Stains From Paper if Needed?
When coffee residue paints an unwanted shadow, gently blot excess liquid to prevent the stain from spreading. Dab with distilled water and erase softly.
For stubborn marks, use diluted hydrogen peroxide. It acts like a vigilant shield against stain invasion and paper damage. Just be careful and take your time with it.
Conclusion
Coffee staining paper isn’t just a craft, it’s an art that breathes vintage charm into your projects. With the right paper, perfect coffee mix, and a bit of patience, you’ll transform plain sheets into timeless treasures.
Remember, each stain tells a story, making your creations uniquely yours. So, why settle for ordinary when you can steep creativity in every drop?
Embrace the process, and watch your paper come alive with character and warmth.