How Do You Reset A Keurig Coffee Maker – Step-By-Step Guide
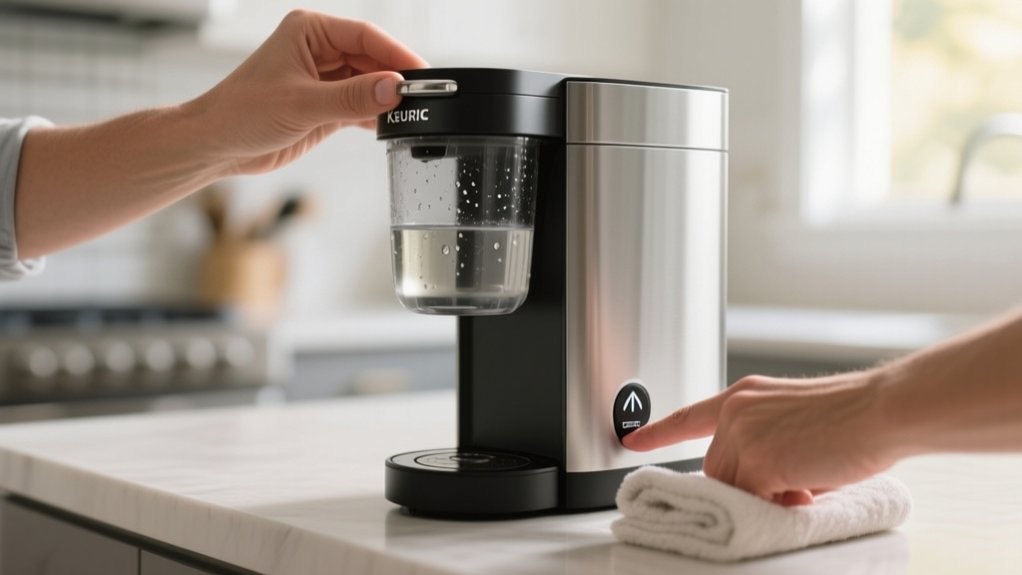
To reset your Keurig coffee maker, start by unplugging it for at least 30 seconds to clear residual power. Plug it back in, then press the brew button without a K-Cup to recalibrate.
For Keurig 1.0, open and close the K-Cup lever, then let it rest unplugged for 1-2 hours. For touchscreen models, hold the power button for 10 seconds after unplugging.
Running a descale cycle and cleaning needles also helps restore function. Follow detailed steps to fully troubleshoot and maintain your brewer.
How To Reset Your Keurig Coffee Maker
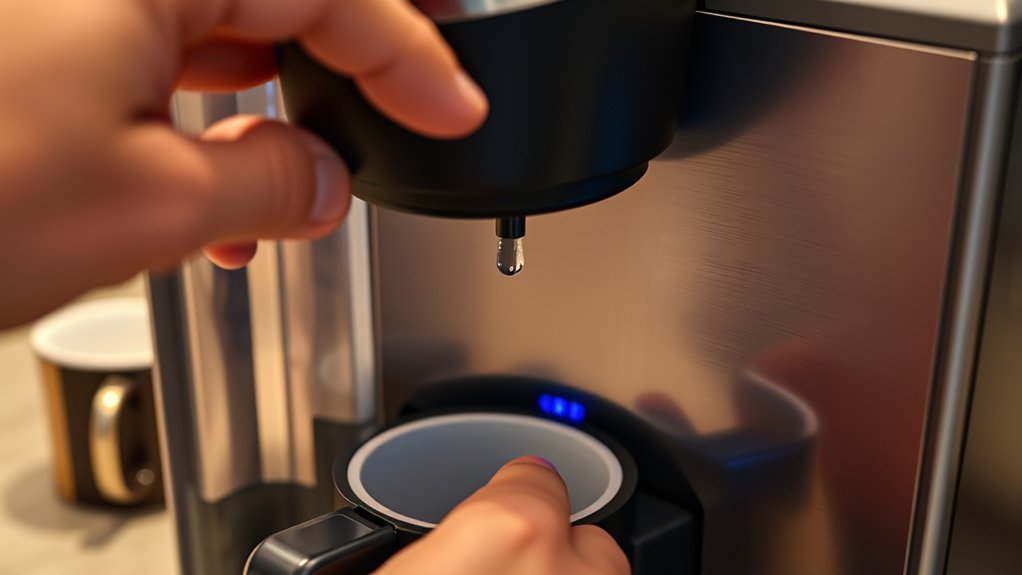
To reset your Keurig coffee maker, start by unplugging the machine for at least 30 seconds to let residual power drain completely.
Afterward, plug your brewer back in and power it on. For most models, this basic reset clears minor errors.
If your machine has a brew button, press it without inserting a K-Cup to help complete the reset process. This can recalibrate the system and resolve responsiveness issues.
Make sure you perform regular maintenance like descaling and needle cleaning to minimize resets.
If your Keurig remains unresponsive after these steps, don’t hesitate to contact Keurig Customer Service for specialized guidance.
Following this approach will help you efficiently reset Keurig machines and maintain peak functionality without guesswork.
How To Reset Keurig 1.0 Models
Resetting your Keurig 1.0 model starts by opening and closing the K-Cup lever to trigger the reset sequence. Next, unplug the machine and let it rest for 1-2 hours to clear temporary glitches.
Then, detach the water reservoir and allow the machine to sit for an additional 30 minutes for a complete reset. Reattach the water reservoir and plug the machine back in.
Finally, press the start button; your Keurig should be ready to brew.
| Step | Action | Duration |
|---|---|---|
| Open/Close Lever | Trigger reset | Immediate |
| Unplug Machine | Rest to clear glitches | 1-2 hours |
| Remove Reservoir | Sit for full reset | 30 minutes |
This method efficiently resets Keurig 1.0 models.
How To Reset Keurig 2.0 Touchscreen Models
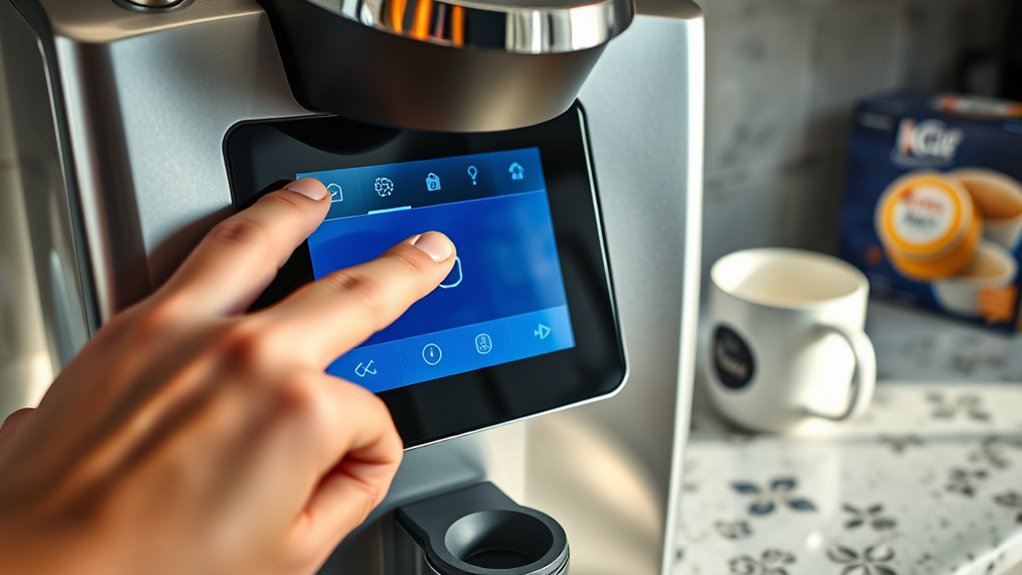
If you own a Keurig 2.0 touchscreen model, the reset process differs slightly from the 1.0 versions.
Start by unplugging the machine and waiting at least 60 seconds to allow full capacitor discharge. Then, plug it back in and check the display; you might need to reset the clock and other settings.
Unplug your Keurig for 60 seconds to fully reset, then plug it back in and adjust your settings.
Finally, open and close the brew handle to complete the resetting.
If the screen remains blank, hold down the power button for 10 seconds to reboot the system.
To remove air bubbles, unplug the brewer and gently turn it upside down over a sink before plugging it back in.
Follow these steps precisely:
- Unplug and wait 60 seconds.
- Plug in and reset settings.
- Open and close brew handle.
How To Reset The Descale Light On K-Supreme Series
When the descale light activates on your K-Supreme series, you can quickly turn it off by pressing and holding the 8 oz and 10 oz buttons simultaneously for 3 to 5 seconds. This action resets the Keurig’s descale light, signaling that maintenance has been acknowledged.
If the light doesn’t reset, press and hold the Brew button along with the 12 oz button for 6 to 8 seconds as an alternative method.
After descaling, always rinse the machine thoroughly to avoid the descale light reactivating due to residue.
Regular maintenance, including descaling every 90 days, helps prevent premature descale light activation.
If the light persists despite resetting, it may indicate clogs or other issues requiring further troubleshooting to restore ideal performance.
How To Power Cycle Your Keurig To Fix Problems
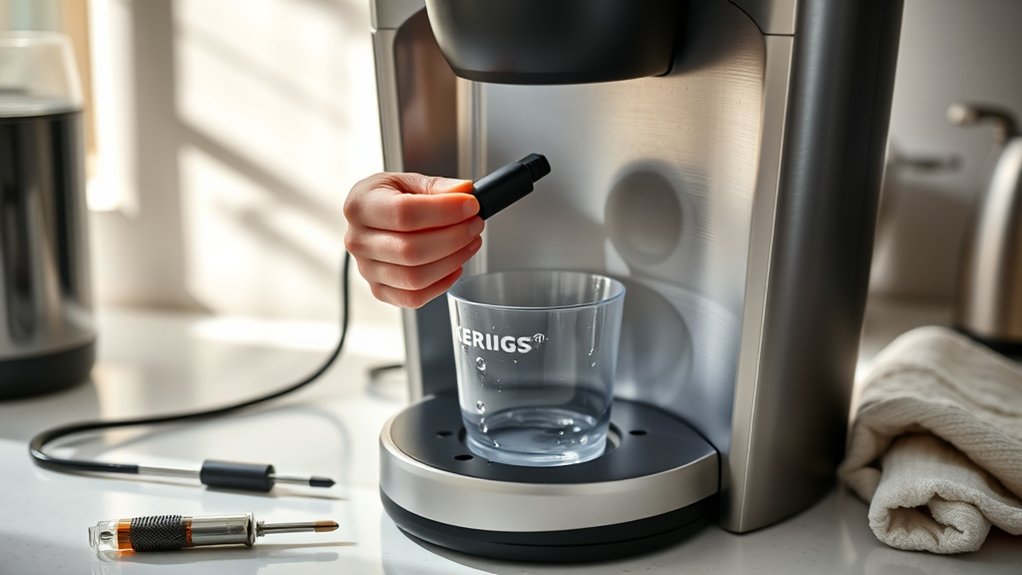
To power cycle your Keurig, start by unplugging the machine.
Give it about 30 seconds—this helps clear any leftover power inside.
Once you’ve waited, plug it back in and turn it on to see if the problem is fixed.
If your Keurig still isn’t responding, go ahead and try the process again.
Also, make sure it’s plugged into a dedicated outlet, just to be safe.
Unplug And Wait
One straightforward step you can take to resolve minor issues with your Keurig is to power cycle the machine. This involves unplugging the device and waiting to reset its internal system fully.
Follow these steps precisely:
- Unplug your Keurig completely from a dedicated outlet to guarantee no power supply remains.
- Wait at least 30 seconds to allow residual power to drain from the internal capacitors.
- Plug the machine back in and turn it on to verify if the issue is resolved.
If problems persist, repeat this unplug and wait process.
Performing this reset often clears minor malfunctions and restores your Keurig’s proper functionality without additional troubleshooting steps.
Test Power Function
Two key steps confirm a successful power cycle for your Keurig: turning off and unplugging the machine for at least 30 seconds to discharge residual power, and checking you’re using a dedicated outlet.
To test power function, unplug your Keurig and wait 30 seconds before you plug it back in. This pause allows the internal capacitors to drain fully.
Next, check the outlet by plugging the brewer into a different, dedicated power source to isolate any electrical issues.
After plugging it back, turn the machine on and observe for any flashing lights, indicating power presence and readiness.
If the brewer remains unresponsive, repeat unplugging to confirm complete discharge.
How To Clean And Declog Keurig Needles Before Reset
Start by unplugging your Keurig and removing any K-Cup from the holder to safely access the needles. To clean and declog the needles effectively, follow these steps:
- Use a straightened paper clip to carefully clear debris from both the entrance and exit needles. This guarantees unobstructed water flow during brewing.
- Reassemble the K-Cup holder after cleaning the needles, then run a water-only brew cycle. This flushes out residual debris and verifies needle functionality.
- Maintain the cleanliness of the water reservoir, as sediment buildup can impair needle performance and overall machine efficiency.
Regularly clean and declog the needles every two weeks to prevent brewing disruptions and maintain peak coffee taste.
This preparation is essential before attempting to reset your Keurig.
How To Remove And Reattach The Keurig Water Reservoir
To remove the water reservoir from your Keurig, unplug the machine and lift the reservoir straight up with a gentle but firm motion.
Once removed, inspect the water reservoir for debris or buildup. Rinse it thoroughly with warm water to guarantee cleanliness.
Before reattaching, check that the connectors on the reservoir are clean to maintain proper water flow.
Refill the reservoir with fresh, clean water for peak brewing performance.
To reattach, align the water reservoir with the Keurig’s base carefully. Press down firmly until you hear a click, confirming it’s securely in place.
This precise handling guarantees the Keurig operates efficiently and prevents leaks or malfunctions related to improper water reservoir installation.
How To Run A Test Brew After Reset
Once the water reservoir is securely reattached and filled with fresh water, you’re ready to run a test brew. This step verifies that the reset process was successful and that the machine functions correctly.
To perform the test brew:
- Place a clean mug on the drip tray to collect the brew.
- Select the desired brew size, typically 8 oz, ensuring the machine is set properly.
- Press the brew button to start the test brew cycle and observe the machine’s operation for any error messages.
After the cycle completes, check the coffee’s taste and consistency.
If everything runs smoothly, your Keurig is correctly reset and ready for regular use. If issues persist, you may need to repeat the reset process or inspect the water reservoir.
When And How To Perform A Full Descale Cycle
How often should you descale your Keurig? You should perform a full descale cycle every three months or whenever your coffee tastes bitter. This removes mineral buildup that impairs brewing conditions.
To start, empty and fill the water reservoir with a descaling solution diluted according to the manufacturer’s guidelines. Run the machine without inserting a K-Cup, allowing the solution to flow through the system into a cup. Repeat until the reservoir is empty.
Next, thoroughly rinse the water reservoir and fill it with filtered water. Run multiple water-only brew cycles to flush out any remaining descaling solution.
Regularly performing this process prevents clogs, maintains ideal water flow, and extends your Keurig’s lifespan.
What To Do If Your Keurig Still Won’t Reset
Even if you’ve completed all standard reset steps, your Keurig might still fail to reset due to power or internal system issues. First, verify your machine is properly plugged into a dedicated outlet to avoid power interruptions.
Next, run a cleansing brew with just water to clear potential blockages hindering the reset.
Run a water-only cleansing brew to remove blockages that may prevent your Keurig from resetting properly.
Then, inspect the entrance and exit needles for clogs, using a straightened paper clip to remove debris after unplugging the device.
If the display remains unresponsive, unplug your Keurig for at least 60 seconds to fully discharge internal capacitors.
Finally, if these steps fail, contact Keurig Customer Service at 1-866-901-BREW for expert troubleshooting and repair guidance.
Following this sequence verifies a thorough attempt to reset your Keurig effectively.
Frequently Asked Questions
Can I Use Any Type of Water in My Keurig Machine?
You shouldn’t use just any water in your Keurig. Water quality directly impacts brewing efficiency and flavor.
Avoid distilled water as it lacks minerals, which affects extraction.
Tap or filtered water works best because filtration systems reduce mineral buildup and help preserve your machine. Bottled water is fine too, as long as it’s not distilled.
Regularly changing the water prevents bacterial growth and guarantees peak performance.
How Often Should I Replace the Water Filter in My Keurig?
Imagine savoring a fresh, clean brew every morning. Water filter maintenance is key. You should replace your Keurig’s water filter every two months or after about 60 tank refills to maintain ideal water quality impact.
This filter replacement frequency prevents mineral buildup, ensuring consistent flavor and brewing efficiency.
Keep an eye on taste changes or filter reminders, and always use the correct filter model to maximize your Keurig’s performance and longevity.
What Types of K-Cups Are Compatible With Keurig Brewers?
You can use a wide range of K Cup varieties with your Keurig brewer, including branded and third-party pods.
Look for compatibility labels since some models, like Keurig 2.0, require special barcode K-Cups.
Explore diverse flavor options and select pods designed for different brew sizes.
If you prefer, use reusable pods to customize coffee grounds while reducing waste.
Always confirm pod compatibility to guarantee peak brewing performance and avoid errors.
Does My Keurig Require a Specific Voltage or Power Source?
Think of your Keurig as a high-performance engine. It needs the right fuel to run smoothly. Your machine requires specific power requirements, typically 120 volts, to maintain electrical compatibility.
Plug it directly into a wall outlet to guarantee stable voltage specifications and optimize energy efficiency.
Avoid extension cords or overloaded outlets, as fluctuations can harm the brewer.
Always check your model’s manual to confirm these critical power details before brewing.
How Do I Store My Keurig During Long Periods of Non-Use?
To store your Keurig for long-term storage, start by thoroughly cleaning the machine using recommended cleaning techniques to prevent buildup.
Empty and dry the water reservoir completely to avoid mold.
Follow coffee preservation tips by storing the machine in a cool, dry place away from sunlight.
Use the original packaging or a padded container to protect it.
Periodically check for moisture to maintain freshness and ensure peak performance when you use it again.
Conclusion
Resetting your Keurig is a straightforward way to gently nudge your coffee maker back into peak performance. By following these steps, you’re fundamentally giving your machine a fresh start without diving into complex repairs.
Remember, a little patience during power cycling or descale resets can make a world of difference. If issues persist, consider professional checkups as a smooth next step.
With these tips, you’ll keep your Keurig brewing reliably and efficiently.