How To Clean Out A Coffee Maker – Step-By-Step Guide
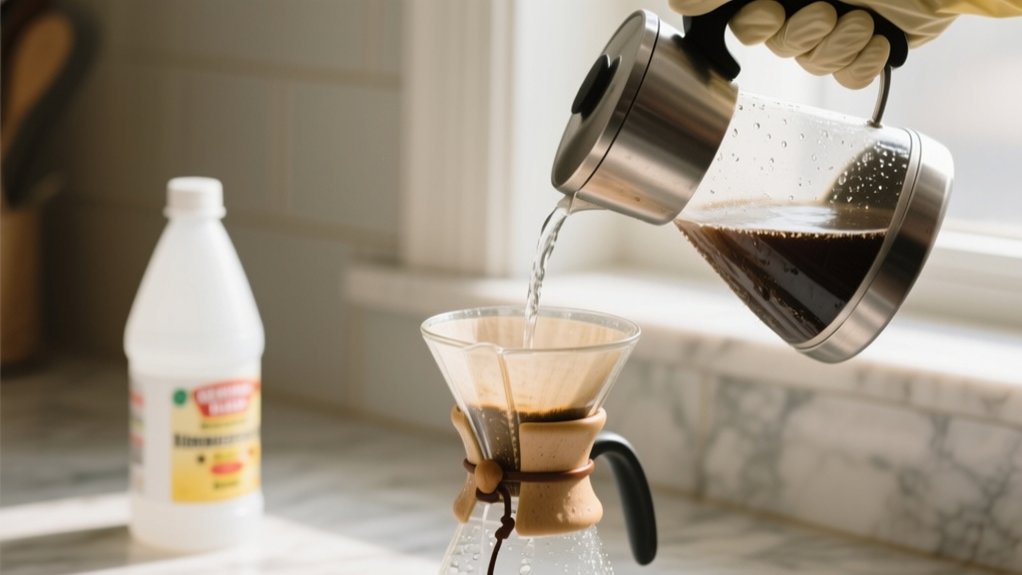
To clean your coffee maker, start by emptying and rinsing the carafe and filter basket. Mix equal parts white vinegar and water, then pour the solution into the water chamber.
Run a brew cycle, pausing halfway to let it sit for an hour to break down buildup. Finish the cycle, then run two or more rinse cycles with fresh water to remove vinegar taste.
Wipe the exterior dry, reassemble, and set a regular cleaning schedule to keep your coffee fresh and your machine efficient. For detailed steps, keep exploring the process.
Why and How Often You Should Clean Your Coffee Maker
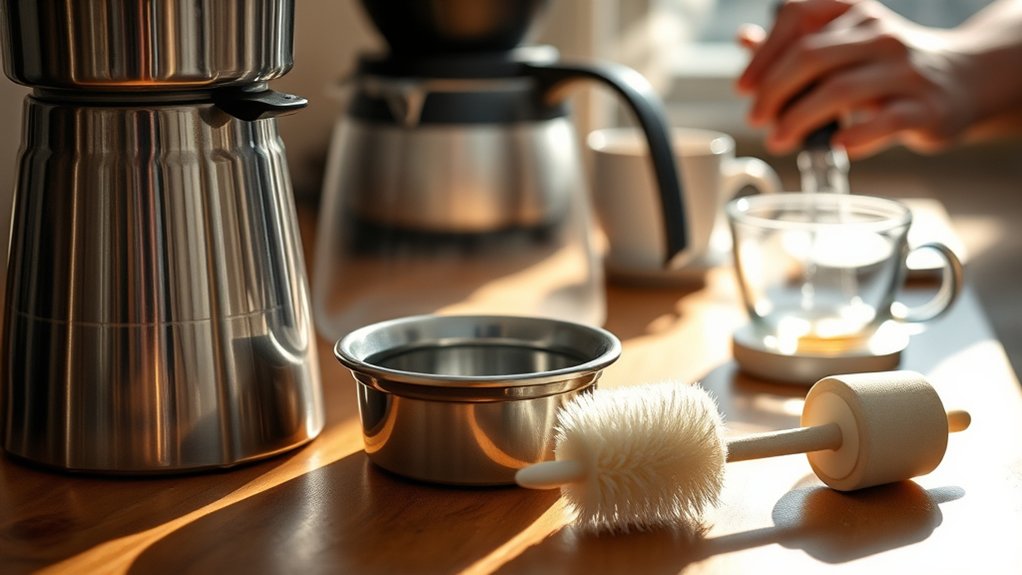
Because mineral buildup and coffee residue can quickly degrade your machine’s performance and flavor, you should clean your coffee maker regularly.
To maintain peak coffee taste and machine efficiency, you need to understand how often you should clean it.
Regular cleaning is essential to keep your coffee tasting great and your machine working efficiently.
Daily, wash removable parts with warm, soapy water to prevent residue accumulation.
For deeper cleaning, aim for a monthly thorough cleaning if you’re a heavy coffee drinker.
At minimum, clean your coffee maker twice a year to avoid mineral deposits that cause a stale taste or white film on the machine.
Also, follow the manufacturer’s advice to clean after approximately 100 uses.
This routine guarantees your coffee tastes fresh and your machine runs smoothly without clogs or damage.
Gather Supplies to Clean Your Coffee Maker
To clean your coffee maker effectively, you’ll want to gather a few essential supplies first, like white vinegar, water, and a sponge.
Vinegar is great for descaling your machine, but if you’d rather, you can use manufacturer-approved alternatives instead.
Also, keep a damp dish towel handy for wiping down your coffee maker, and have a dry one ready for drying it off after you’re done.
It makes the whole process a lot easier!
Essential Cleaning Materials
When preparing to clean your coffee maker, gather essential supplies such as white vinegar, water, hot soapy water, a sponge, and both a damp and dry dish towel. These materials guarantee effective cleaning your coffee machine inside and out.
To clean a coffee maker thoroughly, you’ll also need:
- A measuring tool, like the coffee carafe, to mix equal parts water and vinegar for the cleaning solution.
- An extra bowl or container to discard used coffee grounds and the vinegar solution safely.
- A soft sponge or cloth to wipe removable parts and the exterior gently without scratching.
- If possible, disassemble dishwasher-safe components for a deeper clean in the dishwasher.
Having these materials ready streamlines the cleaning process and protects your coffee maker’s longevity.
Vinegar And Alternatives
Although white vinegar is the most common choice for cleaning your coffee maker, you can also use apple cider vinegar, lemon juice, or baking soda as effective alternatives.
Mix equal parts water and vinegar to create a cleaning solution that descales and freshens your machine.
Apple cider vinegar works but may leave a stronger taste, so rinse thoroughly.
Lemon juice offers a natural, mild acidity, while baking soda mixed with warm water is excellent for removing odors and buildup.
Just remove filters before applying baking soda to avoid damage.
Whichever solution you choose, make sure it’s well combined to prevent residue buildup.
Regularly cleaning with vinegar or these alternatives keeps your coffee maker performing at its best by eliminating mineral deposits and odors, helping you brew better coffee every time.
Tools For Maintenance
Five essential tools make cleaning your coffee maker straightforward and efficient. To clean the whole machine effectively, gather white vinegar and water for the descaling solution, hot soapy water, and dish towels for drying.
Preparing your workspace with these supplies guarantees a smooth process.
Here are the key items you’ll need:
- A measuring cup or the coffee carafe to mix equal parts white vinegar and water.
- A sponge for scrubbing removable parts like the filter basket and carafe.
- Damp and dry dish towels to wipe and dry components.
- A soft cloth to clean the coffee maker’s exterior.
Having these tools ready lets you maintain your machine properly and extend its lifespan.
Empty and Rinse the Coffee Maker Carafe and Filter Basket
Start by emptying your coffee carafe, discarding any leftover coffee grounds to prevent buildup and odors.
Next, rinse the coffee carafe thoroughly with warm water to remove any residue, ensuring it’s clean for your next brew.
Rinse the coffee carafe with warm water to clear away residue and prepare for a fresh brew.
Remove the filter basket and discard the used filter if applicable; this step is essential for maintaining freshness during brewing.
Clean the filter basket with hot, soapy water or place it in the dishwasher if it’s dishwasher-safe to achieve a deeper clean.
After washing, make sure both the coffee carafe and filter basket are completely dry before reassembling them in the coffee maker.
Proper drying prevents moisture-related issues, ensuring your coffee maker stays in prime condition and your coffee tastes fresh every time.
Mix Equal Parts Vinegar and Water for Cleaning Solution
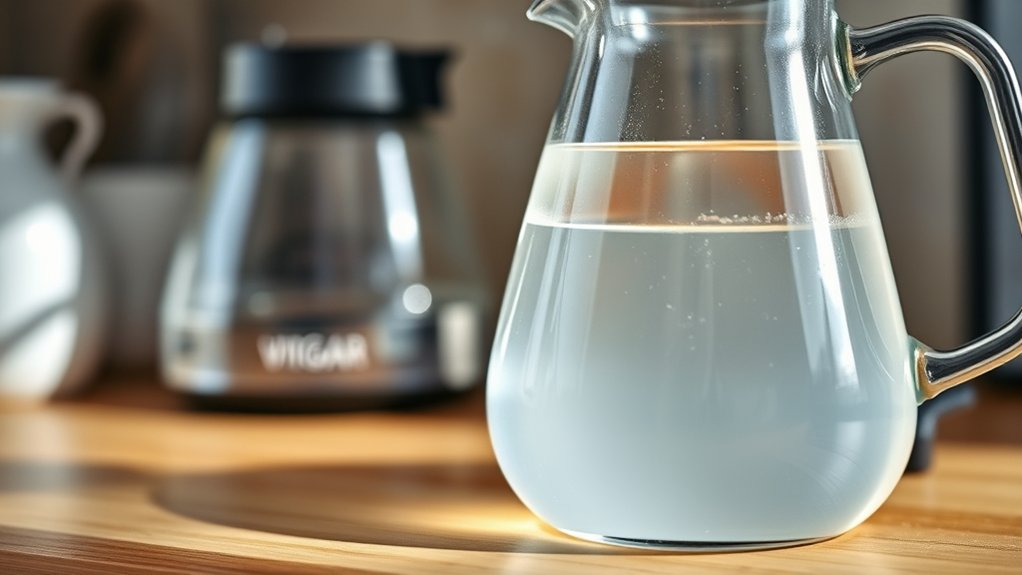
Mix equal parts white vinegar and water to create an effective cleaning solution for your coffee maker.
This 1:1 ratio breaks down mineral buildup and neutralizes odors, keeping your machine running smoothly.
Using this mixture regularly helps maintain performance and prolongs the life of your coffee maker.
It’s an easy and natural way to keep everything working just right.
Vinegar And Water Ratio
To clean your coffee maker effectively, combine equal parts white vinegar and water to create a powerful descaling solution. This 1:1 ratio guarantees the vinegar’s acidity breaks down mineral buildup while water dilutes it enough to avoid damage.
Here’s how to use this ratio properly:
- Mix the vinegar and water thoroughly before pouring it into the reservoir.
- Run a brew cycle with this solution to clean internal components.
- Pause midway and let the mixture sit for an hour to maximize descaling.
- Afterward, run two or more cycles with fresh water to rinse out any vinegar residue.
Benefits Of Vinegar Mix
When you combine equal parts vinegar and water, you create a powerful natural cleaner that effectively removes mineral buildup and unpleasant odors from your coffee maker. Vinegar’s acidity breaks down limescale deposits, improving performance and extending your machine’s lifespan.
This vinegar mix is cost-effective, easy to prepare, and sanitizes, reducing germ growth caused by moisture. Using this solution regularly guarantees fresher-tasting coffee by eliminating stale flavors trapped in the system.
| Benefit | Description | Result |
|---|---|---|
| Mineral Buildup | Vinegar dissolves limescale | Improved machine efficiency |
| Odor Removal | Neutralizes unpleasant smells | Fresher brewing experience |
| Sanitization | Kills germs and bacteria | Healthier coffee maker |
| Cost-Effective | Affordable and easy to make | Regular maintenance possible |
Pour the Vinegar Solution Into the Coffee Maker Reservoir
Fill the coffee maker’s water reservoir with an equal parts mixture of water and white vinegar, making certain to reach its maximum capacity. This vinegar solution is essential for effective coffee maker cleaning as it breaks down mineral buildup and eliminates stale coffee odors.
Fill the water reservoir with equal parts water and vinegar to remove mineral buildup and odors effectively.
When pouring the solution, keep these points in mind:
- Use a 1:1 ratio of water to white vinegar for ideal descaling.
- Fill the reservoir completely to guarantee thorough circulation.
- Avoid overfilling to prevent leaks or spills.
- Prepare to start a brew cycle immediately after pouring to activate cleaning.
Pouring the solution correctly sets the stage for deep cleaning, improving your coffee maker’s performance and extending its lifespan.
Run Half Brew Cycle and Pause for One Hour
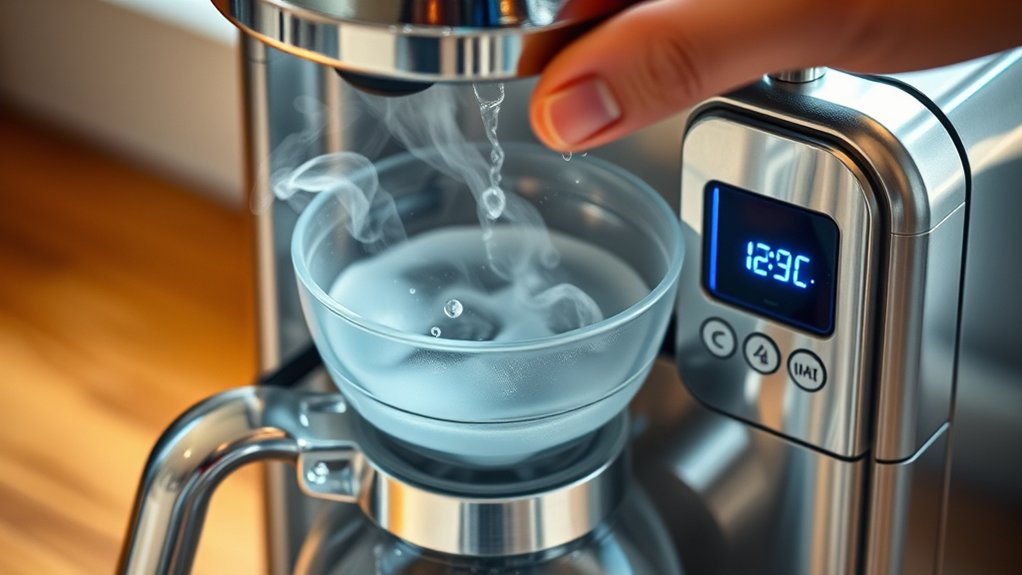
Once you start the brew cycle with the vinegar solution, go ahead and pause it halfway through.
This lets the mixture soak for an hour, which really helps the vinegar break down mineral buildup more effectively.
After that hour is up, just resume the cycle and finish the cleaning process. Easy, right?
Mid-Brew Cycle Pause
How long should you let the cleaning solution work inside your coffee maker? For the best results, use the mid-brew cycle pause method. Run a half brew cycle with the vinegar-water cleaning solution, then pause the machine for one hour. This allows the solution to break down mineral buildup and coffee oils effectively.
Follow these steps for the mid-brew cycle pause:
- Start the brew cycle with your cleaning solution.
- Pause the machine halfway through the brew cycle.
- Let it sit for one hour to maximize descaling.
- Resume and complete the brew cycle to flush the system.
This practical approach enhances your coffee maker’s performance and guarantees a thorough clean every time.
Vinegar Solution Soak
Because mineral buildup can seriously impact your coffee maker’s performance, you’ll want to use a vinegar solution soak to tackle it effectively.
Start by mixing equal parts white vinegar and water to create a cleaning solution.
Pour this mixture into the water chamber and begin a brew cycle.
Once the brew cycle is halfway through, pause it and let the vinegar solution soak for one hour. This soak time allows the solution to break down stubborn mineral deposits inside the machine.
After an hour, complete the brew cycle to flush out the cleaning solution.
To finish, run two additional brew cycles with fresh water, letting the coffee maker cool between cycles. This ensures all vinegar residue is rinsed away for peak performance.
Enhancing Descaling Effectiveness
To maximize the effectiveness of your vinegar soak, run the brew cycle until it’s halfway complete.
Then pause it and let the solution sit inside the machine for an hour. This pause enhances descaling by allowing the vinegar’s acidity to break down mineral buildup more thoroughly.
During this time, the solution penetrates internal components, improving your coffee maker’s cleaning and performance.
Follow these steps to enhance descaling:
- Run the brew cycle halfway and pause for one hour.
- Let the vinegar-water mixture dissolve limescale and deposits.
- Resume and complete the brew cycle after the pause.
- Perform multiple rinse cycles with fresh water to remove vinegar residues.
This method is especially effective for machines exposed to hard water or heavy use, ensuring longevity and superior flavor.
Complete the Brew Cycle to Clean Internal Parts
Start by pouring the vinegar-water solution into your coffee maker’s water chamber to initiate the cleaning process.
Next, start a brew cycle but turn off the machine halfway through. This pause lets the solution sit inside, breaking down mineral buildup and grime.
After an hour, turn the coffee maker back on and complete the brew cycle. This step verifies the vinegar mixture thoroughly cleans the internal parts, including the water lines and heating elements.
By doing this, you effectively remove residues that affect taste and performance.
Completing the brew cycle with the cleaning solution is essential to restore your coffee maker’s efficiency and maintain a fresh brew every time.
This method assures a deep clean without damaging your machine.
Throw Out the Vinegar Solution and Refill With Fresh Water
Discard the vinegar solution from the carafe carefully to prevent any residual taste from lingering in your coffee. Proper cleaning requires you to thoroughly rinse and prepare your coffee maker for the next step.
Follow these steps:
- Rinse the carafe with warm water to remove all vinegar traces.
- Refill the coffee maker’s water chamber with fresh, clean water.
- Run a full brew cycle to flush out vinegar from internal parts.
- Repeat the fresh water brew two more times, allowing the machine to cool between cycles.
This process guarantees your coffee maker is free of vinegar taste and ready for brewing fresh coffee.
Properly discarding and refilling is essential for effective cleaning.
Run Multiple Rinse Cycles to Remove Vinegar Taste
A thorough rinsing process is essential to completely remove any lingering vinegar taste from your coffee maker.
After discarding the vinegar-water solution, fill the water chamber with fresh water and run a full brew cycle to rinse out residual vinegar.
To guarantee your coffee maker is completely clean, repeat this rinse cycle two more times.
Allow the machine to cool between cycles to prevent damage from sudden temperature changes.
Testing the machine with plain water after these cycles will help you confirm that no vinegar flavor remains.
Wipe Down the Exterior and Dry All Coffee Maker Parts
Wipe down the exterior of your coffee maker using warm, soapy water and a soft cloth to remove dust, stains, and residue.
Pay attention to all surfaces to maintain a clean, hygienic appliance. After wiping, dry the exterior thoroughly with a soft cloth to prevent water marks.
When cleaning, remember these key steps:
- Use a soft cloth for glass surfaces and dry immediately to avoid streaks.
- For stainless steel, wipe in the direction of the grain to protect the finish.
- Rinse all removable parts, like the carafe and filter basket, thoroughly.
- Dry removable parts completely to prevent moisture build-up and potential mold.
Regularly wipe down your coffee maker’s exterior to keep it looking its best and functioning well.
Reassemble Your Coffee Maker for Next Use
Before you use your coffee maker again, make certain every component is completely dry and securely reassembled. This prevents mold growth and guarantees smooth operation.
Start by reattaching the filter basket firmly to the coffee maker’s body. Place the carafe back on the warming plate, aligning it correctly to avoid spills. If your machine has a milk system or extra parts, follow the manufacturer’s instructions to reassemble them properly.
Finally, double-check the power cord connection and confirm all components are in their correct spots before turning the coffee maker on.
| Component | Action | Tip |
|---|---|---|
| Filter Basket | Reattach securely | Check for proper fit |
| Carafe | Place on warming plate | Align to avoid spills |
| Milk System | Reassemble as instructed | Follow manual closely |
| Power Cord | Verify connection | Make sure it’s plugged in safely |
Set Your Coffee Maker Cleaning Schedule for Best Results
Once your coffee maker is fully reassembled and dry, setting a consistent cleaning schedule helps maintain its performance and flavor quality.
Creating a cleaning schedule prevents mineral buildup and guarantees every cup tastes fresh. Here’s how to optimize your routine:
Establishing a regular cleaning routine stops mineral buildup and keeps every cup tasting fresh and enjoyable.
- Establish a monthly cleaning schedule for regular maintenance.
- For heavy users, perform a deep clean every two weeks to avoid stale flavors.
- Watch for signs like a white film or odd tastes. These indicate it’s time for a deep clean.
- Follow manufacturer guidelines, often recommending cleaning after every 100 brews or filter uses.
Frequently Asked Questions
Can I Use Lemon Juice Instead of Vinegar to Clean My Coffee Maker?
Yes, you can use lemon juice instead of vinegar to clean your coffee maker.
Lemon benefits include its natural acidity, which helps dissolve mineral buildup and eliminate odors.
It’s a great cleaning alternative if you prefer a fresh scent over vinegar’s stronger smell.
Just mix equal parts lemon juice and water, run it through the machine, then flush several cycles of plain water to avoid any lemon flavor in your coffee.
Is It Safe to Clean a Coffee Maker With Vinegar if I Have a Stainless Steel Machine?
You might worry that vinegar could damage your stainless steel coffee maker, but it’s actually safe and highly effective.
Vinegar benefits include natural descaling without scratching, unlike harsher chemicals. Just dilute it with equal parts water to avoid corrosion or lingering odors.
While cleaning alternatives exist, vinegar remains practical and affordable.
Remember to rinse thoroughly afterward to keep your machine in top shape and preserve your coffee’s flavor.
How Do I Descale a Coffee Maker With a Built-In Grinder?
To descale a coffee maker with a built-in grinder, start by turning off the machine and making sure it’s cool.
Use a descaling solution designed for coffee makers and fill the water reservoir with it.
Run a brew cycle but pause it halfway, letting the solution sit to break down limescale. This also helps with grinder maintenance by preventing buildup.
Then finish the cycle, discard the solution, and run two or three fresh water cycles to rinse thoroughly.
Can I Clean My Coffee Maker in the Dishwasher?
About 70% of coffee maker parts are dishwasher safe, but you need to check your specific model.
When it comes to dishwasher safety, focus on removable components like the carafe and filter basket. These are usually made from dishwasher-safe coffee maker materials.
Avoid placing the electrical base or power cord in the dishwasher.
Properly disassembled parts cleaned this way effectively remove residue and oils. This keeps your coffee tasting fresh and your machine running smoothly.
How Long Does It Take for a Coffee Maker to Dry After Cleaning?
It usually takes about 1 to 2 hours for your coffee maker to dry after cleaning, depending on drying techniques and environmental factors.
To speed up drying times, place it in a well-ventilated area and wipe surfaces with a soft, dry cloth.
Removable parts like the carafe may need an additional 30 minutes to an hour.
Using these practical drying techniques helps prevent mold and keeps your coffee maker in top shape.
Conclusion
Cleaning your coffee maker regularly guarantees every cup tastes fresh and your machine lasts longer. Remember, “a stitch in time saves nine.” A little routine maintenance now prevents bigger problems later.
By following these simple steps, you’ll keep your coffee maker in top shape, enjoy better coffee, and avoid costly repairs. Set a cleaning schedule that works for you, and soon it’ll become an effortless part of your coffee ritual.