How To Descale Keurig Coffee Pot – Easy Cleaning Guide
You should descale your Keurig every 3 to 6 months to remove mineral buildup and keep the brewing efficient. Start by unplugging the machine and emptying the water reservoir.
Use a Keurig descaling solution or a 1:1 vinegar-water mix. Run brew cycles with the solution, then rinse thoroughly with clean water through several cycles. Replace the water filter to boost performance.
Regular descaling prevents damage and ensures quality coffee. For detailed steps and maintenance tips, keep exploring further.
Why You Should Descale Your Keurig Regularly
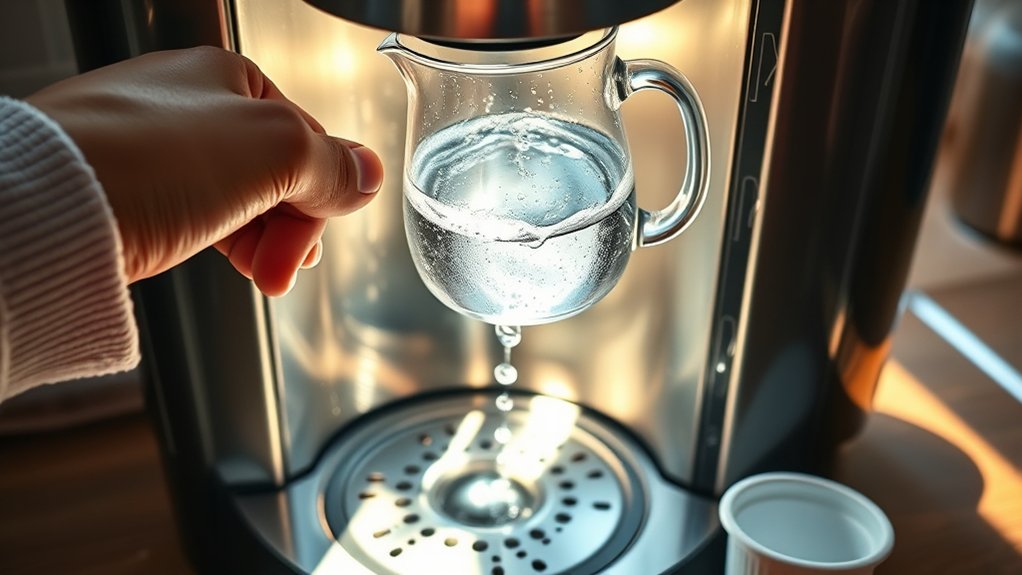
Although it may seem like a minor maintenance task, descaling your Keurig regularly is vital to keep it functioning properly and brewing quality coffee.
Over time, mineral buildup from hard water accumulates inside your machine, impairing performance and negatively affecting coffee flavor.
Mineral buildup from hard water gradually harms your machine’s performance and diminishes the taste of your coffee.
Using a descaling solution breaks down this limescale efficiently, restoring ideal flow and heating.
You should descale every 3 to 6 months, depending on your water hardness and usage frequency, to prevent clogs and damage to internal components.
Regular descaling not only maintains consistent coffee flavor but also extends your Keurig’s lifespan and improves energy efficiency by preventing overheating caused by mineral deposits.
Following a routine descaling schedule guarantees your machine operates reliably and produces excellent coffee with every brew.
Supplies Needed for Descaling Your Keurig
To descale your Keurig, you’ll want to have either a Keurig descaling solution on hand or a simple 1:1 mix of white vinegar and water.
Make sure you have a large mug ready to catch the brewed solution.
You’ll also need some clean water for rinsing and running extra brew cycles afterward.
Don’t forget a soft cloth with dish soap to clean the outside of your machine.
Oh, and it’s a good idea to have a replacement water filter cartridge nearby to keep your Keurig running at its best.
Descaling Solution Options
Several effective descaling solutions can restore your Keurig’s performance by removing mineral buildup. You have two main options:
- Use a Keurig descaling solution specifically formulated to dissolve limescale without harming your machine.
- Choose household white vinegar as a cost-effective alternative by mixing it 1:1 with water in the reservoir.
Always have a large mug ready to catch the descaling solution during brew cycles, which you’ll repeat until the reservoir empties.
Descale every 3-6 months to guarantee peak performance and maintain flavor quality.
After descaling, thoroughly rinse the reservoir and run multiple fresh water cycles to flush out any residual solution or vinegar taste.
This precise approach keeps your Keurig functioning efficiently and prolongs its lifespan.
Necessary Cleaning Tools
You’ll need five essential supplies to descale your Keurig effectively: a descaling solution or a vinegar-water mixture, a large mug to collect fluid during the process, a clean sponge or cloth for wiping the machine, filtered water for rinsing, and a water filter cartridge to optimize performance.
Begin by preparing your descaling solution according to instructions or mix equal parts white vinegar and water.
Place the large mug on the drip tray to catch the expelled liquid as you run the descaling cycles.
Use the clean sponge to wipe down the exterior before and after descaling, preventing residue buildup.
Once the descaling step is complete, flush the system thoroughly with filtered water to remove any solution remnants.
These tools guarantee a thorough, efficient descaling process.
Water Filter Replacement
Replacing your Keurig’s water filter cartridge every two months guarantees ideal water quality and coffee flavor.
To maintain excellent water quality and prevent mineral buildup, it’s essential to replace the filter regularly.
Follow these steps to replace the water filter correctly:
- Remove the old water filter cartridge from the water reservoir.
- Soak the new water filter in water for five minutes to activate the filtration process.
- Insert the new cartridge into the reservoir, ensuring it clicks securely into place.
Always use the official Keurig water filter, designed to fit most Keurig models for effective filtration.
Preparing Your Keurig for Descaling
Before you start descaling, make sure to unplug your Keurig to keep things safe.
Then, empty out the water reservoir completely.
Next, gather all the cleaning supplies you’ll need, like a descaling solution or a mixture of white vinegar and water.
Getting these steps done first really sets you up for an effective descaling process.
Unplug And Empty Reservoir
Start by unplugging your Keurig to eliminate any risk of electrical shock during the descaling process. Ensuring the machine is unplugged is critical for your safety.
Next, focus on the water reservoir to prepare it correctly for descaling. Follow these steps:
- Remove the water reservoir and empty any remaining water completely to prevent dilution of the descaling solution.
- Wash the reservoir with soapy water to remove residue and buildup, ensuring a clean environment for effective descaling.
- Inspect the water filter cartridge; replace it if it’s been over two months since the last change for peak performance.
Once the reservoir is empty, clean, and ready, you can proceed to fill it with the descaling solution for the next phase.
Gather Cleaning Supplies
To effectively descale your Keurig, gather the necessary cleaning supplies: a Keurig descaling solution or white vinegar, a large mug to catch the brew during cleaning cycles, a freshly washed water reservoir, and a soft cloth for wiping the machine’s exterior.
Start by rinsing the reservoir thoroughly with hot water and mild soap to remove any residue. Fill the reservoir with the descaling solution or a 50/50 mixture of white vinegar and hot water.
Place the large mug on the drip tray to collect liquid during the process. Keep the soft cloth nearby for wiping spills or cleaning the machine’s surface after descaling.
Having these cleaning supplies ready guarantees a smooth, effective descale while maintaining your Keurig’s hygiene and performance.
Descaling Your Keurig With Vinegar
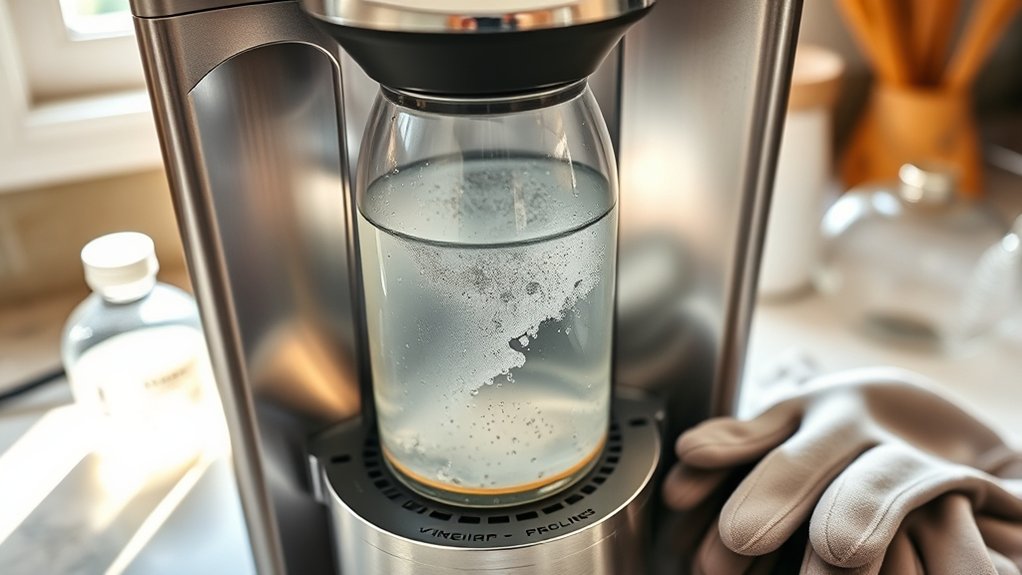
When you mix equal parts water and white vinegar in your Keurig’s reservoir, you create an effective descaling solution that targets mineral buildup inside the machine.
To descale your Keurig with vinegar, follow these steps precisely:
To descale your Keurig with vinegar, follow these simple steps carefully for best results.
- Fill the reservoir with the vinegar-water mixture without using pure vinegar. Run brew cycles using the largest mug setting until the reservoir is empty to clean internal components thoroughly.
- Let the machine sit for 30 minutes to maximize the vinegar’s descaling effect.
- Rinse the reservoir thoroughly and run multiple cycles with fresh water to remove any remaining vinegar taste.
Regular descaling with vinegar every three to six months prevents mineral buildup and guarantees peak coffee brewing performance.
Descaling Your Keurig With Keurig Solution
Besides vinegar, Keurig offers a specialized descaling solution designed to remove mineral deposits effectively.
To begin, empty the water reservoir completely.
Pour the Keurig descaling solution into the reservoir, then fill it with water up to the designated fill line.
Plug in your machine and run a brew cycle using the largest mug setting without inserting a K-Cup. Discard the liquid into the sink.
Repeat these brew cycles until the water reservoir is empty, ensuring the internal components are thoroughly cleaned.
Once complete, allow the machine to sit for 30 minutes to maximize the descaling solution’s effectiveness.
Finally, rinse the water reservoir thoroughly with clean water and run multiple brew cycles with fresh water to flush out any residual solution and taste.
Cleaning Your Keurig’s Water Reservoir and Exterior
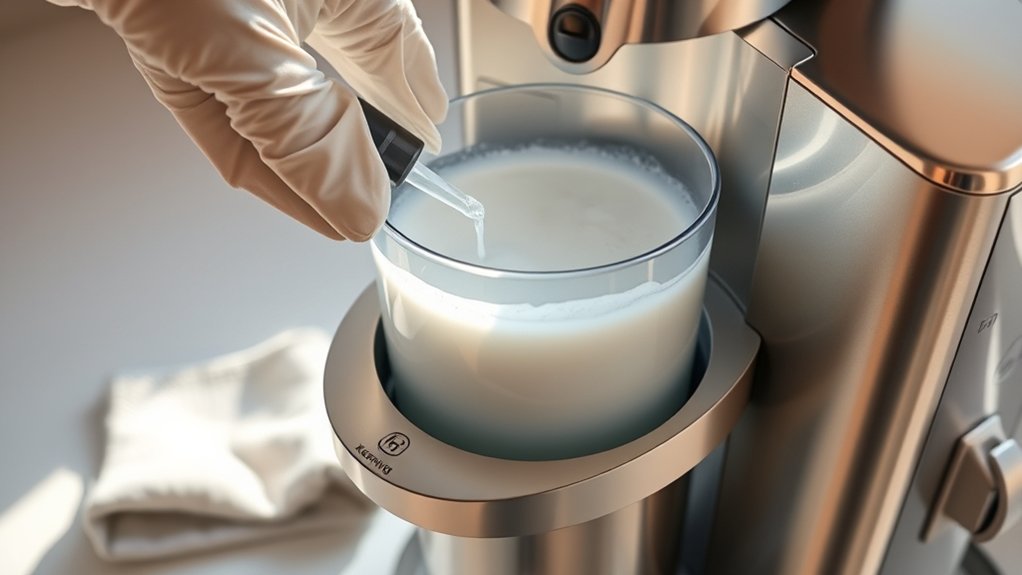
You should clean the water reservoir weekly using soapy water to prevent buildup and keep your coffee tasting fresh.
After washing, make sure to rinse it thoroughly to get rid of all the soap residue. Also, don’t forget to replace the water filter cartridge every two months.
It’s a good idea to regularly wipe down the exterior with a damp cloth and a little dish soap.
This helps maintain your Keurig’s appearance and makes sure it keeps working smoothly.
Cleaning The Water Reservoir
Cleaning your Keurig’s water reservoir at least once a week helps prevent mold growth and mineral buildup. These issues can affect both machine performance and coffee taste.
For effective cleaning, follow these steps:
- Empty the reservoir and wash it thoroughly with warm, soapy water to remove any residue or mold.
- Rinse the reservoir with clean water to eliminate soap traces, ensuring no contaminants remain.
- Replace the water filter cartridge every two months to maintain ideal water quality and keep everything clean.
Keeping the water reservoir clean is essential for your Keurig’s function and the flavor of your coffee.
Regular cleaning and timely filter replacement help avoid clogs and extend the appliance’s lifespan. This way, you’ll get a consistent brew every time.
Exterior Maintenance Tips
Maintaining your Keurig’s exterior and water reservoir requires weekly attention to prevent buildup and guarantee top performance. Always unplug the machine before cleaning to ensure safety. Use warm, soapy water to clean the water reservoir thoroughly, especially if you notice mold. Avoid bleach to protect the reservoir’s material.
Wipe the exterior with a damp cloth and mild dish soap to remove dust, coffee grounds, and stains from spills like hot chocolate or a cup of coffee. Replace the water filter cartridge every two months to maintain peak water quality.
| Task | Frequency | Notes |
|---|---|---|
| Water reservoir wash | Weekly | Use warm, soapy water |
| Exterior wipe | Weekly | Damp cloth with dish soap |
| Filter replacement | Every 2 months | Guarantees clean water for brewing |
Weekly Cleaning Routine
Although it might seem routine, performing a weekly cleaning of your Keurig’s water reservoir and exterior is essential to prevent mold buildup and guarantee top brewing performance.
Follow these precise steps to maintain your machine’s integrity and coffee quality:
- Remove the water reservoir and wash it thoroughly with warm, soapy water. This prevents mold and mineral buildup. Rinse well to eliminate all soap residue.
- Wipe the exterior surfaces with a damp cloth and mild dish soap, making sure no moisture seeps into electronic components.
- Replace the water filter cartridge every two months to sustain ideal water quality and machine longevity.
Adhering to this weekly cleaning routine guarantees your Keurig operates efficiently and your coffee tastes fresh. All rights reserved.
Rinsing Your Keurig After Descaling
Once you’ve finished descaling your Keurig, make certain to rinse the water reservoir thoroughly with clean water to eliminate any leftover descaling solution.
Next, perform 2-3 brew cycles using the largest mug setting and fresh water to flush all descaling residue from the system.
Run 2-3 cycles on the largest mug setting with fresh water to clear all descaling remnants.
This rinsing method is critical for flavor enhancement, as any residual solution can negatively impact coffee quality.
Monitor the taste during initial brews. If a vinegar or chemical aftertaste persists, continue rinsing with fresh water until it dissipates.
Consistent and thorough rinsing after descaling maintains peak coffee quality by preventing buildup and preserving the machine’s internal cleanliness.
Following these precise rinsing methods guarantees your Keurig delivers the best flavor possible after each descale cycle.
How Often to Descale Your Keurig
How often should you descale your Keurig to keep it running smoothly? The frequency depends mainly on how hard your water is and how often you use the machine.
Mineral deposits build up faster with hard water, which can affect both performance and coffee quality. Here’s a simple guideline:
- Every 3 to 6 months: This is the standard recommendation for average water hardness and typical use.
- More frequently if needed: If you notice slower brew times or weaker flavor, it’s a good idea to descale sooner to avoid further issues.
- Longer intervals with filtered water: Using distilled or filtered water means less mineral buildup, so you can wait longer between descaling cycles.
Always check your Keurig model’s manual for specific descaling instructions. That way, you can keep your machine in great shape and enjoy the best coffee possible.
Spotting and Removing Mold in Your Keurig
Where should you look for mold in your Keurig? Focus on the water reservoir, especially if you notice signs like discoloration or a musty odor. Mold poses health risks, so act immediately if you find any.
Check the water reservoir for mold if you see discoloration or smell a musty odor.
First, empty the reservoir to stop further growth. Clean it thoroughly with warm, soapy water, using a brush to remove all visible mold. Avoid bleach since it can leave harmful residues.
To prevent mold, clean the reservoir weekly and replace the water filter cartridge every two months. Regularly check for buildup, especially in humid environments, to keep your coffee quality high and your machine safe.
Following these steps will minimize health risks and keep your Keurig mold-free.
Fixing Keurig Brewing Problems After Descaling
After guaranteeing your Keurig is free from mold and buildup, you might still encounter brewing issues following the descaling process.
To resolve brewing inconsistencies, follow this troubleshooting guide:
- Check the water reservoir for residual buildup and clean it with warm, soapy water.
- Run multiple plain water cycles to flush out remaining descaling solution.
- Verify the machine is properly plugged in and the power source is operational; power interruptions can halt brewing.
- Inspect and replace the water filter cartridge if overdue, and perform a thorough cleaning of the needle and internal components to remove clogs.
Incorporate these troubleshooting tips into your maintenance checklist to guarantee consistent performance and prolong your Keurig’s lifespan.
Frequently Asked Questions
Can I Use Lemon Juice Instead of Vinegar to Descale My Keurig?
Yes, you can use lemon juice instead of vinegar to descale your Keurig.
Lemon juice has natural antibacterial properties, making it a good alternative for descaling.
However, lemon juice mightn’t be as effective at removing mineral buildup as vinegar.
When using natural cleaners, lemon juice usually requires more frequent applications and thorough rinsing to get rid of any residues.
Always check your Keurig’s manufacturer guidelines before using acidic substances like lemon juice for descaling.
Will Descaling Remove Coffee Stains Inside the Machine?
Descaling won’t completely remove coffee stains inside your Keurig; it primarily targets mineral buildup from hard water.
To tackle coffee residue, maintain a regular cleaning frequency, every 3 to 6 months, and run a vinegar cleaning cycle to help lighten stains.
For persistent residue, manually scrub with a soft cloth.
Follow these maintenance tips consistently to prevent buildup and keep your machine functioning effectively.
Is It Safe to Descale My Keurig if I Have Hard Water?
Just like a knight regularly sharpens their sword, you should descale your Keurig if hard water impact is a concern.
It’s safe and essential to maintain peak function.
Descale every 3-6 months, depending on usage and mineral buildup.
Don’t forget to use a water filter to reduce deposits between cleanings.
Regular descaling prevents clogs, guarantees consistent water flow, and preserves your coffee’s flavor and machine longevity.
Can I Descale My Keurig Without Unplugging It First?
You shouldn’t descale your Keurig without unplugging it first, as unplugging safety prevents accidental brewing and electrical issues.
Descaling frequency depends on water hardness, but always follow manufacturer guidelines for safety.
If you prefer, you can use alternative descalers designed for Keurig machines, but unplugging remains essential.
This guarantees the internal components cool down and the descaling solution works effectively, reducing malfunctions and extending your machine’s lifespan.
How Do I Know if My Keurig Needs Descaling Urgently?
Think of your Keurig as a clock; when it ticks slower, it signals distress. You know descaling frequency has lapsed if water flow drops, brewing slows, or your coffee tastes bitter.
These signs indicate deterioration from mineral buildup.
Maintenance tips include watching for indicator lights and frequent clogs. Visible residue inside the reservoir also demands urgent descaling.
Act promptly to guarantee peak performance and avoid permanent damage to your machine.
Conclusion
Regular descaling keeps your Keurig running efficiently, as 82% of coffee machine malfunctions stem from mineral buildup. By following the steps outlined, using vinegar or Keurig solution, thoroughly rinsing, and addressing mold, you’ll extend your machine’s lifespan and maintain peak brew quality.
Aim to descale every 3–6 months, depending on water hardness. Staying proactive prevents clogs and brewing issues, ensuring each cup tastes fresh and your Keurig performs flawlessly.