How To Use A Percolator Coffee – Beginner’s Guide
To use a percolator coffee maker, fill the lower chamber with water and place coarsely ground coffee in the upper basket. Heat it on medium-low so water rises through the tube, saturating the grounds without bitterness.
Brew for 7 to 10 minutes, watching for a steady coffee flow and rich aroma as signs it’s ready. Clean it promptly after use to keep flavors fresh.
Keep going, and you’ll master perfect percolator coffee every time.
What Is a Percolator Coffee Maker?
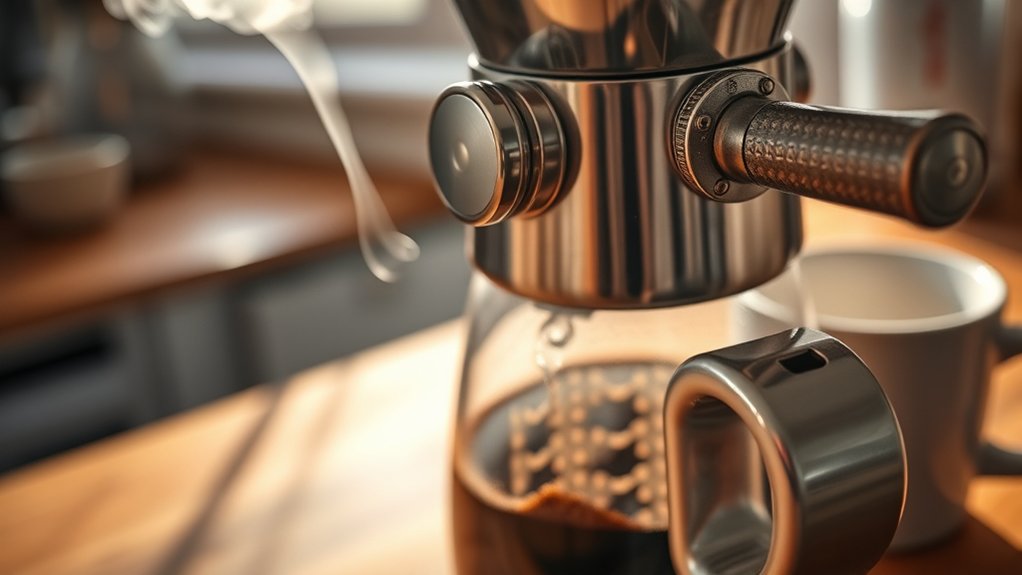
A percolator coffee maker uses a clever design with two chambers to brew your coffee. The lower chamber holds water, while the upper chamber houses the coffee grounds.
As the water heats, it travels up a vertical tube and cascades over the grounds, allowing brewed coffee to drip back down. This cycle repeats, passing water through the grounds multiple times, which gives your coffee a bold, strong flavor.
Heated water rises, flows over grounds, and cycles repeatedly for a rich, bold coffee flavor.
You can use a percolator coffee maker on stovetops or even campfires, making it ideal for outdoor lovers. Just remember, timing is key. Too long, and your coffee may taste bitter.
Understanding this unique design helps you appreciate why the percolator remains a classic choice for rich, robust coffee brewing.
How Does a Percolator Brew Coffee?
You’ll notice that a percolator brews coffee by cycling boiling water from the bottom chamber up through a tube. This water then saturates the coffee grounds.
As the water keeps circulating, it extracts the flavors from the grounds. The brewed coffee then drips back down, creating a rich blend.
Getting how this cycle works can help you control the brewing time and strength. That way, you can make the perfect cup just the way you like it.
Brewing Mechanism Explained
Although percolators might seem simple, their brewing mechanism is quite ingenious. You start by heating water in the lower chamber, which then rises through a vertical tube to saturate the coffee grounds in the basket above.
This brewing mechanism guarantees hot water passes repeatedly over the grounds, extracting rich flavors with each cycle. As the brewed coffee drips back down, the process continues until you stop it, requiring careful timing to prevent bitterness from over-brewing.
You’ll want to use medium heat to keep this mechanism functioning at its best, as too much heat can spoil the taste.
This efficient brewing mechanism also lets you make multiple cups at once, perfect for groups or camping trips.
Water Circulation Process
When you heat the water in the percolator’s lower chamber, steam and pressure push it up through a vertical tube, forcing hot water to flow directly over the coffee grounds in the basket.
This water circulation process guarantees the grounds are evenly saturated, allowing brewed coffee to drip back into the lower chamber.
As the cycle repeats, the coffee recirculates over the grounds multiple times, intensifying the flavor.
You need to monitor the heat carefully; too high, and the water circulates too rapidly, risking bitter over-extraction.
Typically, this water circulation process lasts 7 to 10 minutes, striking the right balance for ideal strength.
Understanding this cycle helps you control the brewing, delivering a rich, well-extracted cup every time.
Coffee Extraction Cycle
The water circulation process sets the stage for the coffee extraction cycle, where boiling water repeatedly passes through the coffee grounds to draw out their flavors.
In the brewing process, water heats in the lower chamber, creating pressure that pushes it up the central tube to saturate the coffee grounds in the upper basket.
Brewed coffee then drips back down, allowing multiple passes through the grounds, intensifying flavor with each cycle.
To achieve your desired strength, control the percolation time, typically between 7 to 10 minutes. Maintaining an even medium-low heat is essential to prevent overheating, which can cause over-extraction and bitterness.
Choosing Coffee Grounds for Your Percolator
Since your percolator relies on water cycling through the grounds multiple times, choosing the right coffee grind is essential to avoid clogging and achieve a balanced brew. Always use coarsely ground coffee; finer grounds can block the basket, disrupting flow and causing bitterness.
For consistent results, grind fresh beans just before brewing using a burr grinder, which guarantees an even coarse grind.
Select low-acidity or light roasts to prevent overpowering flavors, as percolation intensifies taste through repeated extraction.
High-quality, fresh beans will preserve aroma and flavor.
How Much Coffee and Water to Use
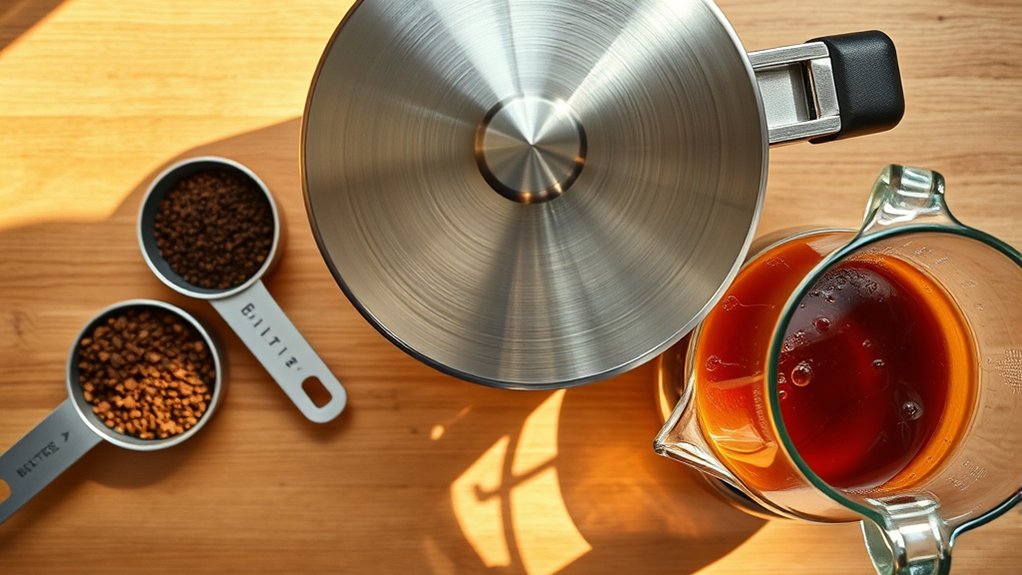
You’ll want to start with a clear coffee-to-water ratio—about 1 tablespoon of coarsely ground coffee per cup of water if you like it strong.
If you prefer something milder, go with 1 teaspoon instead.
Playing around with these amounts lets you find the perfect strength for your taste.
Just remember, keeping your measurements consistent is the best way to get a great cup every time.
And don’t forget, using fresh cold water in the bottom chamber is super important for pulling out the best flavor.
Coffee To Water Ratio
Although brewing with a percolator might seem straightforward, getting the coffee-to-water ratio right is essential to achieving the perfect cup.
Start with 1 tablespoon of coarsely ground coffee per cup of water for a strong brew, or 1 teaspoon if you prefer something milder.
For a standard 12-cup percolator, use 12 tablespoons (¾ cup) of coffee with 12 cups of water to balance flavor extraction.
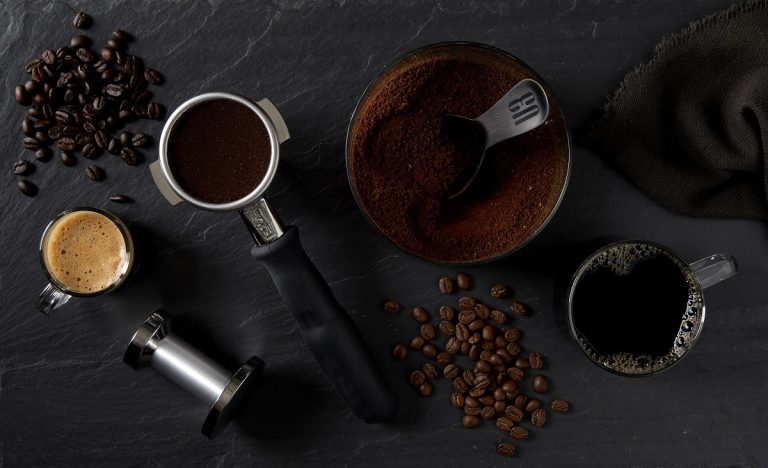
Consistency matters, so use a coffee scoop to maintain accurate measurements every time you brew.
Keep in mind, the type of coffee and grind size also influence strength and flavor, so choose carefully.
Experiment with these ratios to find the ideal balance that suits your taste perfectly.
Adjusting Brew Strength
Finding the right coffee-to-water ratio sets the foundation, but adjusting brew strength goes beyond just measurements.
You’ll want to experiment with coffee amounts and brewing time to match your taste.
For a stronger brew, use 1 tablespoon of coarsely ground coffee per cup of water; for milder flavor, 1 teaspoon per cup works well.
The brewing time (7-10 minutes) also influences strength. Longer cycles intensify flavor but risk bitterness.
Consistency in measuring both coffee and water guarantees you can replicate your ideal cup every time.
Cleaning and Preparing Your Percolator
Because coffee grounds can quickly build up and alter the taste of your brew, cleaning your percolator immediately after use is essential.
Start by disassembling it. Remove the coffee basket and vertical stem to guarantee every part gets attention.
Use warm, soapy water to wash the brewing basket and water chamber thoroughly, eliminating all residue.
For stubborn stains or lingering odors, heat a mixture of baking soda or vinegar in the water chamber for about 10 minutes, then rinse well.
Regular cleaning percolator sessions not only preserve the rich flavor of your coffee but also extend the lifespan of your equipment.
How to Add Water and Coffee Grounds
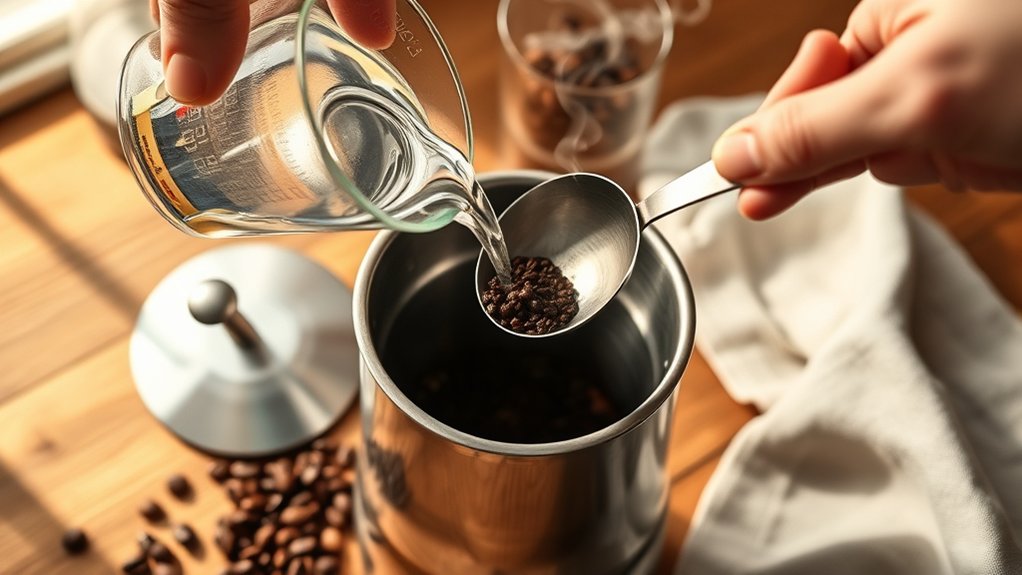
Once you’ve thoroughly cleaned your percolator, the next step is to add the right amount of water and coffee grounds to guarantee a perfect brew.
Start by adding water to the bottom chamber, following the manufacturer’s guidelines. It’s usually about 1 cup per serving.
Next, prepare your coffee grounds with a coarse grind for ideal extraction. Here’s how to proceed:
- Add water to the percolator’s base chamber, making sure you don’t exceed the fill line.
- Measure approximately 1 tablespoon of coarsely ground coffee per cup of water.
- Place the coffee grounds into the basket, fitting it securely onto the vertical stem.
This precise approach guarantees your percolator is ready for brewing, delivering a rich, balanced coffee every time.
Brewing Coffee on the Stovetop
With water and coffee grounds properly measured and loaded into your percolator, you’re ready to start brewing on the stovetop.
Place the percolator on medium-low heat to gently warm the water in the base chamber.
As it heats, water will travel up the tube, seep through the coarsely ground coffee, and drip back down, extracting rich flavors.
Maintaining medium-low heat is key to avoid over-extraction, which can make your coffee bitter.
Remember, the ideal coffee-to-water ratio is one tablespoon of coarsely ground coffee per cup, ensuring efficient brewing without clogging.
Once your percolator starts perking, let it brew for 4 to 7 minutes to make coffee that’s balanced and flavorful.
Afterward, clean your percolator promptly to preserve taste quality.
How to Tell When Your Coffee Is Ready
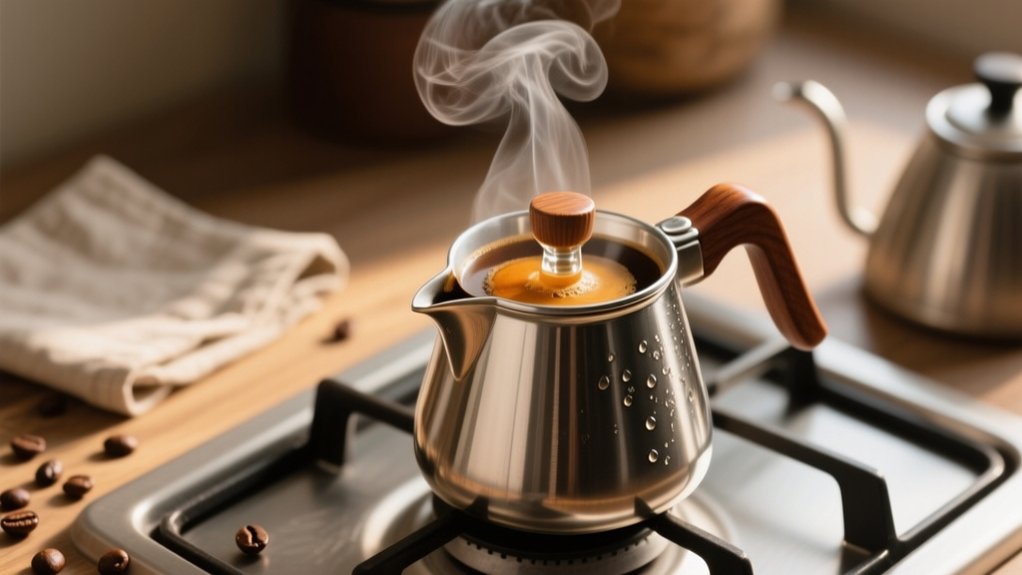
Three key signs tell you when your percolator coffee is ready: a steady stream of coffee bubbling through the glass knob, a deepening color in the viewing window, and a rich aroma filling the air. Paying attention to these signals helps you brew perfect coffee every time.
- Watch for a consistent stream of coffee bubbling through the glass knob. This shows the brewing process is underway and stable.
- Observe the coffee’s color in the viewing window; it darkens from light golden to rich brown as it brews.
- Notice the rich aroma filling your kitchen. That’s your cue that the coffee percolator is close to finishing.
Typically, brewing lasts 7 to 10 minutes, so keep an eye on these signs to time your perfect cup.
How to Prevent Bitter or Over-Brewed Coffee
Although percolators are straightforward to use, preventing bitter or over-brewed coffee requires attention to a few key factors.
First, always use coarsely ground coffee. Finer grounds clog the basket and cause over-extraction, resulting in bitter coffee.
Next, keep your brewing time between 7 to 10 minutes once perking starts. Brewing longer leads to over-brewing.
Maintain medium-low heat during brewing to avoid quick over-extraction and burnt flavors.
Start with a coffee-to-water ratio of 1 tablespoon per cup and adjust to your taste to prevent bitterness.
By monitoring these elements carefully, you’ll guarantee a smooth, balanced cup every time without bitter coffee overpowering the flavor.
Staying precise with these steps keeps your brew enjoyable and well-extracted.
Cleaning and Maintaining Your Percolator
To keep your percolator brewing at its best, you need to clean it immediately after each use. Prompt cleaning habits prevent dried coffee grounds from ruining flavor and clogging components.
Use warm, soapy water to wash the brewing basket and water chamber, then rinse thoroughly.
For stubborn stains or odors, heat a vinegar or baking soda mixture in the chamber for 10 minutes before rinsing.
Follow these steps for effective cleaning and maintenance:
- Disassemble all removable parts and wash with warm, soapy water.
- Use a vinegar or baking soda soak for deep cleaning every few weeks.
- Regularly inspect seals and replace worn parts to maintain performance.
Consistent cleaning and care guarantee flavorful coffee and extend your device’s lifespan.
Using a Percolator Coffee Maker for Camping
When you’re camping, a percolator coffee maker is super handy because it lets you brew multiple cups right over a campfire or a portable stove.
Just make sure to pick a durable model, preferably made from stainless steel or aluminum, so it can handle the outdoor conditions without any trouble.
With the right heat source and sturdy materials, you’ll be able to enjoy fresh coffee no matter where your adventure takes you.
It’s a simple way to start your morning on the trail!
Portable Brewing Benefits
Because percolators are lightweight and compact, they fit easily into your backpack, making them perfect for camping trips. The portable brewing benefits of a percolator coffee maker shine when you need a reliable, flavorful cup outdoors.
You can enjoy stovetop coffee right over your campfire or portable stove, no matter where you are.
Here’s why percolator coffee stands out for camping:
- Brews multiple cups quickly, so everyone gets coffee without delay.
- Durable stainless steel construction withstands rugged outdoor conditions.
- Enhances flavor extraction, delivering bold, robust coffee ideal for the outdoors.
With these advantages, a percolator coffee maker guarantees you get quality coffee while enjoying nature’s simplicity and convenience.
Heat Source Options
Although you can brew coffee almost anywhere with a percolator, choosing the right heat source makes all the difference in flavor and convenience.
When camping, you can place your stovetop percolator directly on campfire grates or coals. But managing heat control is essential to avoid burning your coffee.
A portable camping stove offers a more consistent and safer heat source. It lets you easily maintain medium heat to prevent bitterness from over-extraction.
Using a windbreak helps stabilize the flame, ensuring even brewing and better flavor.
By mastering heat control, whether on a fire or stove, you’ll enjoy perfectly brewed coffee outdoors every time.
Durable Percolator Materials
Selecting the right material for your percolator greatly impacts both its durability and your brewing experience, especially while camping.
Choosing durable percolator materials guarantees your coffee maker withstands outdoor conditions and lasts for many trips.
Consider these key points:
- Stainless steel: The most durable option, resistant to corrosion and able to handle high heat without warping. It’s perfect for campfires or stovetops.
- Aluminum: Lighter than stainless steel, making it easier to carry but less resistant to damage and corrosion.
- Glass: Provides a clear view of brewing but is fragile and less suitable for rugged camping.
Opt for PFAS-free models to keep your coffee safe, and enjoy easy maintenance with stainless steel or aluminum percolators.
How Percolator Coffee Compares to Other Brewing Methods
When you brew coffee with a percolator, you get a bold, strong flavor that stands out compared to other methods. Percolator coffee achieves this by cycling hot water through the grounds multiple times, extracting more robust compounds than drip brewing.
Unlike a French press, which steeps coffee for a fixed time, percolators need careful timing to prevent over-extraction and bitterness. You’ll also appreciate the ability to brew larger batches, perfect for camping or gatherings, whereas pour-over suits single cups.
The coarse grind percolators require avoids clogging, contrasting with espresso’s fine grind.
While electric machines prioritize convenience, stovetop percolators offer a hands-on, nostalgic experience. If you enjoy bold coffee and a brewing ritual, percolator coffee delivers a distinctive, satisfying cup.
Frequently Asked Questions
Can I Use Flavored Coffee in a Percolator?
Yes, you can use flavored coffee in a percolator, but you’ll want to choose coarsely ground beans to avoid clogging.
The percolator’s repeated brewing cycles enhance flavor infusion, so start with a lighter roast to balance taste and prevent bitterness.
Keep an eye on brewing time to control intensity.
Afterward, clean your percolator thoroughly to avoid residual flavors.
Experiment to find the perfect infusion that suits your palate.
Is It Safe to Leave a Percolator Unattended While Brewing?
You shouldn’t leave a percolator unattended while brewing; about 25% of stovetop percolator mishaps involve overheating or burns.
Safety concerns are real since these devices can get extremely hot, risking fires or bitter, burnt coffee.
Even if your electric percolator has auto shut-off features, it’s best to stay nearby.
Monitoring guarantees you avoid over-extraction and maintain control, keeping both your coffee quality and kitchen safe.
How Do Altitude and Water Type Affect Percolator Brewing?
Altitude and water type greatly impact your percolator brewing techniques. At higher altitudes, water boils at lower temperatures, so you’ll need to extend brewing time or adjust grind size to avoid under-extraction.
Also, mineral-rich water enhances flavor, while soft water can make your coffee taste flat.
To master your brewing techniques, consider using filtered or spring water and monitor temperature closely for the best extraction and rich, balanced flavor.
Can I Use a Percolator on an Electric Stove?
Absolutely, you can use a percolator on an electric stove. No need for a Victorian-era fire!
Focus on brewing techniques by selecting medium to low heat to avoid bitter coffee.
Make certain your percolator has a flat bottom for even heating, and preheat the stove first.
Keep an eye on the brewing process through the glass knob, adjusting heat as needed.
This careful approach guarantees a smooth, flavorful cup every time.
What Accessories Enhance the Percolator Coffee Experience?
You’ll want a burr grinder to get the perfect coffee grind, coarse and consistent, to avoid clogging your percolator.
A coffee scoop helps you measure accurately, ensuring the right strength every time.
Optional paper filters reduce sediment, making your cup smoother.
A thermometer keeps water temperature ideal, preventing over-extraction.
Finally, cleaning supplies like baking soda maintain flavor by removing oils.
These accessories elevate your percolator coffee experience considerably.
Conclusion
Now that you know how to use a percolator coffee maker, you’re ready to enjoy rich, flavorful brews. Did you know that percolator coffee was the most popular brewing method in America until the 1970s?
Its bold taste and simplicity keep it beloved by many, especially campers and coffee enthusiasts. Just remember to use the right grind and clean your percolator regularly to avoid bitterness.
Happy brewing, you’ve got this!