How To Roast Coffee Beans At Home – Beginner Roasting Guide
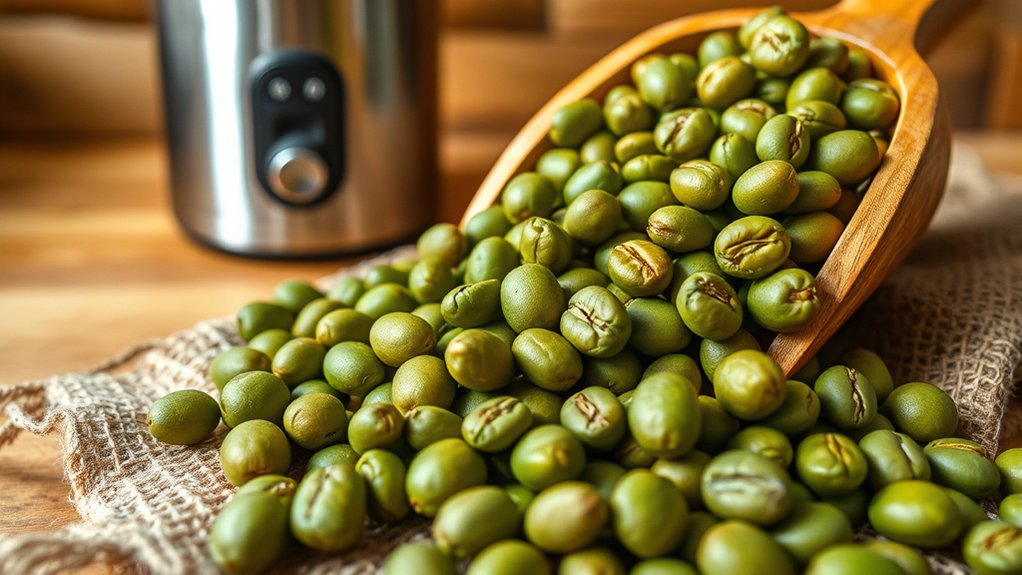
To roast coffee beans at home, start with quality green beans. Choose ones that are uniform in size and come from your desired origin for the best flavor.
Use a reliable roaster with temperature control and preheat it depending on the density of your beans. Keep an eye on the color changes and listen for cracks. The first crack means you’ve reached a light to medium roast, while the second crack tells you it’s darker.
Make sure to stir continuously so the beans roast evenly. Once done, cool them quickly to preserve the flavor. Try to avoid temperature fluctuations and uneven heat because they can cause defects.
Master these basics first, and then you can explore deeper techniques to really refine your roast. It’s all about practice and paying attention to the details!
What Equipment Do You Need to Start Roasting Coffee Beans
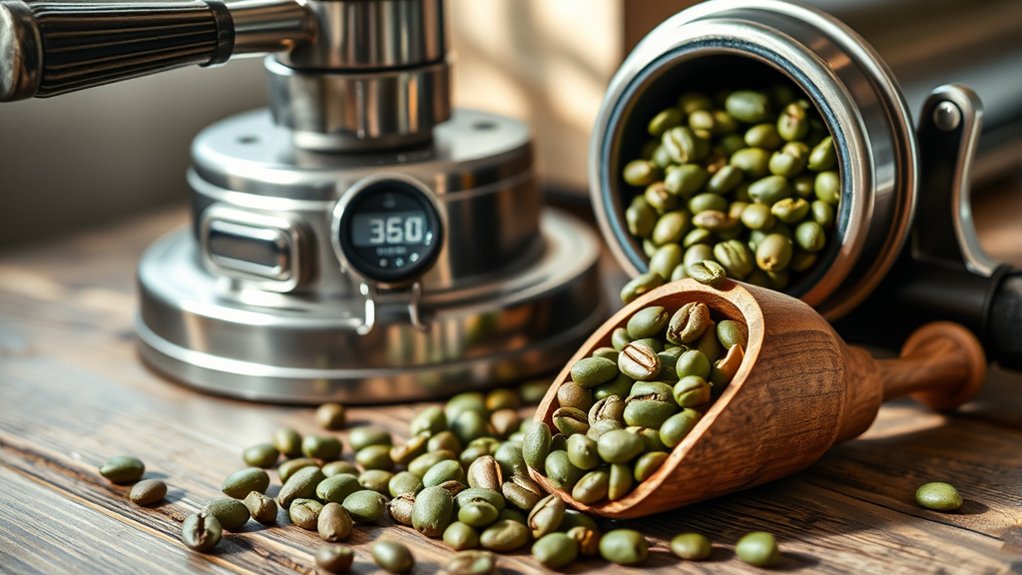
Before you begin roasting coffee beans at home, you’ll need the right equipment to guarantee consistent and controlled results. Start with a reliable coffee roaster, either a dedicated electric model or a stovetop drum roaster that offers precise temperature control and airflow adjustment. These features are essential to enhance coffee flavor development and preserve bean freshness.
Starting with a precise coffee roaster ensures controlled roasting and preserves the beans’ fresh, rich flavors.
A good digital thermometer helps monitor internal bean temperature, which is critical for timing roast stages.
Furthermore, a cooling tray or fan cools beans rapidly to lock in freshness and prevent over-roasting.
Finally, a scale ensures accurate bean measurement, maintaining consistency across batches.
Investing in this equipment allows you to manipulate roast profiles skillfully. That way, you can really bring out the beans’ full aromatic potential and make sure each roast enhances coffee flavor while keeping ideal freshness.
Why Roast Coffee Beans Yourself
With the right tools in hand, you can take full control over the roasting process, tailoring each batch to your preferred flavor profile and freshness level. Roasting coffee beans yourself ensures optimal bean freshness, as you eliminate the long storage times common in pre-roasted beans.
This freshness directly enhances the coffee aroma, revealing complex, volatile compounds that degrade quickly after roasting.
By adjusting roast time and temperature, you fine-tune the Maillard reactions and caramelization, customizing acidity, body, and flavor notes to your exact taste.
Plus, home roasting lets you experiment with roast development, so you get precise control over the coffee’s chemical transformation.
In the end, you’ll enjoy consistently superior coffee, freshly roasted to release maximum aroma and preserve bean freshness.
It really elevates your brewing experience beyond what you get with store-bought options.
How to Choose the Right Green Coffee Beans
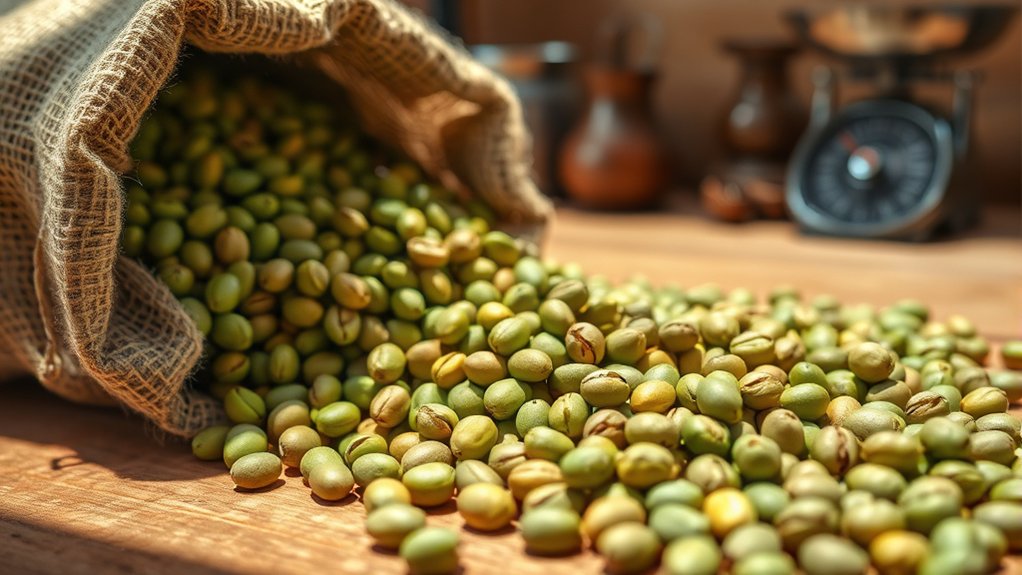
Selecting the right green coffee beans is essential to achieving your desired roast profile and flavor complexity. When choosing green beans, focus on quality, moisture content, and bean density. These factors directly affect how the beans roast and taste in the end.
Pay close attention to where the coffee comes from because different regions give you different flavor notes. For example, Ethiopian beans often have floral and fruity flavors, while Sumatran beans tend to be earthy and full-bodied.
Also, think about how the beans were processed. Washed beans usually have cleaner flavors, while naturally processed beans bring out more sweetness and complexity.
Make sure to check the beans for uniform size and minimal defects to get an even roast.
Picking the right green beans lays the groundwork for a controlled roasting process. This way, you can tailor your roast precisely and unlock the full potential of the coffee’s unique origin characteristics.
How to Roast Coffee Beans Step-by-Step
Now that you’ve picked out the perfect green coffee beans, it’s time to dive into roasting.
You’ll get the hang of roasting techniques that help you control both temperature and timing, which is key to bringing out the best flavors.
Choosing The Right Beans
How do you determine the best coffee beans to start your roasting journey? Focus on understanding flavor profiles and bean origins. Different origins, like Ethiopian, Colombian, or Sumatran, offer distinct characteristics influenced by climate, altitude, and soil composition.
Ethiopian beans often deliver floral and fruity notes, while Colombian beans lean toward balanced acidity and nutty undertones. Before roasting, select green beans with consistent size and minimal defects to guarantee uniform heat transfer and ideal flavor development.
Pay attention to processing methods such as washed, natural, or honey processed, as these impact flavor nuances. Starting with a single-origin bean helps you track how roasting affects its unique profile.
Roasting Techniques Explained
Although roasting coffee beans at home may seem complex at first, mastering the essential techniques is actually pretty straightforward once you understand the process.
Start by preheating your roaster to a controlled temperature. Adjust this based on the bean density because denser beans need more heat and longer roasting times.
Keep a close eye on the roast as it progresses. Watch for color changes and listen for the first and second cracks — these are key moments that tell you about flavor development.
You’ll want to customize your roast profile to bring out acidity, body, or sweetness depending on what you like.
Make sure to stir or agitate the beans consistently so they heat evenly and don’t scorch.
When you’re done roasting, cool the beans quickly to stop the process and lock in those flavors you worked hard to develop.
How to Tell When Your Coffee Beans Are Done Roasting
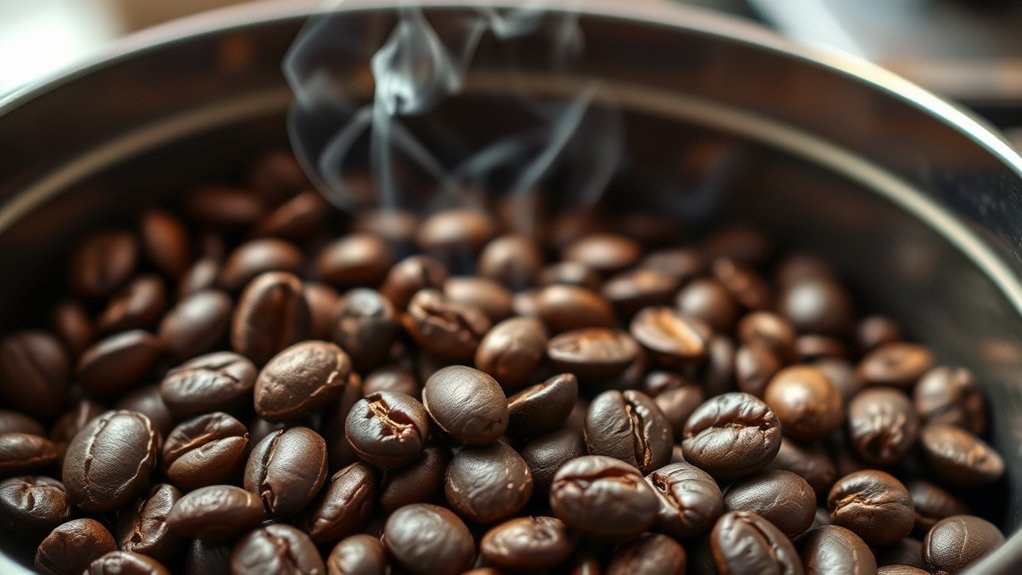
Since roasting coffee beans involves chemical and physical changes, you can tell they’re done by monitoring specific auditory and visual cues. Listen for the first crack, which is a sharp, popping sound signaling beans have reached about 196°C (385°F). This marks the beginning of light to medium roasts.
As roasting continues, a second, subtler crack occurs around 224°C (435°F), indicating darker roast stages.
Visually, watch for consistent bean color changes—from pale green to yellow, then to light brown, and finally to deeper brown shades. The coffee aroma intensifies and shifts from grassy to nutty, caramel, or smoky, depending on roast level.
When you detect your desired bean color and aroma profile aligned with crack sounds, you’ve reached the ideal roast point for your preference. It’s all about tuning into those cues and trusting your senses.
That way, you get the perfect roast every time.
Cooling and Storing Your Freshly Roasted Coffee Beans
Once your coffee beans have reached the desired roast level, you need to cool them quickly to stop the roasting process and keep the best flavor. Use a colander or spread the beans on a metal tray, stirring constantly to help the heat escape fast. This way, you avoid over-roasting and preserve the bean’s lovely aroma.
After they’ve cooled, it’s time to think about storing them properly to keep them fresh. Transfer the beans into airtight containers. If you can, pick opaque containers with one-way valves because they let the beans release gas without letting oxygen in.
Keep your containers in a cool, dark spot to protect them from heat, light, and moisture—these things can ruin the quality pretty quickly. By cooling and storing your beans right, you’ll enjoy their complex flavors and peak freshness for weeks.
How to Adjust Roast Levels for Different Flavors
When you adjust roast levels, you directly influence the coffee’s flavor profile, acidity, and body. Lighter roasts preserve origin characteristics, enhancing acidity and floral or fruity notes. As you move through the roast progression, the beans develop more complex sugars and caramelization, which balance acidity with sweetness and a fuller body.
Medium roasts bring out chocolatey and nutty flavors. Darker roasts reduce acidity, increase bitterness, and introduce smoky or even burnt notes thanks to Maillard reactions and pyrolysis.
To get the flavor profile you want, keep a close eye on the internal bean temperature and adjust the roasting time accordingly. Shorter roast times give you brighter, more acidic cups, while longer roasts deepen the body and lessen the clarity of the origin.
Mastering the roast progression lets you customize your coffee flavor just the way you like it.
Mistakes to Avoid When Roasting Coffee
You’ve got to keep your roasting temperatures steady to make sure the beans develop evenly.
Also, don’t skip the step where you cool the beans down quickly right after roasting—that’s what stops the roasting process in its tracks.
If you overlook these things, you might end up with uneven roasts and some off-flavors that nobody wants.
Inconsistent Roasting Temperatures
Although maintaining consistent roasting temperatures may seem straightforward, failing to do so profoundly impacts the flavor development and uniformity of your coffee beans. You need to prioritize temperature stability throughout the roast to ensure even chemical reactions. Fluctuations disrupt the Maillard reaction and caramelization, resulting in uneven roast levels and off-flavors.
Furthermore, uneven heat distribution within your roaster causes some beans to underdevelop while others scorch. To prevent this, monitor your equipment carefully and adjust heat input gradually rather than abruptly. Use reliable thermometers and consider airflow to promote uniform temperature across the bean mass.
Achieving precise temperature control isn’t just a technical detail. It’s essential for producing balanced, consistent coffee that highlights the beans’ inherent qualities. So, avoid shortcuts that compromise thermal consistency during roasting.
Overlooking Cooling Process
Maintaining stable temperatures during roasting sets the stage for quality, but the process doesn’t end once the beans leave the heat source. Overlooking the cooling process can severely impact flavor development and shelf life. You need to halt the roasting reaction immediately to avoid over-roasting or uneven development.
Efficient cooling methods, such as air cooling with a fan or rapid agitation on a perforated surface, are essential to dissipate heat quickly and uniformly. Neglecting this step allows residual heat to continue affecting the beans, causing undesirable bitterness and a burnt profile.
Always monitor the cooling duration and make certain beans reach room temperature promptly.
Mastering this stage preserves the bean’s nuanced flavors and ensures consistency batch after batch. Don’t underestimate the critical role of the cooling process in your home roasting routine. It really makes a difference in the final cup.
Troubleshooting Common Roasting Problems
When roasting coffee beans at home, you might run into issues like uneven roast, scorching, or underdevelopment. These problems are common but totally manageable.
To get a more consistent roast, make sure your heat source spreads temperature evenly. Uneven heat leads to patchy color and flavors that don’t develop properly.
Scorching happens when there’s too much direct heat. Try lowering your temperature or increasing airflow to avoid burnt beans.
Underdeveloped beans often taste grassy or sour. This usually means the roast was too quick or didn’t stay long enough at higher temps. You can fix this by extending the roast time a bit so sugars develop and the Maillard reaction happens properly.
Using a reliable thermometer and keeping the beans moving steadily really helps you keep an eye on things and control the roast.
Keep applying these tips consistently, and you’ll notice better flavor development and more uniform roast profiles. Home roasting will become more predictable and definitely more rewarding.
Brewing Tips for Your Freshly Roasted Coffee
To get the full flavor from your freshly roasted coffee, aim for water heated between 195°F and 205°F. This temperature range really helps bring out those rich, complex notes.
Now, different brewing methods—like pour-over, French press, or espresso—can change how long your coffee extracts and the flavors you get. So, it’s a good idea to pick the one that matches your taste preferences and the grind size you’re using.
Once you understand these little details, you can fine-tune each cup to hit that perfect balance and clarity. It’s all about making your coffee just the way you like it!
Optimal Water Temperature
Although roasting transforms the coffee beans, the extraction process depends heavily on the water temperature you use during brewing. Maintaining the essential water temperature, typically between 195°F and 205°F, is key for revealing the full flavor profile of your freshly roasted coffee.
If the water is too low, you’ll under-extract, which results in sour, weak coffee. On the other hand, if the temperature is too high, you risk over-extraction, causing bitterness.
To master brewing temperature, use a reliable thermometer or temperature-controlled kettle. Preheat your brewing equipment to stabilize the temperature. Pour water steadily to maintain consistent extraction.
You can also adjust the temperature slightly based on roast level. Lighter roasts need higher water temperature, while darker roasts require it to be a bit lower.
Brewing Methods Comparison
Since every brewing method extracts flavors differently, choosing the right one can really change the taste of your freshly roasted coffee.
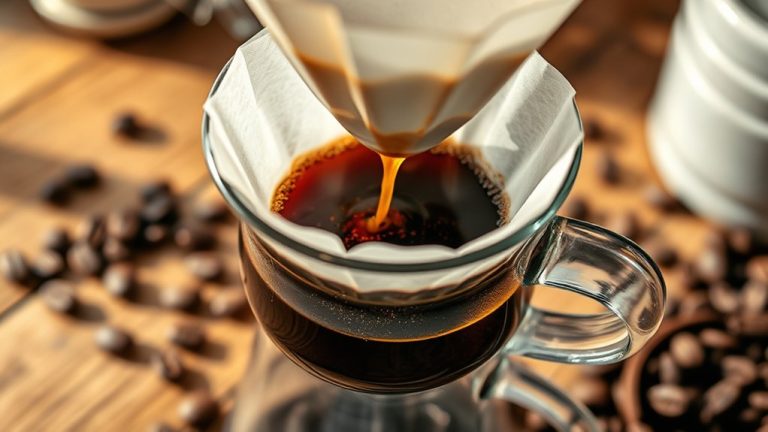
For example, pour-over brings out bright acidity and complex flavor profiles. It’s perfect for single-origin beans with delicate notes.
French press, on the other hand, emphasizes body and oils. This boosts earthy and chocolatey flavors you often find in beans from Central or South America.
Espresso uses high pressure to make a concentrated shot, which intensifies caramelization and bittersweet tones common in darker roasts.
Cold brew takes a different approach with its long steeping time. It mellows acidity and highlights sweetness, making it great for robust, naturally processed beans.
Knowing how each method works with your bean origin helps you adjust grind size, brew time, and water temperature.
Try experimenting step-by-step to find which technique really brings out the best in your freshly roasted beans.
Frequently Asked Questions
Can You Roast Coffee Beans Using a Microwave?
You can roast coffee beans using microwave roasting, but it’s an unconventional and less controlled alternative roasting method. Microwaves heat unevenly, making it hard to achieve consistent roast levels or develop complex flavors properly.
You’ll need to stir frequently and monitor closely to prevent scorching.
While convenient, microwave roasting lacks the precision of traditional methods like drum or air roasting. So, it’s best for experimentation rather than producing high-quality, uniform coffee beans.
If you’re curious, go ahead and try it, but don’t expect the same results as with conventional roasting.
How Long Do Roasted Beans Stay Fresh?
Roasted coffee beans stay fresh for about 1 to 2 weeks when stored correctly.
To maximize freshness preservation, you need airtight coffee storage, keeping beans away from light, heat, and moisture.
Use opaque, sealed containers and store them in a cool, dark place.
Avoid refrigeration or freezing unless you plan long-term storage. That’s because condensation can harm the flavor.
Proper storage slows oxidation, which helps preserve the beans’ aromatic oils and taste during that critical freshness window.
Is Homemade Roasted Coffee Healthier Than Store-Bought?
Homemade roasted coffee can definitely be fresher and more flavorful than store-bought options. When you control the roast levels, you get to optimize the coffee’s flavor and keep more of those beneficial antioxidants. These antioxidants tend to break down over time in pre-roasted beans.
By roasting at home, you also avoid additives and the staleness that can come with store-bought coffee. That said, the health benefits really depend on how precise you’re with your roasting.
Light to medium roasts hold onto more chlorogenic acids, which can make your brew healthier and more vibrant than mass-produced coffee.
What Are the Best Coffee Bean Origins for Roasting?
You’ll find the best coffee bean origins for roasting are Ethiopia, Colombia, and Sumatra, thanks to their distinct bean origin characteristics. Ethiopian beans offer floral and fruity coffee flavor profiles, perfect for lighter roasts.
Colombian beans provide balanced acidity and nutty notes, ideal for medium roasts.
Sumatra beans bring earthy, bold flavors, excelling in dark roasts.
Selecting beans based on these characteristics lets you tailor your roast with precision and technical control. It really helps you get the flavor you’re aiming for every time.
Can You Reuse Coffee Chaff for Anything?
Yes, you can reuse coffee chaff instead of treating it as waste during chaff disposal. It’s excellent for composting, enriching soil with organic matter. You can also use it as mulch to retain moisture and suppress weeds in your garden.
Just be sure to avoid storing coffee chaff with your beans to prevent contamination. Keep roasted beans away from chaff to preserve flavor and freshness.
This way, you maintain proper coffee storage without any issues.
Conclusion
Roasting coffee beans at home lets you unleash a symphony of flavors, turning raw beans into liquid gold. With the right tools and keen observation, you’ll master the delicate dance of heat and time, crafting roasts tailored to your taste.
Avoid common pitfalls and treat each batch like a science experiment. Be precise, controlled, and you’ll find it really rewarding.
Soon, your freshly roasted coffee will sing with vibrant complexity, elevating every cup to an expert’s masterpiece.