How To Dry Coffee Grounds – Easy Methods Explained
To dry coffee grounds effectively, first spread them thinly on a dry surface like newspaper or a baking sheet. You can dry them naturally by placing in the sun for 2-3 days, stirring often, or air-dry indoors in a well-ventilated spot.
For speed, use an oven at 150-200°F, stirring regularly to prevent clumps. Make sure grounds are crumbly and smell fresh to avoid mold. Proper drying preserves freshness and reveals countless uses. Explore how to master every step for best results.
Why You Should Dry Used Coffee Grounds Before Storing
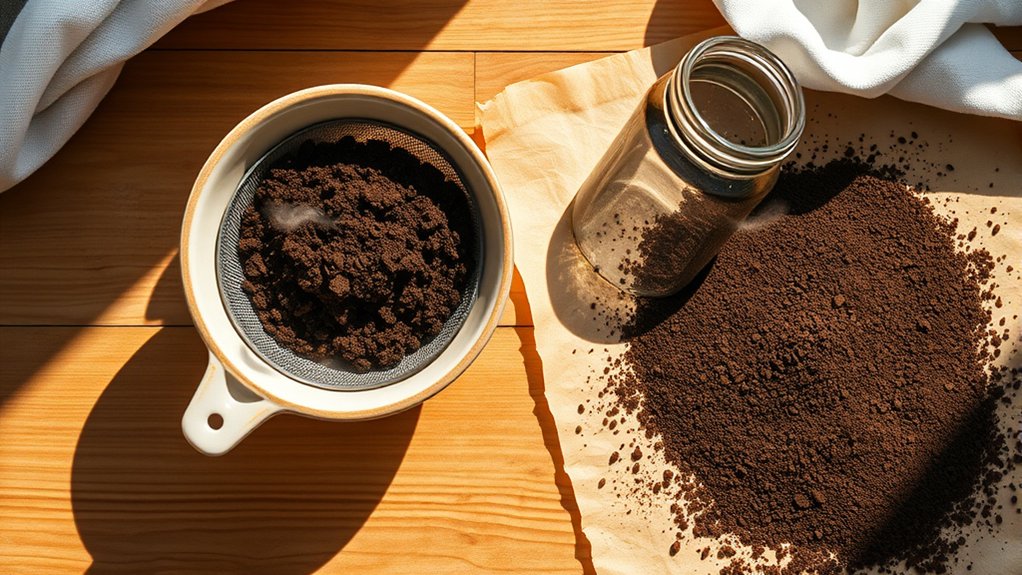
Although used coffee grounds might seem ready for immediate storage, drying them first is essential to prevent mold growth and unpleasant odors that can ruin their quality.
When you dry used coffee thoroughly, you reduce moisture content, which greatly extends shelf life.
Properly dried coffee grounds, stored in an airtight container, can last up to a year without degrading. This process not only preserves their freshness but also makes dried coffee grounds easier to manage for various uses, from gardening to cooking and DIY projects.
By drying them, you transform a waste product into a versatile resource that enhances soil quality and promotes healthy composting.
How To Prepare Coffee Grounds For Drying
Start by gathering fresh used coffee grounds from your own brewing or trusted local cafes to guarantee ideal quality for drying. Proper preparation is essential when learning how to prepare coffee grounds for drying to preserve their aroma and prevent mold.
Gather fresh used coffee grounds from trusted sources to ensure quality and prevent mold during drying.
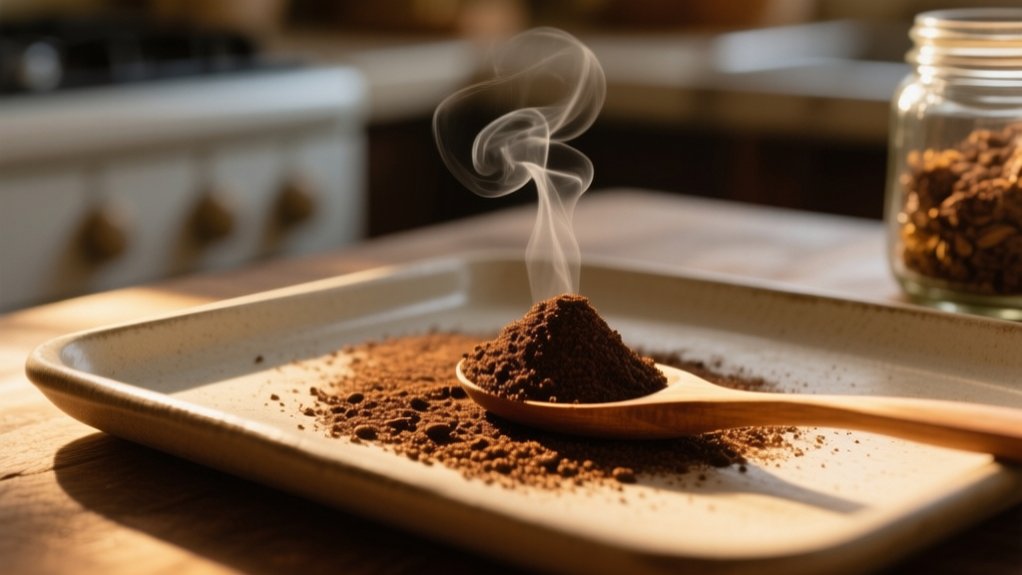
Spread the grounds evenly on a dry newspaper or baking sheet, keeping a 2-3 inch thickness for effective drying. Choose a well-ventilated, sunny spot to help the coffee grounds dry naturally.
Stir the grounds occasionally and replace damp newspaper daily to avoid moisture buildup.
If you’re using an oven, preheat it to 150-200°F (70-90°C), spread the grounds without lining, and stir every 10 minutes until dry.
How To Dry Coffee Grounds In The Sun
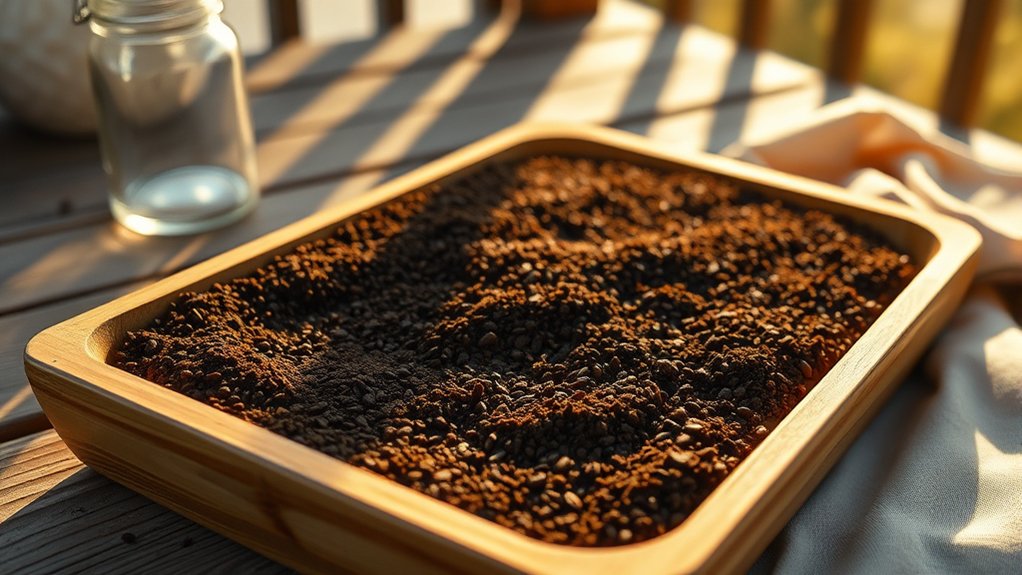
When you dry coffee grounds in the sun, you’ll want to spread them in a thin, even layer no more than 2-3 inches thick on parchment paper or a baking sheet to guarantee uniform drying.
Position your tray in a sunny, well-ventilated spot with good air circulation to prevent mold.
Stir the grounds occasionally to help them dry out used coffee evenly and replace any damp parchment if needed. This natural drying method usually takes 2-3 days, depending on sunlight and humidity.
You’ll know the grounds are ready when they feel crumbly and loose.
Once fully dried, store the dried grounds in an airtight container placed in a cool, dry environment to maintain their freshness and prevent moisture from sneaking back in.
How To Air-Dry Coffee Grounds Indoors
You’ll want to pick shallow, breathable containers like plates or baking sheets to spread your coffee grounds out evenly. This helps with airflow, which is really important.
Then, find a spot indoors that has good ventilation—but make sure it’s not in direct sunlight. That way, you keep the quality of your grounds intact.
Don’t forget to check on them regularly. Give them a good stir every now and then and feel for moisture.
You’re aiming for that perfect crumbly texture, so keep an eye out until they’re just right.
Choosing Drying Containers
Choosing the right drying container plays an essential role in successfully air-drying coffee grounds indoors.
You want to create the perfect environment for moisture to escape without risking mold or uneven drying. Here’s what to keep in mind:
Use shallow containers like trays or plates to spread the grounds in an even layer, about 1 inch thick.
Choose breathable materials to maximize airflow and prevent moisture buildup.
Avoid airtight containers, as they trap humidity and promote mold growth.
Place your containers in a cool, dry place away from direct sunlight to maintain quality.
Optimal Indoor Ventilation
Although drying coffee grounds indoors can be challenging, enhancing ventilation is key to preserving their aroma and preventing mold. To achieve ideal indoor ventilation, place your grounds evenly on a flat surface like a baking sheet in a well-ventilated area.
Open windows or use a fan to promote consistent airflow, which accelerates drying and discourages moisture buildup. Stir the grounds every few hours to prevent clumping and guarantee uniform drying.
Keep a close eye on humidity levels; if the air feels damp, using a dehumidifier helps maintain the dry conditions essential for preserving quality.
Monitoring Moisture Levels
Once you’ve set up proper ventilation and airflow, the next step is to closely monitor the moisture levels in your coffee grounds as they dry. Monitoring moisture levels guarantees the grounds dry evenly without molding or clumping.
To achieve this, follow these expert tips:
Spread grounds no more than 2 inches thick on a plate or baking sheet. Stirring every day helps moisture evaporate uniformly and prevents damp patches.
Regularly check for crumbly texture and absence of clumps as signs of dryness. Always let the grounds cool before storing them in an airtight container with a moisture absorber to maintain dryness.
Using An Oven To Dry Coffee Grounds Safely
You’ll want to set your oven between 150°F and 200°F to dry coffee grounds gently without burning them.
Just keep a close eye on the process, stirring every 10 minutes to make sure they dry evenly and don’t overheat.
This careful monitoring is really key to getting perfectly dry, crumbly grounds that are ready for storage.
Oven Temperature Settings
When drying coffee grounds in your oven, setting the temperature between 150°F and 200°F (65°C to 93°C) is essential to preserving their flavor and preventing scorching. Proper oven temperature settings confirm you dry small amounts effectively while maintaining quality.
Follow these expert tips:
Preheat your oven within this range to avoid losing aroma and taste. Spread grounds thinly on a baking sheet for even drying and airflow. Stir every 10 minutes to prevent hotspots and uneven moisture.
Use a thermometer to monitor temperature closely, protecting delicate flavors.
Once fully dried and cooled, your grounds can be stored in airtight containers, ready for reuse.
This careful approach ensures the best outcome when drying coffee grounds in your oven.
Monitoring Drying Process
Although drying coffee grounds in the oven seems straightforward, closely monitoring the process is vital to avoid burning or uneven drying. First, spread the used coffee grounds evenly on an unlined baking sheet to promote airflow.
Set your oven between 150°F and 200°F, then stir every 10 minutes to prevent clumps and guarantee the grounds dry uniformly. The entire monitoring drying process usually takes 20–30 minutes.
You’ll know they’re done when the grounds feel dry and crumbly. Let them cool before storing in an airtight container to maintain freshness.
| Your Effort | Rewarded Aroma |
|---|---|
| Careful Stirring | Perfect Texture |
| Patient Watching | Rich Flavors |
| Even Spreading | Lasting Freshness |
Microwaving Coffee Grounds For Drying: Pros And Cons
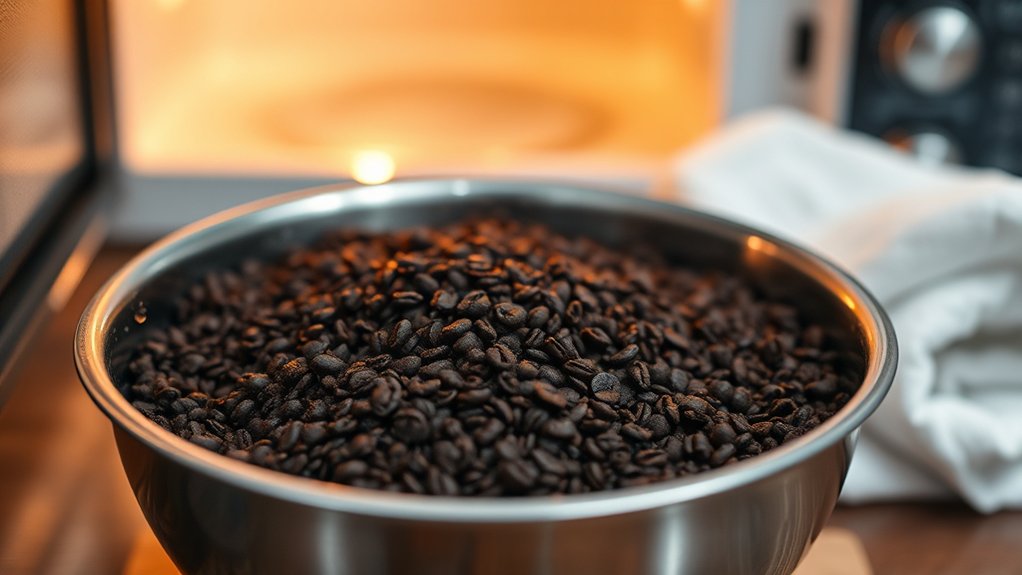
Since microwaving coffee grounds offers a rapid drying solution, it appeals to those needing quick results without waiting for sun or air drying.
Microwaving coffee grounds helps you efficiently remove moisture in small batches, but you must handle the process carefully.
Use short intervals of 1-2 minutes and stir often to prevent burning. Choose a microwave-safe container to avoid damage and maintain ground quality.
Expect lingering microwave odors, which can be tough to eliminate. Remember, microwaving is less practical for large quantities compared to natural drying.
How To Tell When Coffee Grounds Are Fully Dry
A clear sense of touch and observation will guide you in determining when coffee grounds are fully dry. To know if your grounds are fully dried, squeeze a small amount. They should crumble easily without feeling sticky or clumping.
Visually, dried grounds appear darker and less glossy. Smell the grounds. Fully dried ones emit a fresh coffee aroma, free from sour or musty odors.
If your grounds still retain moisture or feel cool after testing, continue drying before you dry and store them.
| Indicator | What to Expect |
|---|---|
| Texture | Crumbles easily, not sticky |
| Appearance | Darker, matte finish |
| Aroma | Fresh coffee, no mustiness |
Use these signs to confidently dry and store your coffee grounds.
Common Mistakes To Avoid When Drying Coffee Grounds
Knowing exactly when your coffee grounds are fully dry sets the stage for proper storage. But even with this knowledge, certain pitfalls can undermine your efforts.
When drying coffee grounds, avoid these common mistakes to preserve quality:
- Neglecting good airflow: Without proper air circulation, moisture lingers, causing mold growth.
- Overcrowding: Spreading grounds too thickly hinders even drying and promotes clumping.
- Skipping moisture checks: Failing to regularly test for residual dampness risks spoilage.
- Using damp equipment: Introducing moisture via wet surfaces or tools compromises drying.
Stay vigilant with moisture checks and guarantee good airflow throughout the drying process. Avoid these errors, and your coffee grounds will dry evenly, maintaining their flavor and freshness for future use.
How To Store Dried Coffee Grounds Properly
You’ll want to store your dried coffee grounds in airtight containers, like glass jars or resealable bags. This helps lock out moisture and keeps their quality intact.
It’s also a good idea to add moisture absorbers, such as silica gel packets, to keep humidity at bay.
Then, make sure to keep the container in a cool, dark spot. This prevents heat damage and helps maintain freshness.
Oh, and don’t forget to label the drying date! Checking regularly for mold or clumps is important too—that way, you can be sure your grounds stay fresh and safe to use.
Ideal Storage Containers
Since dried coffee grounds can easily absorb moisture and odors, choosing the right storage container is essential to preserving their freshness and potency.
Using proper storage containers like airtight containers or a glass jar helps create the perfect environment to keep your grounds fresh.
When selecting your container, consider these expert tips:
Opt for airtight containers to prevent moisture and air infiltration.
Use glass jars for a non-reactive, odor-proof option.
Label containers with the drying date to monitor freshness.
Store containers in a cool, dry place away from sunlight and heat.
Moisture Prevention Tips
Proper storage containers set the foundation, but preventing moisture from sneaking back into your dried coffee grounds is what truly preserves their aroma and flavor.
To effectively store dried coffee grounds, use airtight containers like glass jars or resealable bags to block any moisture re-entry.
Adding moisture absorbers such as silica gel packets or even crumpled newspaper inside the container helps prevent moisture buildup.
Always keep your containers in a cool, dry spot away from heat or sunlight to maintain quality longer.
Regularly inspect your grounds for mold or clumping, which are signs that moisture has infiltrated.
Label each container with the drying date so you can track freshness and enjoy your coffee grounds at their best.
These steps will guarantee your dried coffee grounds stay flavorful and ready for use.
Optimal Storage Conditions
Although drying coffee grounds is essential, storing them under ideal conditions guarantees you preserve their rich aroma and flavor for as long as possible. Choosing the right storage containers and environment is vital.
To store dried coffee grounds properly, follow these expert tips:
Use airtight storage containers like glass jars or resealable bags to block moisture re-entry. Add a moisture absorber, such as silica gel or crumpled newspaper, inside the container to combat humidity.
Label your containers with the drying date to track freshness accurately; dried grounds can last up to a year.
Keep containers in a cool, dry place away from direct sunlight and heat sources to maximize shelf life.
Regularly inspect for mold or lumps to verify your coffee grounds remain fresh and usable.
Creative Ways To Use Your Dried Coffee Grounds
Dried coffee grounds offer an impressive range of uses that go far beyond the compost bin. You can use coffee grounds to enrich your compost pile, supplying essential nutrients like nitrogen and enhancing aeration for healthier soil.
Dried coffee grounds enrich compost with vital nutrients and improve soil aeration for thriving plants.
Beyond gardening, these grounds excel as a natural exfoliating scrub. Mix them with oils or honey to gently remove dead skin cells without harsh chemicals, leaving your skin smooth and refreshed.
Moreover, coffee grounds neutralize odors effectively. Place them in breathable bags to freshen refrigerators, shoes, or laundry.
They also work as a tough scrubbing agent for pots and pans, tackling stubborn grime without damaging surfaces.
Frequently Asked Questions
Can Drying Coffee Grounds Remove Their Odor Completely?
You can’t completely remove coffee aroma by drying coffee grounds, but drying techniques help reduce moisture and mellow the scent. The inherent coffee aroma stubbornly lingers, even after careful drying.
However, dried grounds still excel at odor absorption, making them great natural deodorizers. To minimize lingering smells, use gentle drying methods in well-ventilated areas, avoiding overheating.
Then, store grounds airtight to preserve freshness and control unwanted odors effectively.
Are Dried Coffee Grounds Safe for Pets or Plants?
Dried coffee grounds offer great plant benefits, enriching soil with nitrogen and potassium and boosting growth when used wisely.
For pet safety, keep grounds in small amounts because large doses can harm pets due to caffeine toxicity.
When composting, mix grounds thoroughly to avoid mold and balance nutrients.
Always monitor your pets for sensitivity and use dried grounds responsibly to protect both your garden’s health and your furry friends’ well-being.
How Long Do Dried Coffee Grounds Last Before Losing Potency?
Dried coffee grounds typically retain potency for several months up to a year if you follow proper storage tips.
To maximize flavor preservation, keep them in airtight containers away from sunlight, moisture, and heat.
Label your containers with drying dates, and consider using moisture absorbers like silica gel to maintain freshness.
Over time, exposure to air and humidity will degrade their aroma and potency, so monitor regularly to guarantee ideal use.
Can Dried Coffee Grounds Be Rehydrated for Brewing Coffee?
Rehydrating dried coffee grounds for brewing coffee is like trying to revive a wilted flower. It just won’t regain its original coffee flavor.
No rehydration methods can restore the aromatic oils lost during drying, so your brewing techniques will fall short, resulting in a weak, flavorless cup.
For the best taste, always use fresh grounds.
Dried grounds serve better in compost or crafts, not in your coffee maker.
Is It Necessary to Wear a Mask When Drying Coffee Grounds Indoors?
You don’t always need to wear a mask when drying coffee grounds indoors, but taking health precautions is smart, especially if your indoor ventilation is limited.
Some drying techniques release fine dust, aromas, or even mold spores, which could irritate your lungs. Wearing a mask protects you from inhaling these particles, making the process safer.
If you have good airflow and use gentle drying methods, you might skip it, but better safe than sorry.
Conclusion
Now that you’ve mastered drying coffee grounds, imagine the rich, earthy aroma filling your kitchen as they dry under the sun or in your oven. Crisp, crumbly grounds await, ready for storage or creative use.
By taking these careful steps, you preserve their freshness and reveal endless possibilities, from gardening boosts to homemade scrubs. Embrace this simple ritual, turning leftover grounds into a sustainable treasure that’s as vibrant as your morning brew.