How Do You Use A Keurig Coffee Maker – Beginner’s Guide
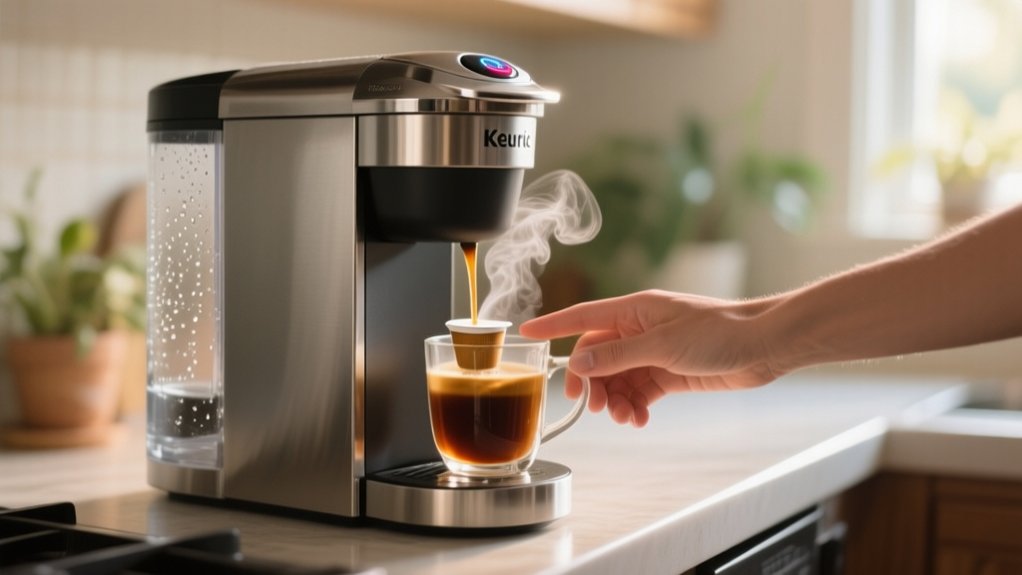
To use your Keurig coffee maker, start by plugging it in, filling the water reservoir with fresh water, and powering it on. For a single cup, insert a K-Cup pod with foil facing up, close the lid, choose your brew size, and press brew.
For a carafe, add ground coffee to the filter basket and select the carafe option. You can also schedule auto brew and keep your machine clean for best results. Keep exploring to master every feature and tip.
Setting Up Your Keurig Coffee Maker
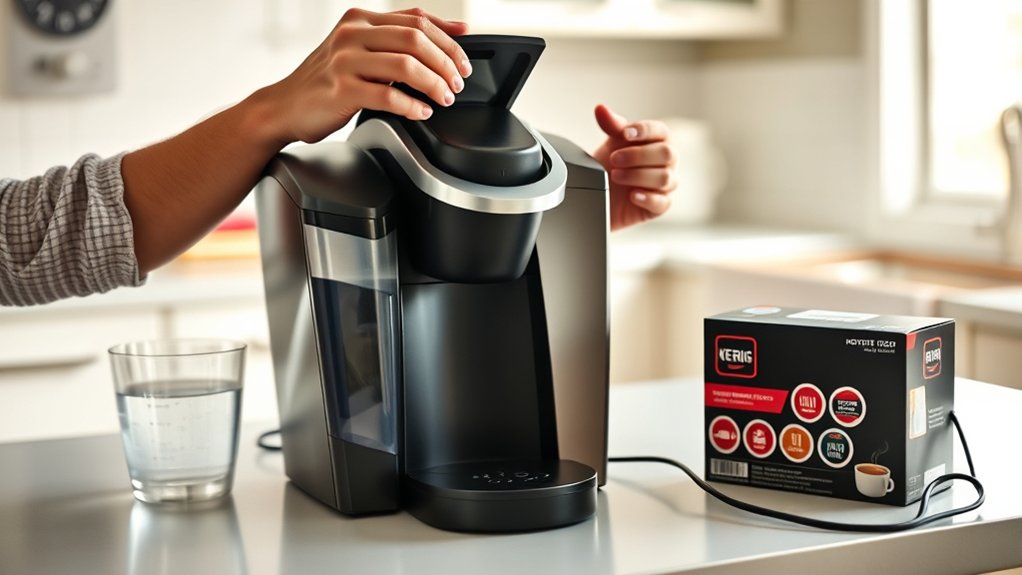
Before you start brewing, make sure to plug your Keurig into a grounded outlet and remove any adhesive tape or protective films.
Next, position the water reservoir securely on the machine to guarantee proper operation.
Press the power button to turn your Keurig on, then wait for the “Heating” light to signal it’s warming up.
Before making your first cup, run a brew cycle without a K-Cup inserted. This step cleans the internal components by flushing fresh water through the system, so discard the water afterward.
Proper setup assures your Keurig runs smoothly and delivers great coffee every time.
Paying attention to these initial steps with the water reservoir and power button guarantees a superior brew cycle from the start.
Filling and Preparing the Water Reservoir
The water reservoir on your Keurig K-Duo Plus is conveniently located on the side, making it super easy to remove when you need to fill it up.
Just fill it with fresh, cold water up to the MAX line—it holds 64 ounces, or about 8 cups.
Once you’ve filled it, be sure to secure the reservoir back in place.
This helps ensure your coffee brews perfectly every single time.
Water Reservoir Location
Anyone using a Keurig K-Duo Plus will find the water reservoir conveniently located at the back of the machine. This reservoir holds up to 64 ounces, roughly eight cups of coffee.
To fill it, simply remove the water reservoir and pour clean, cold water up to the MAX fill line marked on the container. Using filtered water is best to maintain ideal taste and machine longevity.
After filling, make sure the reservoir is securely seated back into the machine to prevent any brewing interruptions or errors.
Regularly checking the water reservoir guarantees you’re always ready to brew, especially when making multiple cups or using the carafe feature.
Knowing this location and proper handling simplifies your coffee-making routine.
Filling Guidelines
Knowing where the water reservoir sits and how to handle it sets you up for smooth filling and preparation.
Start by removing the reservoir and filling it with clean, cold water up to the MAX fill line. It holds 64 ounces, which is enough for 8 cups.
For the best taste, use filtered or distilled water to prevent mineral buildup and keep the flavor quality.
When you place the water reservoir back, make sure it sits securely to avoid brewing issues.
If you’re using K-Cup pods with the single-serve function, make sure there’s enough water to brew your chosen cup size without running dry.
Regularly check and refill the water reservoir, especially if you’re brewing multiple cups or a full carafe, to keep your Keurig running smoothly.
Using K-Cup Pods for Single-Serve Brewing
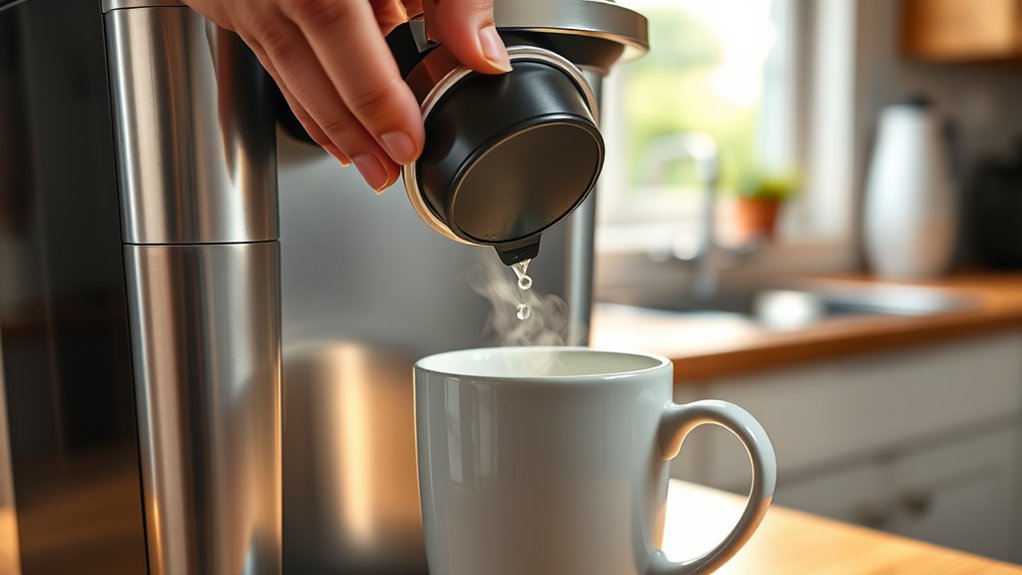
Before you start brewing a single cup with your Keurig, make sure the water reservoir is filled to avoid interruptions during the cycle.
When using your Keurig, lift the pod holder and place the K-Cup pod with the foil side facing up.
Lower the handle to close the lid securely. Position your mug on the drip tray, ensuring it fits your Keurig model.
Next, select your preferred brew size using the machine’s buttons.
Once set, press the brew button to initiate brewing. Avoid lifting the lid during the process to prevent hot water or steam injuries.
Choosing the Right Keurig Brew Size and Strength
You can pick from several brew sizes on your Keurig, anywhere from 6 to 12 ounces for single cups.
If you’re brewing a carafe, it goes up to 12 cups. Plus, there’s the Strong setting, which amps up the flavor to give you a bolder cup—great if that’s how you like it.
The best part? Trying out different size and strength combos lets you discover exactly what works for your perfect cup.
Brew Size Options
Four brew size options on the Keurig K-Duo Plus let you tailor your coffee perfectly, ranging from a single 6oz cup to a full 12oz serving, plus a carafe for larger batches.
You can easily select your preferred brew size depending on how much coffee you want, whether it’s a quick 6oz cup or a larger 12oz mug.
When using a K-Cup pod, these brew sizes offer excellent customization to match your taste and caffeine needs.
For the carafe, measure about 1 tablespoon of ground coffee per cup to guarantee ideal flavor.
Understanding these brew sizes helps you avoid over- or under-brewing, giving you control over every cup you make with your Keurig.
Strength Settings Explained
How exactly can you dial in the perfect balance between brew size and coffee strength on your Keurig K-Duo Plus? Start by selecting from the available brew sizes: 6oz, 8oz, 10oz, or 12oz to match your preferred coffee volume.
Then, use the strength settings to adjust the intensity. Activating the STRONG brew option extends brewing time and modifies water flow, delivering a bolder flavor from your chosen K-Cup pod.
If you prefer a milder cup, skip the STRONG setting and opt for a smaller brew size instead. Experimenting with different K-Cup pods designed for varying strengths also helps fine-tune your taste.
Selecting Optimal Combinations
Finding the perfect brew size and strength combination on your Keurig K-Duo Plus makes all the difference in crafting a satisfying cup. Start by selecting the K-Cup pod that suits your taste, then choose from brew sizes of 6, 8, 10, or 12 oz to match your mug or desired coffee amount.
If you crave a bolder flavor, press the STRONG button; it extends brew time to extract richer taste. When using ground coffee for a carafe, measure 1 tablespoon per cup, adjusting to your preference.
The K-Duo Plus’s carafe option lets you brew up to 12 cups, perfect for sharing.
Experiment with different K-Cup flavors and brew sizes to discover your ideal combination that balances strength and volume flawlessly.
Brewing a Carafe With Ground Coffee
When you want to brew a full carafe using ground coffee with your Keurig K-Duo Plus, start by filling the water reservoir to the MAX fill line, which holds up to 64 ounces.
Next, add about 1 tablespoon of ground coffee per cup into the filter basket, then slide the basket securely back into place.
Add roughly 1 tablespoon of ground coffee per cup to the filter basket, then secure it firmly in place.
Position the carafe correctly on the warming plate to catch every drop.
Press the power button to activate the machine, select the CARAFE option, and choose your preferred brew size.
For a richer taste, hit the STRONG button to enhance flavor intensity.
The brewing process pauses briefly, up to 20 seconds, to let you pour without spills.
Following these steps guarantees smooth, efficient brewing a carafe with ground coffee every time.
Using Reusable K-Cup Pods With Your Keurig
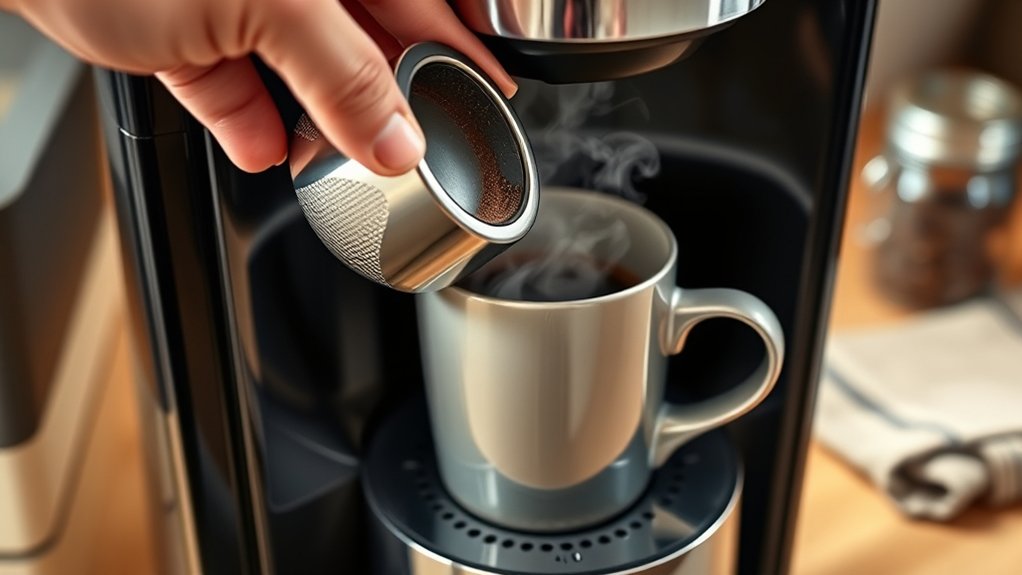
Using reusable K-Cup pods with your Keurig K-Duo Plus lets you enjoy the flexibility of brewing your favorite ground coffee while reducing waste. Start by removing the disposable pod holder, then fill your reusable K-Cup with about one tablespoon of ground coffee per cup for ideal flavor extraction.
After inserting the reusable pod, remember to reinsert the disposable pod holder when brewing a carafe. To maintain great taste, clean the reusable pod regularly by rinsing it under warm water and brushing the mesh filter.
| Step | Tip |
|---|---|
| Remove pod holder | Pull out and push up to detach |
| Fill reusable pod | 1 tbsp ground coffee per cup |
| Insert pod | Place in machine securely |
| Clean reusable pod | Rinse and brush mesh filter |
Setting Up Auto Brew on Your Keurig
To set up Auto Brew on your Keurig, start by filling the water reservoir up to the MAX line.
Then, add your coffee grounds to the mesh filter.
Next, you’ll want to use the AUTO button along with the H/M controls to set the time you want your coffee to brew.
Once you’ve got your preferred brew time set, just press the blinking brew button to confirm and save your schedule.
It’s that simple!
Preparing Water Reservoir
Before setting up the auto brew feature, make certain you remove the water reservoir and rinse it thoroughly with clean water. Properly preparing the water reservoir is essential for a smooth auto brew experience.
After rinsing, fill the reservoir with fresh, cold water up to the MAX fill line to provide adequate supply.
Next, check the mesh filter and load it with the right amount of coffee grounds, typically one tablespoon per cup, to guarantee ideal flavor.
A full 64oz reservoir can brew up to eight cups, perfect for multiple servings.
Once prepped, press the AUTO button to start the setup.
Filling the reservoir correctly and adding coffee grounds ensures your Keurig brews efficiently and consistently every time you use the auto brew feature.
Setting Brew Time
Once you’ve filled the reservoir and loaded the coffee grounds, you can program your Keurig K-Duo Plus to brew at a specific time up to 24 hours in advance.
Start by ensuring the water reservoir is filled to the MAX line.
Press the AUTO button to enter the setting brew time mode. Use the H and M buttons to adjust the hour and minute for your preferred brew time.
When your desired time is set, confirm by pressing the blinking brew button.
This activates the auto brew feature, so your coffee will start brewing automatically at the scheduled time.
Always double-check the water reservoir before your set brew time to guarantee there’s enough water for a perfect cup.
Confirming Auto Brew
Although setting the brew time is important, verifying your Keurig K-Duo Plus’s Auto Brew setup guarantees your coffee maker will start brewing exactly when you want it to.
Confirming Auto Brew assures a fresh cup awaits you without extra steps.
Before finalizing, fill the water reservoir to the MAX fill line. Then, load the mesh filter with about one tablespoon of coffee grounds per cup.
Press the AUTO button to enter Auto Brew setup mode. Use the H/M buttons to select your desired brew time.
Press the blinking brew button to confirm and activate Auto Brew. Make certain your machine is plugged in and has enough water.
Cleaning and Maintaining Your Keurig Coffee Maker
To keep your Keurig coffee maker brewing smoothly and tasting great, you need to clean and maintain it regularly. Start by cleaning the water reservoir and drip tray frequently to prevent buildup. Empty and rinse the drip tray whenever it’s full.
Every 3 to 6 months, descale your Keurig using a 50/50 mix of white vinegar and water to remove mineral deposits that affect performance. Run a cleansing brew cycle with just water periodically to flush out internal residue.
Don’t forget to clean the K-Cup holder by rinsing it with soap and water, and unclog the exit needle if needed.
Finally, wipe down the exterior with a damp microfiber cloth and a plant-based cleaner to keep your machine looking and functioning like new.
Troubleshooting Common Keurig Brewing Problems
When your Keurig doesn’t brew as expected, the issue often stems from simple, fixable causes like an improperly seated water reservoir or a misaligned K-Cup.
To get your Keurig coffee maker back on track, follow these troubleshooting tips:
Verify the water reservoir is filled to the MAX line and properly seated for correct water flow.
Confirm the K-Cup is inserted correctly and the handle is fully closed.
Descale your machine every 3-6 months with a 50/50 vinegar-water mix to clear mineral buildup.
If an error message appears, check the user manual for targeted solutions.
Reset an unresponsive machine by powering it off/on or draining the internal tank by holding the brew button while off.
These steps cover most common brewing problems quickly and effectively.
Tips for Brewing the Best-Tasting Keurig Coffee
Few factors influence the taste of your Keurig coffee more than the quality of water you use. Always fill the reservoir with fresh filtered water to enhance flavor and prevent mineral buildup.
To brew the perfect cup of coffee, try different K-Cup brands and flavors until you find your favorite. For a bolder taste, select the STRONG button or use less water per brew.
Don’t forget to clean the K-Cup holder regularly, including the exit needle, to maintain proper water flow and avoid clogs that can ruin your coffee’s taste.
Finally, keep your machine performing at its best by descaling your Keurig every 3-6 months with a vinegar solution.
These steps guarantee every brew tastes fresh and satisfying.
Frequently Asked Questions
Can I Use My Keurig to Brew Tea or Hot Chocolate?
Yes, you can use your Keurig to brew tea and hot chocolate, expanding your beverage variety beyond coffee.
For tea brewing tips, try using tea K-Cups or a reusable filter with loose leaves to enhance flavor.
When making hot chocolate, choose specially designed pods or experiment with hot chocolate recipes by adjusting brew strength.
Always run a cleansing cycle afterward to prevent flavor mixing and keep your machine in top shape.
How Do I Reset My Keurig After a Power Outage?
To reset your Keurig after a power outage, unplug it and wait five minutes before plugging it back in. This simple reset helps resolve brewing consistency issues.
Make sure the water reservoir is filled to the MAX line, then power it on and let it heat up.
Running a cleansing brew without a K-Cup clears any lingering problems.
These Keurig troubleshooting tips and power outage solutions keep your machine running smoothly.
Are There Any Compatible Accessories for My Keurig Model?
Oh, absolutely. You’ll find a treasure trove of accessories for your Keurig!
You can snag reusable K Cups to save the planet (and your wallet), Keurig water filters to keep your brew pristine, and specialized cleaning solutions to keep your machine purring like new.
Don’t forget about accessories that adjust brewing sizes, so you’re never stuck with a too-small or too-big cup.
Target and Amazon practically beg you to accessorize your perfect coffee ritual!
Can I Connect My Keurig to a Smart Home System?
You can’t directly achieve full smart home integration with most Keurig models due to limited coffee maker compatibility.
However, by using smart plugs, you gain basic automation features like remote on/off control.
Some newer models offer Bluetooth but don’t support remote brewing through smart home systems yet.
If automation features and remote brewing matter, consider checking your model’s specs or exploring third-party hubs, though they typically can’t fully control brewing functions.
How Long Does the Keurig Typically Last With Regular Use?
Your Keurig typically lasts about 3 to 5 years with regular use. To extend its life, follow Keurig maintenance tips like descaling every 3-6 months and caring for the water reservoir by using filtered water.
Adjust your brew strength settings to avoid overworking the machine, and experiment with different coffee pod options to keep flavors fresh.
Consistent care guarantees your machine stays efficient and enjoyable longer.
Conclusion
Now that you know how to use your Keurig, you’re ready to enjoy convenience and great coffee every day. Did you know Keurig brews over 2 billion cups annually? That’s a lot of satisfied coffee lovers!
By mastering setup, brewing, and maintenance, you’ll keep your machine running smoothly and your coffee tasting fresh. Keep experimenting with brew sizes and strengths to find your perfect cup. Your Keurig is designed to make every brew just right for you.