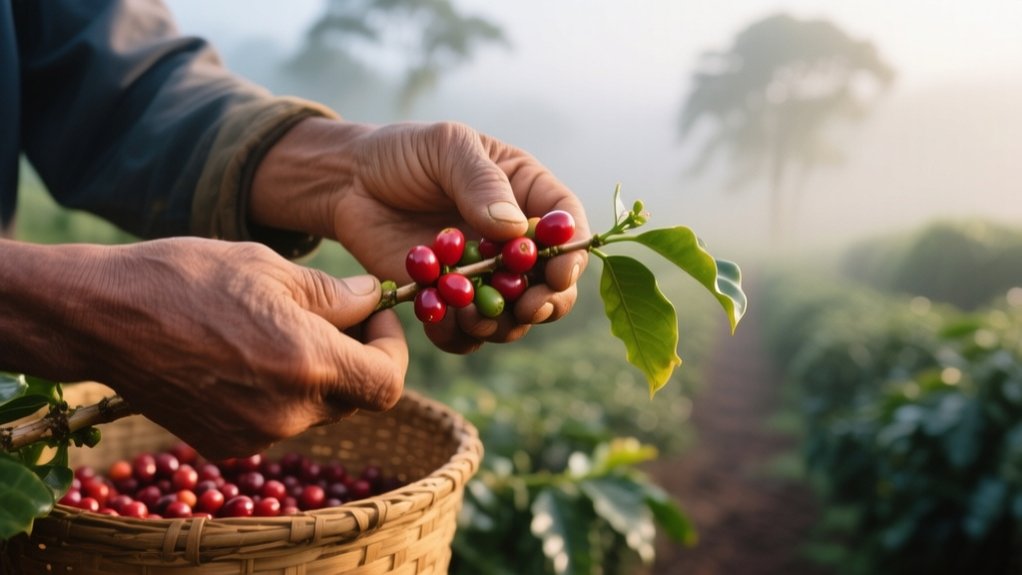
How To Harvest Coffee Beans – Step-By-Step Guide
To harvest coffee beans, first identify ripe cherries by their bright red, yellow, or orange color and slight softness. Use hand-picking for selective harvesting to guarantee quality, gently twisting cherries off without damaging the plant.
Collect cherries in clean baskets or bags, then store them in cool, ventilated areas until processing. Remove the beans quickly using proper methods, ferment for flavor, and dry to the right moisture.
Following these steps locks in freshness and flavor. Explore how each stage enhances your final brew.
How To Tell When Coffee Cherries Are Ready To Pick
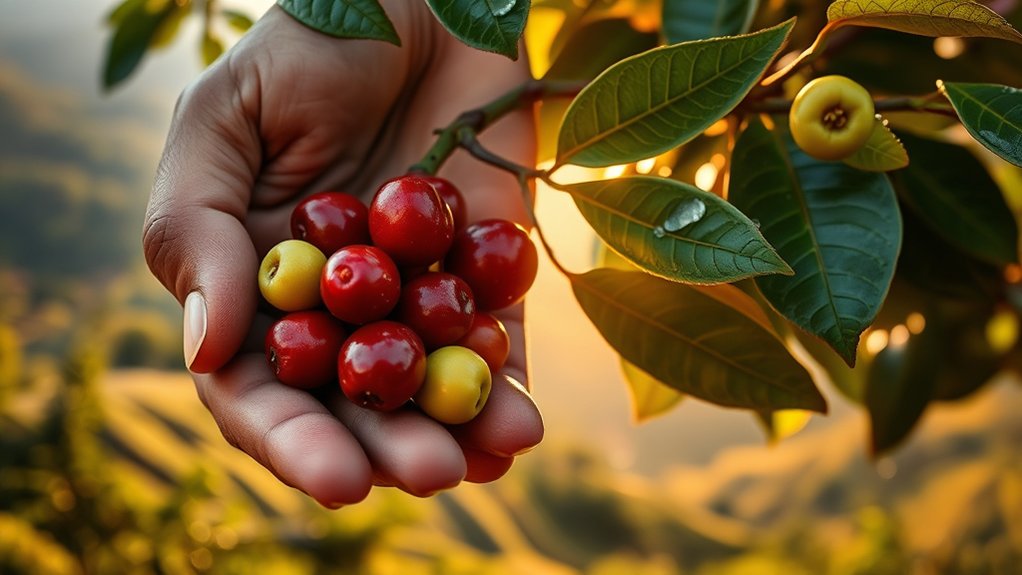
How can you tell when coffee cherries are ready to pick? First, look at their color. Coffee cherries change from green to bright red, yellow, or orange, depending on the variety. This color shift signals ripe coffee, but you shouldn’t rely on color alone.
Coffee cherries signal ripeness by changing from green to bright red, yellow, or orange, depending on the variety.
Gently squeeze the cherries; they should feel slightly soft, indicating they’re ready for harvesting coffee. Keep in mind, coffee cherries don’t ripen all at once, so you need to monitor your plants regularly.
For Arabica, the ideal harvest period is October to December, while Robusta cherries are best picked between December and February.
By selecting only fully ripe coffee cherries, you guarantee better flavor quality.
Avoid unripe cherries since they can negatively impact the final taste of your coffee beans.
Picking Or Stripping: Which Coffee Harvesting Method Works Best?
Although both hand-picking and stripping are common methods for harvesting coffee cherries, choosing the right approach depends on your priorities for quality and efficiency.
Hand-picking lets you selectively harvest only ripe cherries, avoiding unripe cherries that can negatively affect flavor. This careful selection enhances the quality impact of your final coffee but demands more labor and skilled pickers.
On the other hand, stripping removes all cherries regardless of ripeness, speeding up harvest and reducing effort. However, stripping mixes unripe cherries with ripe ones, which compromises the coffee’s flavor and lowers quality.
If you prioritize superior taste and are willing to invest time and resources, hand-picking is your best bet. For large-scale operations focused on speed, stripping offers efficiency at the cost of quality impact.
Essential Tools And Workspace Setup For Coffee Harvesting
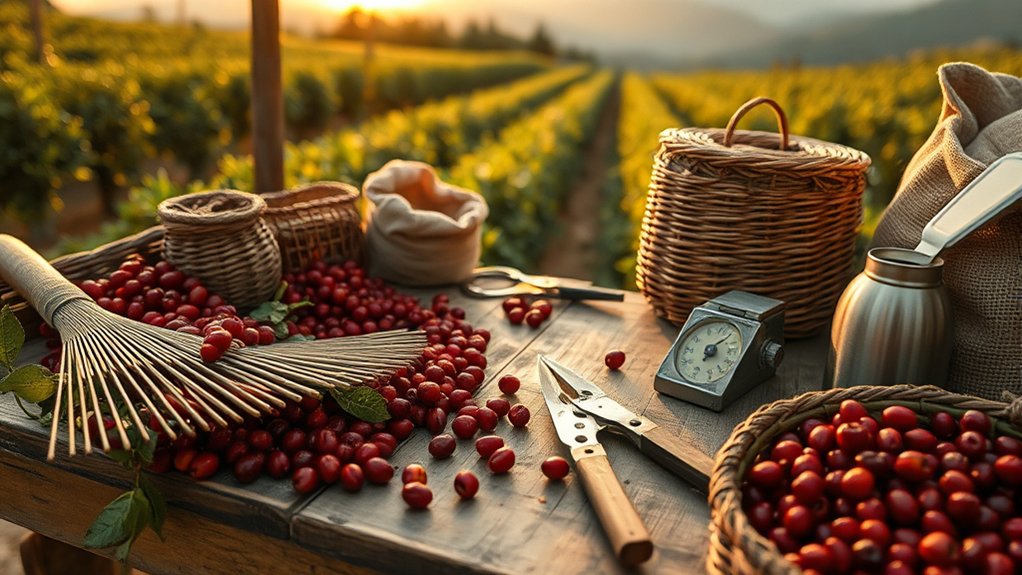
You’ll want to have sturdy baskets ready for collecting the cherries, and gloves to protect your hands while picking. It really makes the process easier and more comfortable.
Also, setting up a clean and organized workspace is super important. Just be sure to avoid using containers that once held chemicals—keeping your beans safe is a top priority.
Required Harvesting Tools
A sturdy basket forms the backbone of your harvesting tools, providing a clean and reliable container for collecting ripe coffee cherries without risking contamination.
Make certain the basket is free from chemicals or residues to maintain coffee quality.
Wearing gloves is essential. They protect your hands and keep the cherries clean during picking.
For precise harvesting, equip yourself with a small knife or scissors to carefully cut the cherries, minimizing damage to the coffee plants.
These harvesting tools help you work efficiently and maintain crop health.
Workspace Organization Tips
Three key elements define an efficient coffee harvesting workspace: cleanliness, organization, and comfort. Start by keeping your workspace clean and free from chemicals; use washed bags to collect cherries and prevent contamination.
Organize essential harvesting tools such as sturdy baskets, gloves, and pruning shears within easy reach to streamline your workflow.
Set up a shaded area to reduce fatigue during the physically demanding hand-picking process, especially in peak seasons. Keep water nearby to stay hydrated throughout long hours.
Furthermore, prepare a dedicated sorting station where you can quickly separate ripe cherries from unripe ones, ensuring only quality beans proceed to processing.
Safety Gear Essentials
Although harvesting coffee cherries can be rewarding, it demands proper safety gear to protect you from thorns, sharp branches, and uneven terrain.
First, wear sturdy gloves to protect your hands while picking; this prevents cuts and irritation.
Use a clean, chemical-free basket or bag to carry harvested cherries, ensuring the beans remain uncontaminated. Proper footwear, like boots with good traction, helps you navigate rough ground safely.
Don’t forget sun protection. Wear a wide-brimmed hat and sunglasses to shield yourself during long hours outdoors.
Finally, set up a shaded workspace nearby to process cherries, preserving their quality by preventing heat damage.
Prioritizing this safety gear and setup makes your harvest efficient and safe every time.
How To Hand-Pick Coffee Cherries Like A Pro
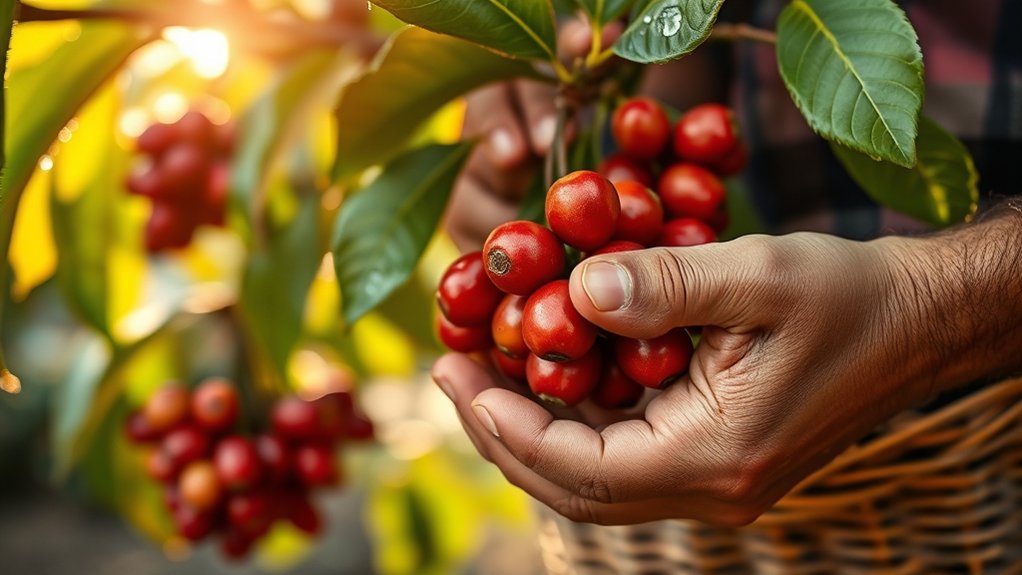
Mastering the art of hand-picking coffee cherries means focusing on selecting only the ripe ones. These feel slightly soft and display vibrant colors like bright red, yellow, or orange, depending on the variety. Use a gentle twisting and pulling technique to remove cherries carefully, protecting the coffee plant and encouraging future growth.
Since cherries ripen unevenly, revisit the plants multiple times to harvest only the best fruit. Aim to pick about one gallon every 20 minutes by staying attentive and methodical. Always collect cherries in clean, washed bags to avoid contamination.
| Patience | Precision | Passion |
|---|---|---|
| Feel the perfect softness | Spot the vibrant hues | Respect the coffee plant |
| Twist gently | Hand-pick selectively | Harvest with care |
| Repeat for quality | Protect future growth | Love your craft |
How To Store Coffee Cherries Properly After Harvest
After you’ve harvested your coffee cherries, it’s best to store them in clean, breathable bags.
Find a cool, shaded spot to keep these bags—this helps reduce heat and moisture buildup, which can really affect the cherries.
Try not to stack the bags too high. Keeping them low allows air to flow around, and it also prevents the cherries from getting crushed, which can lead to mold.
Make it a habit to check on the cherries regularly. Spotting any signs of spoilage early on will help you keep their quality intact before you move on to processing.
Ideal Storage Conditions
To keep your coffee cherries fresh and flavorful, store them in clean, washed bags and place them in a cool, dry area with less than 65% humidity. These ideal storage conditions help you preserve the quality before you process the green beans.
Avoid moisture and guarantee proper ventilation to reduce spoilage risks. Process cherries the same day to maintain flavor and prevent fermentation.
| Factor | Ideal Range | Reason |
|---|---|---|
| Temperature | 15-20°C (59-68°F) | Prevents heat damage |
| Humidity | <65% | Limits mold and fermentation |
| Ventilation | Good airflow | Avoids moisture buildup |
| Storage Time | Same day preferred | Minimizes quality loss |
Following these guidelines guarantees you store the green beans efficiently and retain peak freshness.
Preventing Mold Growth
Properly storing coffee cherries immediately after harvest plays an essential role in preventing mold growth and preserving bean quality.
To keep mold at bay, store your coffee cherries in clean, breathable bags that allow moisture to escape.
Avoid moisture buildup by processing cherries the same day you harvest them. Always keep your storage area cool and well-ventilated, ideally maintaining humidity below 65%.
Placing the cherries on clean surfaces prevents contamination and earthy off-flavors.
Regularly inspect the coffee cherries for any signs of mold or excessive moisture, and rotate them often to promote even airflow and drying.
How To Remove Coffee Beans From Coffee Cherries
Start by choosing a removal method that suits your resources and desired coffee quality. You can remove the beans from cherries using dry processing, which dries the whole cherries in the sun before extraction, or wet processing, where you soak the cherries to loosen their outer layer.
For manual removal, use your teeth carefully or a steak knife, but crushing cherries on a board or soaking them overnight makes the process easier and more efficient. Proper technique is essential to loosen the fruit and access the two beans inside each cherry without damaging them.
After extracting the beans, rinse them thoroughly to remove residual mucilage, preparing them for the next step. This careful removal maximizes both yield and bean quality.
Why And How To Ferment Coffee Beans Correctly
Once you’ve removed and rinsed the coffee beans from their cherries, the next step is fermentation, which plays a key role in shaping the coffee’s flavor.
When fermenting coffee beans, submerge them in clean water for 1 to 2 days to break down the mucilage, a sticky slime layer surrounding the beans.
This process is essential to remove the beans’ outer coating and reveal the green coffee beneath. You’ll know fermentation is complete when the beans develop a rough texture, showing the mucilage has been effectively removed.
Make sure to rinse the beans thoroughly afterward to wash away any residue.
Keep an eye on temperature and duration because these factors influence flavor development.
Skipping or rushing this step can cause off-flavors, so careful monitoring guarantees a high-quality green coffee ready for drying.
Drying And Hulling Coffee Beans For Long-Term Storage
Although fermentation prepares your coffee beans for drying, the next vital step is to dry them on clean, flat surfaces until their moisture content drops to about 12%.
For cherry coffee, this dry processing takes 18 to 20 days, while parchment coffee requires 9 to 10 days.
You must protect the beans from rain to prevent unwanted moisture and spoilage.
Once dry, the hulling process removes the dry parchment and silver skin, revealing the green beans beneath.
After hulling, hand-sorting guarantees only quality beans move forward.
Store your green beans in well-ventilated areas with less than 65% humidity and clean jute sacks to avoid contamination and off-flavors.
Proper drying and hulling are essential to maintain the beans’ integrity for long-term storage, ideally within 12 months.
Key Tips To Maintain Coffee Quality From Harvest To Roasting
To preserve the full potential of your coffee from harvest through roasting, you need to focus on several critical practices that directly impact flavor and quality. Start with selective picking by harvesting only ripe cherries by hand to avoid bitter notes from unripe fruit.
Follow with immediate processing on the same day to prevent contamination and lock in freshness. During fermentation, submerge beans for 1-2 days to remove mucilage. Then apply careful drying on clean, flat surfaces until beans reach 12% moisture to prevent mold and off-flavors.
| Step | Key Action | Result |
|---|---|---|
| Selective Picking | Pick ripe cherries | Enhanced flavor |
| Immediate Processing | Process same day | Quality preservation |
| Careful Drying | Dry to 12% moisture | Avoid mold, maintain taste |
| Proper Storage | Cool, dry, ventilated | Long-term freshness |
Frequently Asked Questions
What Are the Best Soil Conditions for Growing Coffee Plants?
You’ll want soil with a pH between 6 and 6.5 to grow healthy coffee plants, as this range optimizes nutrient availability.
Make sure the soil has excellent drainage to prevent waterlogging, which can harm roots.
Keep nutrient levels balanced, rich in organic matter with adequate nitrogen, potassium, and phosphorus to support growth and bean development.
Regularly test and amend your soil to maintain these ideal conditions for a thriving coffee crop.
How Does Altitude Affect Coffee Bean Flavor?
Altitude greatly influences coffee bean flavor. As you grow coffee at higher altitudes, cooler temperatures slow bean maturation, enhancing flavor complexity and acidity.
These altitude effects make beans from elevated growing regions taste brighter and more nuanced compared to lower elevations, which often yield simpler, bolder flavors.
When selecting a site, consider altitude carefully since it directly impacts the unique flavor profile your coffee will develop. This consideration helps you produce a more refined and desirable cup.
What Are Common Pests That Affect Coffee Crops?
Imagine pests attacking your coffee plants like uninvited guests at a party; they can quickly ruin the vibe. Common pests include the coffee berry borer and leaf rust fungus, which cause serious damage.
You’ll want to implement pest management strategies like organic pest control using natural predators or neem oil.
Also, stay vigilant for coffee plant diseases to protect your crop’s health and guarantee a quality harvest season after season.
Can Coffee Cherries Be Harvested More Than Once per Season?
Yes, you can have multiple harvests in a single season, but it depends on cherry ripeness and seasonal variations.
You’ll need to monitor your coffee plants closely, picking only the ripe cherries each time.
Since cherries don’t ripen all at once, multiple harvests guarantee you gather the best quality beans.
How Do Weather Variations Impact Coffee Harvest Timing?
You might notice one season’s steady harvest suddenly contrasts with another’s unpredictable timing due to weather variations.
Climate change shifts rainfall patterns and temperature fluctuations, causing coffee cherries to ripen unevenly or earlier than usual.
This forces you to adjust your picking schedule carefully, making sure beans don’t overripen or spoil.
Staying attentive to these changes helps you optimize harvest timing and maintain coffee quality despite unpredictable weather.
Conclusion
By following these steps, you’ll guarantee your coffee beans reach peak quality. For example, consider Ana, a small-scale farmer who hand-picks only ripe cherries, ferments them precisely, and carefully dries her beans.
Her attention to detail results in a rich, vibrant cup loved by local cafes. With the right tools and techniques, you can achieve the same success, preserving flavor and freshness from harvest to roast.
Your perfect brew starts here.