How Long To Percolate Coffee – Brewing Time Guide
You should percolate your coffee between 7 and 10 minutes for the best balance. Under 7 minutes, your coffee may taste weak or sour. Brewing over 10 minutes risks bitterness from over-extraction.
Adjust your grind size, heat, and water amount to fine-tune brewing time. Medium-coarse grounds and lighter roasts need longer. Use the glass knob to monitor bubbling for perfect timing.
Keep exploring to master brewing for your taste preferences. It takes a little practice, but you’ll get there!
What Is the Ideal Brewing Time for Percolator Coffee?
Although brewing time can vary slightly based on your taste, the ideal range for percolator coffee is generally between 7 to 10 minutes. Sticking within this window ensures balanced coffee flavor and maximum brewing consistency.
Brewing for less than 7 minutes typically results in under-extracted coffee that tastes weak and sour.
On the other hand, going beyond 10 minutes often causes over-extraction, bringing out bitter and harsh notes. You can monitor the coffee’s color and aroma during brewing to gauge when it reaches the perfect strength.
Adjusting the time slightly within this range lets you customize your cup, whether you prefer a lighter or more robust flavor.
This approach guarantees that your percolator coffee consistently delivers a satisfying and well-rounded taste. It’s all about finding that sweet spot that works best for you.
How Grind Size Affects Percolator Coffee Brew Time
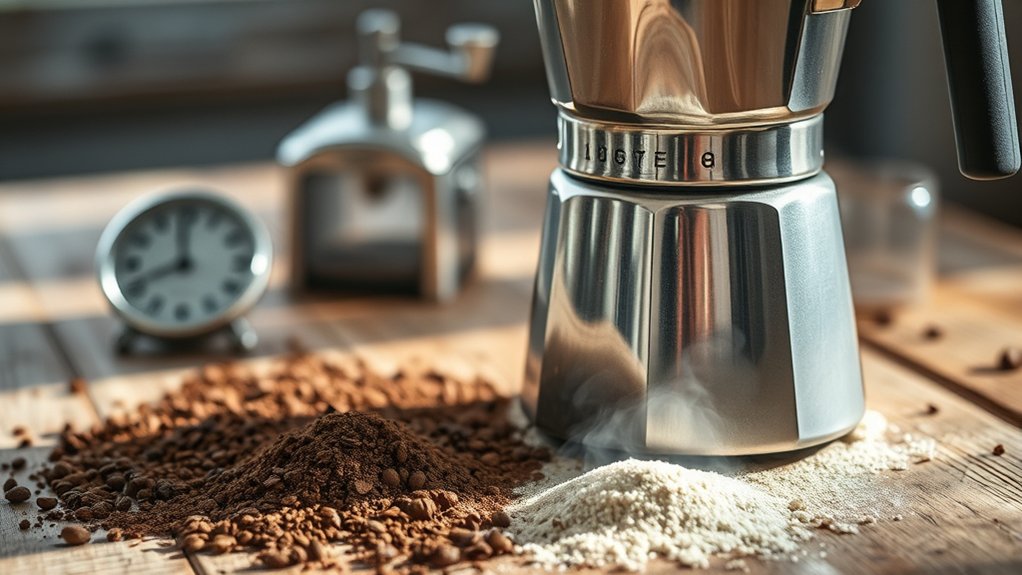
Finding the right brewing time is just one piece of the puzzle when making percolator coffee.
Grind size plays an essential role in how long your coffee needs to percolate. Finer grinds increase surface area, allowing water to extract flavors quickly, which shortens brew time. But be careful—too fine a grind can cause over-extraction and bitterness.
Grind size affects percolation time—finer grinds extract faster but risk bitterness if too fine.
Coarser grinds slow water flow, so you’ll need a longer brewing time to develop a full-bodied cup.
Maintaining consistent grind consistency guarantees even extraction, while using fresh coffee maximizes flavor clarity.
Why Medium-Coarse Grounds Need a Longer Brew Time
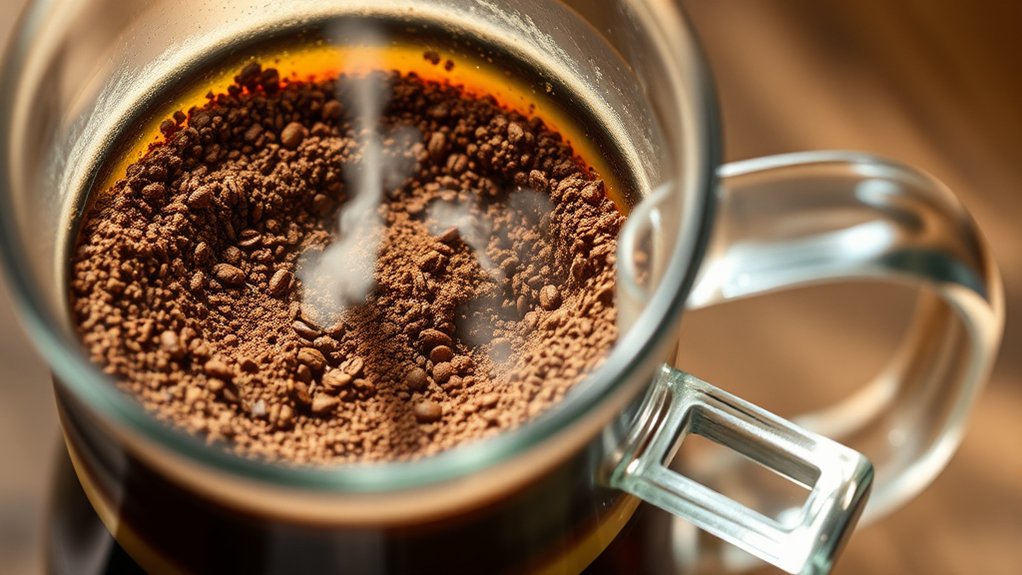
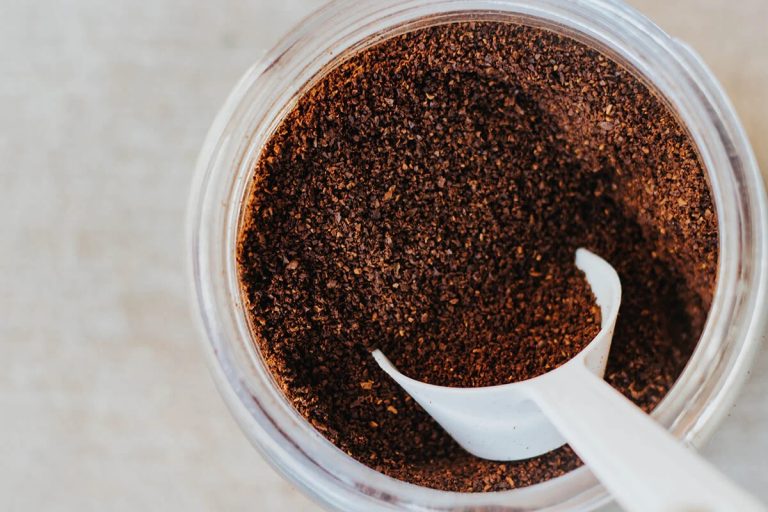
When you use medium-coarse grounds, their larger size means water takes longer to fully soak in. Because these grounds have less surface area exposed, the brewing process needs extra time to draw out all those delicious flavors.
If you try to rush it, your coffee might end up tasting weak or sour instead of rich and balanced. So, giving it a bit more time really makes a difference!
Grind Size Impact
Since medium-coarse coffee grounds have larger particles, water extracts flavors more slowly than with finer grinds. The particle size directly affects how quickly water interacts with the coffee, so consistent grind size is vital for predictable brewing.
With medium-coarse grounds, the larger particles reduce the surface area exposed to water, causing a more gradual flavor release. This slower extraction means water passes through the grounds at a gentler pace, requiring you to extend the brewing time to fully develop the coffee’s strength and complexity.
If you don’t adjust for grind consistency and particle size by lengthening brew time, typically between 7 to 10 minutes, you risk under-extracting. That usually results in weak, unbalanced coffee.
Paying attention to grind size impact ensures your percolation yields a rich, satisfying cup every time. It’s a small detail that makes a big difference in how your coffee tastes. So, take a moment to dial in that grind size and brewing time for the best results.
Extraction Rate Effects
Although medium-coarse grounds slow down water extraction because of their larger particle size, you can still get a rich, balanced coffee by letting it brew longer. The increased surface area means water takes more time to fully extract oils and soluble compounds. So, if you rush the process, you might end up with under-extracted, weak, or sour coffee.
To get the best flavor, just extend your brewing time to match the slower percolation through coarser grounds. Also, keep in mind that coffee bean freshness plays a big role. Fresh beans extract more evenly and really boost the flavor.
Make sure your percolator is well-maintained too. Buildup or clogging can slow extraction even more and mess with the taste.
How Water Amount Influences Percolator Coffee Brewing
You’ll notice that the amount of water you add directly changes the brewing time—more water means a longer percolation. So, if you add a lot, your coffee will take more time to brew.
Keeping the water level just right helps you avoid overfilling, which can slow extraction and weaken your coffee. It’s all about finding that perfect balance.
Water Level Effects
How much water you use in your percolator plays a crucial role in the final taste and strength of your coffee. If you add too much water, your coffee brewing will result in a diluted, weaker flavor.
Conversely, too little water can cause over-extraction, making your coffee bitter and overly strong.
The water level also affects brewing time. Larger volumes require longer percolation at the right water temperature to extract flavors properly.
Maintaining the correct water-to-coffee ratio ensures balanced extraction without bitterness or weakness.
Be careful not to overfill the water chamber, as it may cause spills and extend brewing beyond ideal times.
Brewing Time Variations
Managing your water level not only affects the strength of your coffee but also changes how long the percolation process takes. When you increase water volume, the percolation time shortens because more water quickly passes through the grounds. This impacts flavor enhancement by producing a milder, less concentrated brew.
Conversely, using less water lengthens brewing time, allowing more thorough extraction and richer flavors. You’ll need to adjust your brewing time accordingly to avoid under- or over-extraction.
Temperature control also plays a role here. More water can lower the overall temperature, impacting extraction speed and flavor.
Avoiding Overfilling Risks
Although it might seem convenient to fill your percolator’s water chamber to the brim, doing so can cause several brewing issues. Overfilling often leads to spills and uneven percolation, which results in weak or diluted coffee. It also prolongs brewing time unnecessarily, increasing the risk of over-extraction and bitter flavors.
When the reservoir exceeds recommended levels, water flow can be blocked, preventing proper cycling through the grounds. This not only affects taste but may cause water to boil over, creating messes and risking damage to your stove or device.
To protect your equipment and maintain consistent flavor, measure water accurately every time. Proper water levels also support equipment maintenance and help preserve your coffee storage quality by ensuring each brew extracts the best flavors without compromising your percolator’s function.
How Heat Settings Affect Your Percolator Brew Time
Since the heat setting directly controls the speed of water cycling in your percolator, it plays a crucial role in determining brew time and coffee strength. Using medium heat typically brews in 7-10 minutes, balancing extraction perfectly. High heat speeds up brewing to under 5 minutes but risks bitterness.
Low heat extends brew time beyond 10 minutes, yielding weak coffee. For ideal flavor and consistent results, maintain medium-low heat. Remember, proper percolator maintenance and good coffee storage complement heat control to preserve taste.
Here’s a quick reference:
| Heat Setting | Brew Time |
|---|---|
| High | < 5 minutes |
| Medium | 7-10 minutes |
| Medium-Low | 7-10 minutes |
| Low | > 10 minutes |
| Steady Medium-Low | Best flavor extraction |
Tips for Watching Your Percolator Without Overheating
Keep an eye on the bubbles in the glass knob—they should pop up steadily every 2 to 3 seconds. That’s your sign that the brewing pace is just right.
But if those bubbles start fizzing vigorously or you notice steam escaping, it’s time to turn the heat down right away to prevent overheating.
A handy tip? Use a timer along with watching the bubbles. It makes managing the heat a breeze and helps you brew your coffee just perfectly every time.
Monitoring Bubble Frequency
When you keep an eye on the percolator’s globe or viewing window, you’ll notice bubbles forming at a steady pace—ideally every 2 to 3 seconds. This steady bubbling signals perfect brewing, enhancing coffee aroma without overheating.
If bubbles speed up, you risk bitterness and poor percolator maintenance. Use the table below to gauge bubble frequency and adjust accordingly:
| Bubble Frequency (Seconds) | Indicator | Action Needed |
|---|---|---|
| 2–3 | Ideal | Maintain current heat |
| 1–2 | Too fast | Reduce heat immediately |
| >3 | Too slow | Increase heat slightly |
Monitoring bubble frequency helps you time the brew for 7-10 minutes. This ensures rich flavor and proper extraction without damaging your percolator.
Managing Heat Levels
Keeping a steady bubble frequency is a strong signal you’re on the right track. But managing heat levels carefully guarantees your coffee doesn’t turn bitter. Start with medium heat until you see water bubbling into the glass globe. Then, lower it to maintain gentle, consistent bubbles every 2-3 seconds.
Watch for vigorous bubbling or escaping steam. These signs mean the heat’s too high and can ruin your coffee flavor. Use the glass knob to monitor bubbling and color, making sure the water stays in the ideal range.
To preserve brewing consistency and avoid over-extraction, remove your percolator from heat once the brewing time hits 7-10 minutes. This careful heat control ensures a balanced, smooth cup without burnt or bitter notes.
When to Remove Your Percolator Coffee From Heat
Once the coffee reaches a deep, rich color and fills the air with a strong aroma, usually after 7 to 10 minutes, you’ll want to remove the percolator from the heat.
Keep an eye on the glass knob because steady bubbling signals the right coffee temperature. Vigorous bubbling or steam means it’s time to stop brewing.
Watch the glass knob: steady bubbles mean perfect temperature, but vigorous bubbling signals brewing should stop.
If you notice a slow, consistent stream of coffee rising inside the tube, that’s another sign your brew is ready.
Removing the percolator promptly preserves ideal flavor and prevents bitterness from over-extraction.
For effective percolator maintenance, never leave it on heat beyond 10 minutes once the desired strength is achieved.
Managing heat and timing carefully ensures your coffee tastes balanced and your equipment stays in good condition.
How Over-Extraction Affects Coffee Flavor
If you let your coffee grounds steep too long, you’ll extract more than just the desirable flavors. Over-extraction happens when brewing goes beyond the ideal 7-10 minute window. This pulls out too many bitter compounds that overshadow the coffee’s natural sweetness.
This leads to a harsh, astringent taste with a dark, overly strong flavor profile. Prolonged percolation also dulls flavor complexity and hurts aroma preservation. The result? Your coffee ends up flat and one-dimensional.
The bitter solubles dissolve later in brewing, so it’s important to keep an eye on your brew time. By stopping the percolation promptly, you keep a balanced, smooth cup. That way, you highlight the nuanced aromas and rich flavor complexity you want.
Careful timing makes sure every sip is satisfying, never bitter or overbearing. It’s all about knowing when to stop for the best taste.
Customizing Brew Time for Different Roast Levels
Although percolating coffee follows general timing guidelines, you’ll want to adjust brew duration based on the roast level to get the best flavor.
Dark roasts need a shorter brew time, around 5-7 minutes, to avoid bitterness from over-extraction.
Light roasts benefit from a longer percolation, about 8-10 minutes, to reveal their delicate aromas.
Medium roasts sit comfortably between 7-9 minutes, balancing strength and clarity.
Remember, coffee bean freshness affects extraction. Fresher beans may require slightly less time.
Also, make sure your percolator is clean and well maintained, as residue can alter flavor and extraction consistency.
How to Use the Percolator’s Glass Knob to Time Brewing
While brewing coffee in your percolator, you can rely on the glass knob to time the process accurately. This clear knob offers a visual guide to monitor coffee flavor development and beverage temperature without lifting the lid.
Here’s how to use it effectively:
First, watch for steady bubbles every 2-3 seconds signaling proper percolation. Then, observe the coffee color darkening; aim for a rich, balanced tone around 5-7 minutes. Remove from heat once bubbles become vigorous, preventing over-extraction and bitterness.
You can adjust percolation time based on your taste preference by using the knob’s visual cues. Using the glass knob ensures you control brewing time precisely, resulting in *ideal* coffee flavor and *perfect* beverage temperature every time.
Common Brewing Time Mistakes That Cause Bitterness
Brewing coffee for too long often results in bitterness that can ruin your cup. Over-percolating beyond 10 minutes extracts excessive bitter compounds, overshadowing the unique flavors tied to your coffee bean origin.
Using too fine a grind speeds up extraction, increasing bitterness risk, so stick to a coarser grind for balanced results.
High heat causes rapid boiling, leading to burnt, harsh flavors. During your brewing ritual, pay attention to visual cues like vigorous bubbling and strong aromas. These signal over-extraction.
Ignoring these signs and extending brew time past the recommended 7-10 minutes typically produces astringent, bitter coffee.
Adjusting Brew Time for Stronger or Milder Percolator Coffee
Controlling how long you percolate your coffee lets you tailor its strength to your taste. For flavor enhancement and ideal aroma development, you’ll want to adjust brewing time and grind size carefully. Here’s how to do it:
Adjust brewing time and grind size to customize your coffee’s strength and aroma perfectly.
Extend percolation to 8-10 minutes and use 1.5–2 tablespoons of grounds per cup for a stronger brew. Shorten brewing to 4-6 minutes with about 1 teaspoon per cup for a milder cup.
Choose a finer grind to boost strength but watch for over-extraction. Coarser grinds slow extraction, softening flavor.
Maintain gentle, steady heat to keep consistent percolation. Keep an eye on the color and aroma to know when your coffee hits the desired strength.
These steps guarantee your percolator coffee matches your preferred intensity every time.
Frequently Asked Questions
Can I Use a Percolator on an Electric Stove?
Yes, you can use a percolator on an electric stove. Just make sure to maintain your percolator properly and use medium heat.
Keep an eye on the brewing process. This way, you’ll enhance the coffee’s flavor without burning it or over-extracting.
It’s all about finding that sweet spot. With a little attention, your percolator will work great on an electric stove.
How Do I Clean My Coffee Percolator Properly?
You don’t want a funky-tasting brew, so use cleaning techniques like warm, soapy water and vinegar descaling methods.
Disassemble the parts, soak stubborn stains, and scrub gently. Your percolator deserves better than neglect, right?
Is Percolated Coffee Healthier Than Drip Coffee?
You’ll find percolated coffee offers richer coffee flavor and more health benefits than drip coffee because it retains antioxidants and oils. Just avoid overbrewing to prevent bitterness and harmful compounds, ensuring a balanced, healthful cup.
It’s really about finding the right brewing time so your coffee tastes great without going too bitter. Plus, those antioxidants are a nice bonus for your health. So, if you like a stronger flavor and some extra benefits, percolated coffee might be the way to go!
What Type of Coffee Beans Work Best for Percolators?
Bold, balanced coffee bean varieties bring brilliant brews. You’ll want medium to dark roasting levels for percolators, as they reveal rich, robust flavors.
Choose fresh, full-bodied beans like Colombian or Sumatra for superior strength and aroma. These beans really shine when brewed this way, giving you that perfect cup every time.
Can I Add Spices or Flavors During Percolation?
You can add spices during percolation for flavor infusion, but use small amounts to avoid clogging.
Try adding spices directly to the grounds or placing them in an infuser. Then, remove the spices after brewing to keep the taste balanced.
This way, you get a nice flavor without any mess or bitterness. Give it a try and see what flavors you like best!
Conclusion
Brewing perfect percolator coffee is both an art and a science. You hold the power to craft your ideal cup by adjusting grind size, water amount, and heat settings. These tweaks help you control flavor and strength.
Remember, the glass knob is your trusty timer. It guides you to avoid bitterness, so don’t rush. Let patience percolate.
With a little practice, you’ll reveal a rich, balanced brew that’s worth every second you wait.