How Do You Clean A Coffee Pot With Vinegar – Step-By-Step Guide
To clean your coffee pot with vinegar, mix equal parts white distilled vinegar and water. Then pour two cups of this solution into the reservoir.
Start a brew cycle and pause halfway to let it soak for 30 to 60 minutes. After that, finish brewing, then run two full cycles with fresh water to rinse thoroughly.
This process dissolves mineral buildup, eliminates odors, and kills bacteria. Follow these precise steps to restore your coffee maker’s performance and discover additional tips for stubborn deposits and maintenance.
Why Vinegar Effectively Cleans Coffee Makers
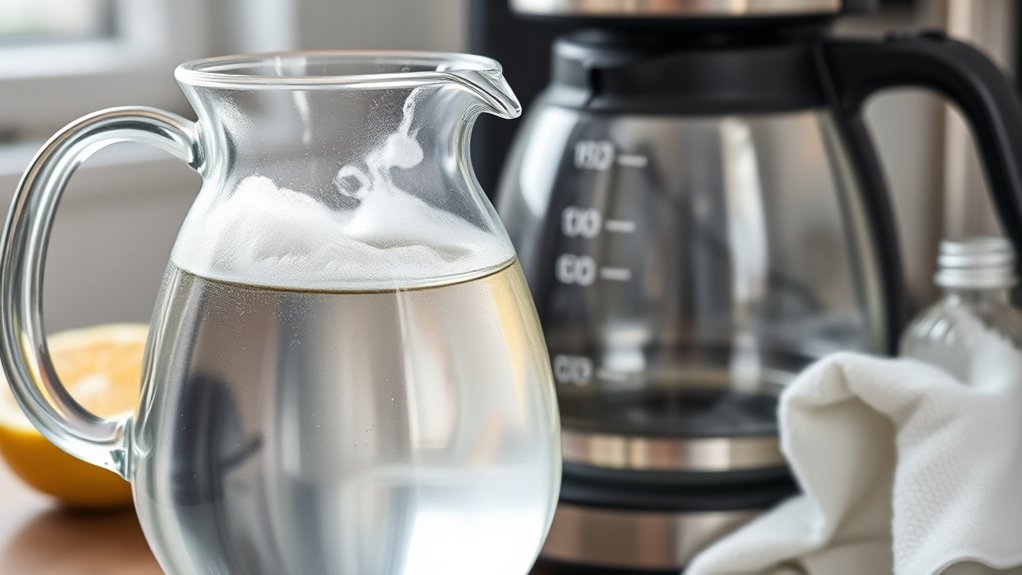
Vinegar effectively cleans coffee makers primarily because of its acidity, which dissolves mineral deposits and limescale that build up over time.
These mineral deposits, mainly calcium and magnesium, impair your machine’s performance and affect coffee taste.
Vinegar’s antibacterial properties eliminate mold and bacteria thriving in your coffee maker’s warm, moist environment, maintaining hygiene.
Vinegar’s antibacterial power helps keep your coffee maker free from mold and bacteria, ensuring cleanliness.
Beyond cleaning, vinegar acts as a natural deodorizer, neutralizing odors from stale water and old coffee residue.
It also breaks down accumulated coffee oils, preventing bitterness in your brew.
Using vinegar is eco-friendly, avoiding harsh chemicals that could harm both your appliance and the environment.
This combination of acidity, antibacterial action, and eco-consciousness makes vinegar a highly effective, natural solution for maintaining your coffee maker’s cleanliness and ensuring a fresh, flavorful cup every time.
Gather Supplies To Clean Your Coffee Pot
Before you begin cleaning your coffee pot, gather all necessary supplies to streamline the process and guarantee thorough results.
Start by gathering white distilled vinegar and fresh water, the primary ingredients for your cleaning solution. Mix two cups of each to create an effective descaling mixture.
Have mild dish soap ready for cleaning the exterior and removable parts without causing damage.
Prepare a clean microfiber cloth to wipe down surfaces efficiently and collect any loosened residue.
Moreover, keep a soft-bristled brush or old toothbrush on hand for scrubbing stubborn deposits in tight spots.
Finally, have both a damp dish towel for drying components after rinsing and a dry towel for final touches.
Organizing these materials beforehand guarantees a smooth, efficient, and all-encompassing cleaning routine.
How To Empty And Prepare Your Coffee Maker

Start by removing the coffee carafe, filter basket, and any leftover grounds from your coffee maker to guarantee a clean workspace.
Empty the carafe completely and rinse it along with the filter basket under warm water to remove coffee oils and debris.
Since removable parts daily maintenance helps preserve machine function, dry these components thoroughly before reassembling.
Next, inspect the water reservoir for buildup, wiping it down with a damp cloth to prevent mineral deposits.
Ensuring your coffee maker is unplugged and all parts are secure sets the stage for effective cleaning.
Remember, vinegar is a natural cleaning agent, so preparing your machine properly enhances its descaling impact.
This preparation is essential to clean your coffee maker efficiently, promoting longevity and ideal brewing quality.
How To Mix The Perfect Vinegar Cleaning Solution
Once your coffee maker is properly prepared and free of loose debris, you can focus on creating the cleaning solution that will effectively dissolve mineral buildup.
To clean your coffee pot, mix equal parts white distilled vinegar and water. Typically, two cups each for a standard machine works well.
Use a clean carafe to measure and combine the liquids thoroughly, ensuring a consistent solution that maximizes descaling power. This precise ratio allows the vinegar to penetrate mineral deposits during the brewing cycle efficiently.
Avoid deviating from equal parts, as improper dilution reduces effectiveness.
After the vinegar solution runs through the coffee maker, be sure to rinse the carafe and the machine thoroughly with fresh water to eliminate any residual acidity and prevent lingering vinegar taste in future brews.
How To Run A Vinegar Brew Cycle To Clean Your Coffee Pot

Start by pouring the vinegar-water solution into the coffee maker’s reservoir.
Make sure the mixture is well balanced to get the best cleaning results.
Next, go ahead and start a brew cycle to let the solution run through the system.
About halfway through, pause the cycle and let the solution sit for an hour.
This gives the vinegar time to work on breaking down any mineral buildup inside.
Once the hour is up, you can finish the brew cycle and your coffee maker will be much cleaner!
Preparing Vinegar Solution
To prepare the vinegar solution, combine equal parts of white distilled vinegar and water, usually two cups each for standard coffee makers. This precise mixture guarantees the acidity of white vinegar and the diluting effect of water work together effectively without damaging your machine.
Pour this solution into the water reservoir, setting the stage to clean coffee makers thoroughly by targeting scale build-up and residue in internal components. The vinegar’s acidity breaks down mineral deposits during the brew cycle, reaching every passage inside the machine.
Preparing vinegar solution with this balance is critical; too concentrated can harm seals, too weak won’t clean effectively.
This method assures ideal contact between the solution and internal parts, maximizing cleaning efficiency while preserving your coffee maker’s longevity.
Starting Brew Cycle
Fill the coffee maker’s water chamber to its maximum capacity with the prepared vinegar-water solution to guarantee thorough cleaning.
Once filled, start the brew cycle to allow the vinegar-water solution to circulate through internal components, targeting mineral buildup effectively. This cleaning method assures the solution reaches all areas where deposits accumulate.
Midway through the cycle, pause the process to let the solution sit, but that step will be covered later.
After completing the brew cycle, discard the used vinegar solution.
To finalize, rinse the coffee maker by running two additional brew cycles with fresh water. This step removes any lingering vinegar residue, preventing off-flavors in future brews.
Following this precise sequence optimizes your coffee maker’s cleanliness and longevity.
Pausing And Soaking
Halfway through the brew cycle, you’ll want to pause the coffee maker and let the vinegar solution soak inside the machine for one hour. This soaking period allows the vinegar’s acidity to descale mineral deposits and buildup effectively.
The vinegar-water mixture penetrates internal components, enhancing cleaning beyond simple rinsing. After soaking, resume and complete the brew cycle to flush the dissolved residues.
Visualize the process:
- Vinegar and water swirling through the reservoir
- Minerals loosening from pipes and heating elements
- The machine silent as the solution sits, working
- Residue breaking down inside hard-to-reach areas
- Fresh water flushing out remaining vinegar after completion
Pausing during the brew cycle maximizes the vinegar’s descaling power, ensuring a thorough cleaning.
How Long To Let The Vinegar Solution Sit Inside
After you start the brew cycle with the vinegar solution, it’s best to let it sit inside the coffee maker for about an hour. This gives it enough time to break down mineral buildup and get rid of any odors.
If you’re short on time, even a quick soak of 15 to 30 minutes can help clean things up a bit.
But, honestly, letting it sit longer will do a better job. Just keep in mind that leaving it in for more than an hour doesn’t really improve the results much.
Plus, you’ll want to rinse the machine well afterward to make sure there’s no vinegar taste left behind.
Ideal Soaking Duration
How long should you let the vinegar solution sit inside your coffee maker to achieve the best cleaning results? To clean a coffee maker effectively, allow the vinegar-water solution to remain in the machine for a soaking period of at least 30 minutes.
For heavily used machines, extending this to one hour optimizes mineral deposit breakdown. During this time, the solution penetrates internal components, enhancing descaling.
After soaking, run a full brew cycle to flush out residues. Finally, rinse with fresh water through multiple cycles to eliminate any vinegar taste.
- Vinegar-water solution filling the reservoir
- Soaking period letting buildup dissolve
- Brew cycle flushing cleaning agents
- Rinse with fresh water cycles removing taste
- Sparkling clean coffee pot ready for use
Effects Of Extended Sitting
Extending the time you let the vinegar solution sit inside your coffee maker greatly boosts its ability to break down mineral deposits and stubborn buildup. Allowing the vinegar solution to sit for about an hour considerably enhances descaling, dissolving tough residues that shorter durations might miss.
After the brew cycle, letting the solution sit an extra 15 to 30 minutes further supports odor removal and guarantees a deeper clean of internal components. This extended sitting not only improves the effectiveness of mineral deposit breakdown but also helps maintain your coffee maker’s longevity by preventing limescale accumulation.
To maximize results, always complete the full brew cycle after the vinegar solution has sat, ensuring the cleaning agents reach all critical areas for thorough descaling and a pristine coffee pot.
How To Rinse Your Coffee Maker After Cleaning
Once you finish brewing with the vinegar solution, promptly discard it from both the carafe and water chamber to remove any lingering residue.
To properly rinse your coffee maker after cleaning, refill the water reservoir with fresh water, matching the vinegar solution’s volume. Run a full brew cycle to flush out remaining vinegar taste and odor.
Repeat this rinse process two more times, allowing the machine to cool between cycles to avoid damage.
Don’t forget to wash all removable parts thoroughly.
For effective coffee maker cleaning:
- Fill the reservoir with clean water
- Brew a complete cycle to rinse
- Repeat rinsing twice more
- Wash the carafe and filter basket with hot, soapy water
- Let all parts dry before reassembling
This method guarantees water removes all vinegar traces, completing your coffee cleaning routine.
How To Get Rid Of Stubborn Mineral Buildup
Removing stubborn mineral buildup requires a targeted approach using a vinegar solution mixed in a 1:1 ratio with water.
Start by filling your coffee maker with vinegar and water, then run a full brew cycle. This action dissolves mineral deposits caused by hard water in internal components like tubes and pumps.
After the cycle finishes, let the solution sit inside the machine for about 30 minutes to enhance the deep clean effect.
Next, thoroughly rinse the coffee maker by running at least two additional brew cycles with fresh water to remove any vinegar residue.
Using a coffee maker with vinegar regularly guarantees stubborn mineral buildup is minimized, preserving the machine’s efficiency and taste quality over time.
How Often You Should Clean Your Coffee Pot With Vinegar
Regularly tackling mineral buildup with vinegar is only part of maintaining your coffee pot’s performance. Understanding how often to clean your coffee maker guarantees you preserve flavor and extend its lifespan.
Generally, a thorough cleaning with vinegar once a month suffices to remove limescale and residue. However, if you’re a heavy coffee drinker or have hard water, biweekly cleanings might be necessary.
Watch for signs like a white film inside the pot or stale coffee taste; they signal it’s time to clean.
Consider these guidelines:
- Deep clean with vinegar every 1-3 months
- Rinse removable parts daily
- Clean after approximately 100 brews
- Increase frequency with hard water
- Address visible mineral buildup promptly
This strategic cleaning schedule keeps your coffee maker operating efficiently.
Frequently Asked Questions
Can Vinegar Cleaning Affect the Taste of Future Coffee Brews?
Yes, vinegar cleaning can impact your coffee flavor if vinegar residue remains in the brewing process.
If you don’t rinse thoroughly, the residual acetic acid may cause a sour taste, negatively affecting your next brews.
To avoid this, rinse multiple times after cleaning. Adjusting your cleaning frequency helps too.
Clean often enough to remove buildup but not so much that vinegar residue alters taste enhancement. Proper rinsing safeguards your coffee’s natural flavor.
Is It Safe to Use Vinegar on All Coffee Maker Types?
Think all coffee maker types can safely handle vinegar? Not quite. While vinegar works well for most drip machines, it’s harsh on some, like Keurigs or espresso makers, possibly voiding warranties.
Use vinegar alternatives like citric acid for sensitive models. Adjust your cleaning frequency based on usage, and follow maintenance tips closely.
For best brewing results, rinse thoroughly after cleaning to avoid lingering vinegar taste.
Can I Use Lemon Juice Instead of Vinegar for Cleaning?
Yes, you can use lemon juice instead of vinegar for cleaning due to its lemon juice effectiveness as a natural cleaning alternative.
Its acidity comparison shows it’s slightly milder than vinegar, so it’s good for light mineral buildup.
To preserve your coffee flavor, run several water cycles after cleaning to guarantee scent neutralization and avoid any citrus residue.
This method balances cleaning power with maintaining your coffee’s taste.
How Do I Clean the Coffee Maker’s Exterior Properly?
You know what they say: “A stitch in time saves nine.”
To clean your coffee maker’s exterior, choose the best cloths like damp microfiber for gentle residue removal. Tailor your approach to exterior materials and avoid abrasive cleaners on sensitive finishes.
Clean regularly to prevent buildup, focusing on control panels and bases. Use a soft brush for stubborn spots.
Consistent maintenance tips include drying surfaces thoroughly and wiping spills promptly to keep your machine spotless and lasting longer.
What Should I Do if Vinegar Smell Lingers After Cleaning?
If a lingering odor persists after cleaning your coffee pot, run an additional brewing cycle using pure water to flush out vinegar residue.
For more effective odor neutralizers, add a slice of lemon or a few tablespoons of baking soda to the rinse water.
Thoroughly rinse all components with warm water and leave the lid open to air out.
These alternative solutions enhance your cleaning methods and prevent lingering vinegar smells.
Conclusion
Cleaning your coffee pot with vinegar is both efficient and essential. Did you know mineral buildup can reduce your machine’s efficiency by up to 50%? Regular vinegar cleaning dissolves these deposits, ensuring peak brewing and extending your coffee maker’s lifespan.
By following the step-by-step process, you maintain flavor integrity and prevent costly repairs. Make vinegar cleaning part of your routine every 1-3 months to keep your coffee fresh and your machine performing at its best.