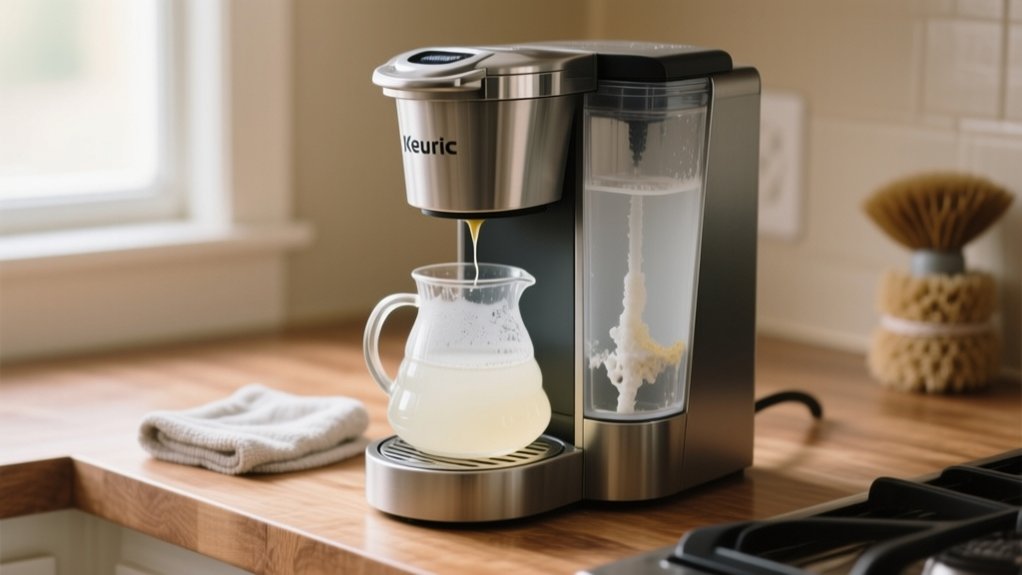
How To Descale A Keurig Coffee Maker With Vinegar – Step-By-Step Guide
To descale your Keurig with vinegar, unplug it first and remove the K-Cup holder and drip tray. Empty the water reservoir, then fill it halfway with distilled white vinegar and top off with water.
Run several brew cycles without a K-Cup until the solution is nearly gone, then let it sit for 30 minutes. Rinse by running 4-6 water-only cycles to remove the vinegar taste.
Cleaning removable parts and avoiding common mistakes enhance results. Detailed tips and alternatives await you.
Why You Should Descale Your Keurig With Vinegar
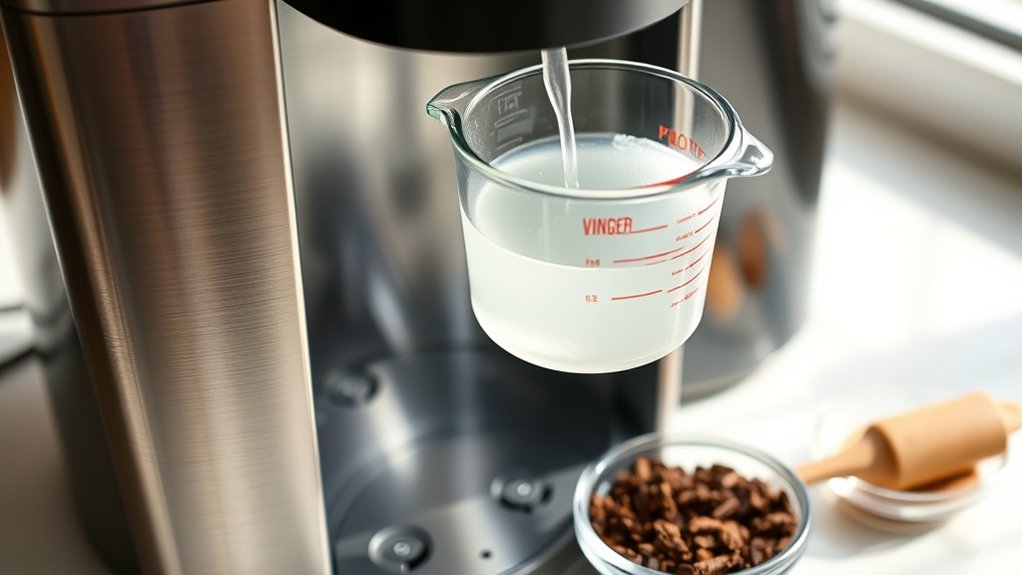
Descaling your Keurig with vinegar removes mineral buildup that slows brewing and alters the taste of your coffee. Over time, minerals in your water form limescale inside your machine, leading to weak or bitter coffee and noisy operation.
Using a vinegar solution with equal parts vinegar and water effectively breaks down this buildup without harsh chemicals. This acidity restores ideal heat transfer, ensuring your Keurig brews at the right temperature for the best flavor extraction.
Regular descaling keeps your machine running smoothly and prolongs its lifespan. If you ignore mineral buildup, your Keurig’s descale light may activate, signaling internal blockages.
How Often Should You Descale Your Keurig With Vinegar?
How often should you descale your Keurig with vinegar to keep it running smoothly? Generally, you should descale every 3 to 6 months to remove mineral deposits, especially if you use hard water. Signs like slower brewing, smaller cups, or a descale light mean it’s time to clean your machine.
Using filtered water can reduce how often you need to descale. Regular descaling prevents buildup, ensuring a clean machine and better coffee taste.
| Water Type | Descale Frequency | Why It Matters |
|---|---|---|
| Hard Water | Every 3 months | More mineral deposits |
| Soft Water | Every 6 months | Less buildup |
| Filtered | Every 6 months+ | Keeps machine cleaner |
Stay consistent to prolong your Keurig’s life and maintain peak performance.
What You Need to Descale Your Keurig With Vinegar
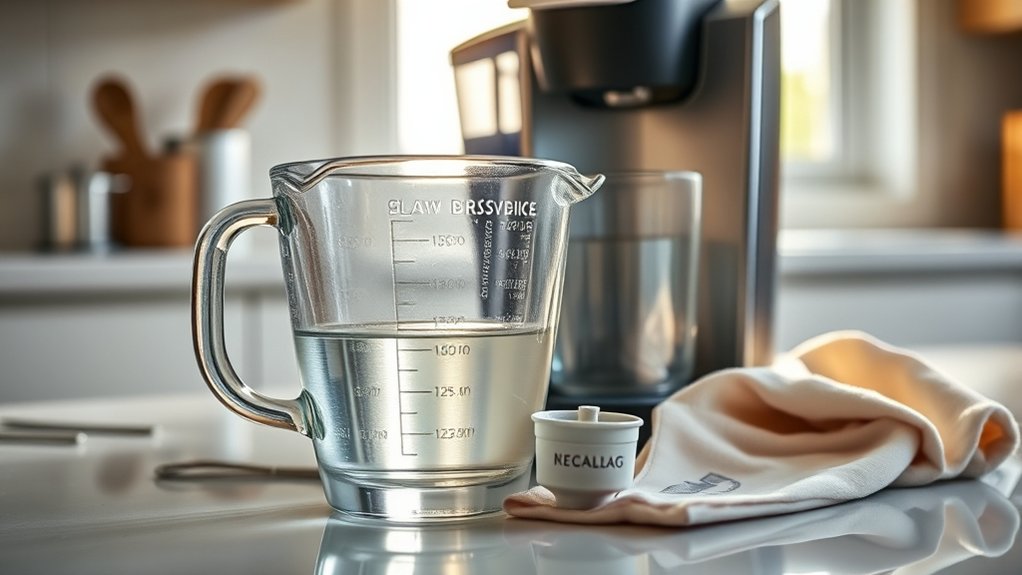
To descale your Keurig with vinegar, you’ll want to grab some distilled white vinegar, fresh water, and a large ceramic mug for brewing.
First, remove the K-Cup holder and drip tray.
Then, fill the reservoir halfway with vinegar and top it off with water to make a 1:1 solution.
Make sure to have a paperclip nearby—you’ll need it to clean out the needle holes.
Once you’ve run the vinegar solution through the machine, be ready to rinse it thoroughly with fresh water to get rid of any leftover vinegar taste.
Vinegar And Water Ratio
Mix equal parts distilled white vinegar and water to create the ideal solution for cleaning your Keurig. Using this 1:1 ratio guarantees the vinegar’s acidic properties effectively break down mineral buildup without harming your machine.
Start by filling the water reservoir halfway with this vinegar solution, then top it off with fresh water to the maximum fill line. This dilution prevents any harsh effects of pure vinegar, making it safe for most components while still powerful enough for descaling.
After running the vinegar-water solution through your Keurig, rinse thoroughly with fresh water by running 4–6 water-only cycles. This step removes any residual vinegar taste or smell, leaving your coffee maker clean and ready for use.
Necessary Cleaning Supplies
Preparing the right supplies guarantees a smooth descaling process for your Keurig. You’ll need distilled white vinegar and water to create your cleaning solution. Mix them in a 1:1 ratio and fill the water reservoir halfway with this mixture.
Have a large ceramic mug ready to catch the liquid during brewing cycles. Keep a soft sponge and warm, soapy water on hand to clean removable parts like the drip tray and K-Cup holder after descaling.
A straightened paperclip is useful for unclogging the needles, which can collect coffee grounds.
Once descaling is complete, prepare to run 4-6 water-only cycles to flush out any vinegar residue. Having these supplies organized guarantees you’ll descale your Keurig efficiently and effectively.
Preparing The Machine
Before you begin descaling your Keurig, make sure you’ve gathered distilled white vinegar, fresh water, and a large ceramic mug. To prepare the machine, unplug it to avoid accidental activation.
Remove the K-Cup holder and drip tray to clean them thoroughly. Empty the water reservoir completely and wipe down the machine’s exterior for cleanliness.
Next, prepare a 1:1 mixture of distilled white vinegar and water. Fill the reservoir halfway with vinegar, then top it off with fresh water. This solution will effectively descale your Keurig.
| Step | Action | Purpose |
|---|---|---|
| 1 | Unplug machine | Safety precaution |
| 2 | Remove K-Cup & drip tray | Clean components thoroughly |
| 3 | Empty reservoir | Remove old water and debris |
| 4 | Wipe exterior | Maintain overall cleanliness |
| 5 | Prepare vinegar-water mix | Ready machine for descaling |
How to Prepare Your Keurig for Vinegar Descaling
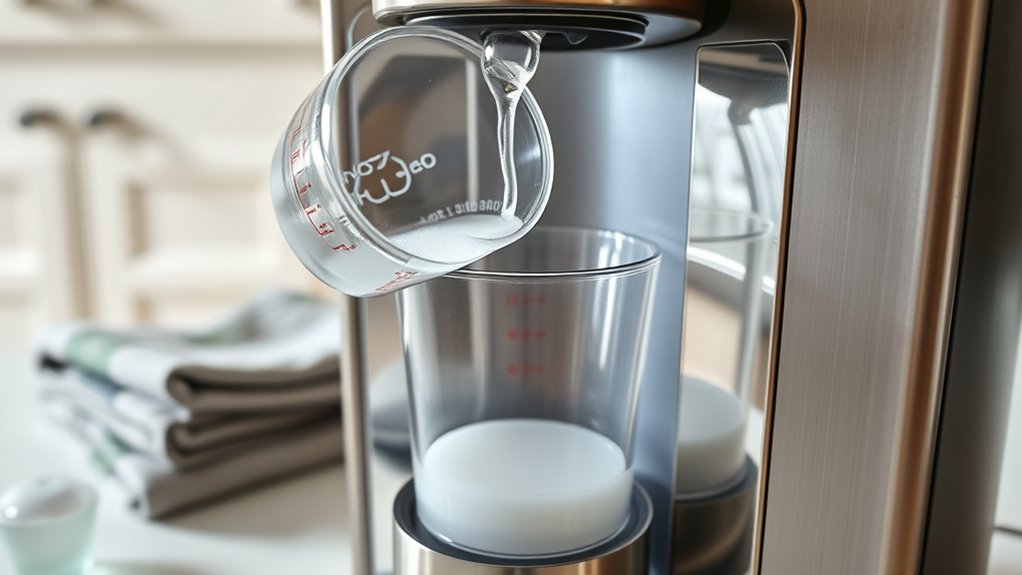
First, go ahead and unplug your Keurig.
Then, take out the water reservoir, K-Cup holder, and drip tray so you can give them a good cleaning.
After that, wipe down the outside of the machine to get rid of any coffee residue that might be lingering.
Once that’s done, mix equal parts distilled white vinegar and water, and fill the reservoir with this solution to get ready for the descaling process.
Gather Necessary Supplies
Although descaling your Keurig might seem straightforward, gathering the right supplies guarantees the process goes smoothly and effectively. First, gather distilled white vinegar and fresh water to create a 1:1 mixture for descaling.
Make certain your water reservoir is completely empty before filling it halfway with the vinegar and water solution.
You’ll also need a large ceramic mug to run the descaling cycles. Don’t forget to remove the K-Cup holder and drip tray; this step allows you to clean these parts separately and assures better access to the machine’s interior.
Having a soft sponge and warm, soapy water ready will help you clean removable components thoroughly after descaling.
Preparing these supplies beforehand will save time and prevent interruptions during the process.
Empty And Disassemble Machine
Unplug your Keurig to guarantee safety while you work on it. First, empty the water reservoir completely and remove it from the machine. Detach the K-Cup holder and drip tray for deeper cleaning.
Use a damp cloth to wipe down the machine’s exterior, removing any spills or grime. Inspect the water reservoir for mineral buildup or mold, and clean it with warm, soapy water. Rinse thoroughly with clean water and dry all parts completely before reassembling to prevent moisture issues during descaling.
| Step | What to Do | Tip |
|---|---|---|
| 1 | Unplug machine | Guarantees safety |
| 2 | Empty water reservoir | Remove all old water |
| 3 | Detach parts | K-Cup holder and drip tray |
| 4 | Wipe with damp cloth | Clean exterior surface |
Mix Vinegar Solution
Once you’ve emptied and cleaned the water reservoir, it’s time to prepare the vinegar solution for descaling.
Start by filling the reservoir halfway with distilled white vinegar, then add water to fill it the rest of the way.
This 1:1 mix of white vinegar and water guarantees the vinegar really breaks down mineral buildup without damaging your machine.
Avoid flavored or colored vinegar, as they can leave residues or odors.
After mixing, place the reservoir back and run brew cycles without a K-Cup until the solution is nearly gone.
This process circulates the vinegar, helping to descale your Keurig effectively.
Let the vinegar sit inside for about 30 minutes before rinsing to loosen stubborn deposits thoroughly.
Step-by-Step Guide to Descaling Your Keurig With Vinegar
To descale your Keurig with vinegar, start by mixing equal parts distilled white vinegar and fresh water. Then fill the water reservoir halfway with this solution.
Use this vinegar to clean mineral buildup by running brew cycles without a K-Cup until the reservoir is nearly empty. If the descale light stays on, just repeat the process.
Run brew cycles without a K-Cup until the reservoir is nearly empty, repeating if the descale light remains on
After soaking the machine for about 30 minutes, thoroughly rinse the reservoir with cool filtered water.
Then fill it with fresh filtered water and run 4-6 rinse cycles to flush out any vinegar residue and odor.
Regularly descaling with vinegar helps maintain brewing quality and prevents clogs.
Don’t forget to clean removable parts like the drip tray and K-Cup holder with warm, soapy water to keep your Keurig in top shape.
How to Rinse Your Keurig After Descaling
After soaking your Keurig with the vinegar solution and thoroughly cleaning the removable parts, it’s important to remove any remaining vinegar taste before brewing your next cup.
Start by rinsing the water reservoir thoroughly with cool water to clear out leftover vinegar.
Then, fill the reservoir to the maximum fill line with fresh water. Run 4-6 brew cycles, discarding the water after each cycle to flush out any residual vinegar flavor.
Keep an eye on the “Add Water” light to know when the reservoir is empty and track your rinse cycles.
Once done, let the machine sit for a few minutes to allow any lingering vinegar odor to dissipate.
This thorough rinse guarantees your coffee tastes fresh and vinegar-free every time.
Cleaning Removable Parts and Maintaining Your Keurig Needles
Disassemble the removable parts of your Keurig regularly to keep it performing well and free from mold or buildup. To clean your Keurig effectively, wash the water tank, lid, drip tray, and K-Cup holder with warm, soapy water. Use a soft sponge to avoid damage, rinse thoroughly, and air dry.
Don’t forget to maintain the needles by carefully using a straightened paperclip to clear any coffee grounds from the top and bottom needle holes. Running a water-only brew cycle afterward helps flush out debris and guarantees smooth brewing.
| Part | Cleaning Tip |
|---|---|
| Water Tank | Wash with warm, soapy water |
| K-Cup Holder | Clean separately to prevent clogs |
| Needles | Use a paperclip to clear holes |
| Drip Tray & Lid | Wipe with a soft sponge |
Mistakes to Avoid When Descaling Your Keurig With Vinegar
When you’re descaling your Keurig with vinegar, make sure to dilute it with an equal part of water. This helps protect your machine from any damage.
After you finish the descaling process, run about 4 to 6 water-only cycles. This will get rid of any leftover vinegar and stop your coffee from tasting weird.
If you skip these steps, you might end up with strange flavors in your coffee and could even harm your brewer.
Vinegar Dilution Importance
Although vinegar is a popular choice for descaling your Keurig, you need to dilute it with an equal part of water to protect your machine’s internal components from damage. This vinegar dilution importance can’t be overstated.
Using undiluted white vinegar risks corroding delicate parts inside your coffee maker.
Stick to a 1:1 ratio of white vinegar to water for safe and effective cleaning. Avoid flavored or colored vinegar, as these can stain your machine and leave unwanted odors.
Diluting vinegar properly guarantees thorough descaling without harming your Keurig’s function.
Remember, this simple step preserves your coffee maker’s longevity and performance while effectively removing mineral buildup.
Always take this precaution seriously when maintaining your Keurig with vinegar.
Thorough Rinsing Necessity
Because vinegar can leave a strong taste and acidic residue, you must rinse your Keurig thoroughly after descaling. This helps avoid compromising your coffee’s flavor and the machine’s durability. Run at least 4-6 rinse cycles with water only to eliminate vinegar taste and prevent residue buildup.
Insufficient rinsing leads to unpleasant odors and can damage internal parts over time. Always check the water reservoir and keep rinsing if the descale light stays on.
| Issue | Cause | Solution |
|---|---|---|
| Lingering vinegar taste | Incomplete rinse cycles | Run 4-6 thorough rinse cycles |
| Residue buildup | Acidic vinegar residue | Continue rinsing until clear |
| Machine damage | Acidic residue inside | Don’t skip thorough rinsing |
| Unpleasant odors | Vinegar left in reservoir | Empty and rinse reservoir |
Alternatives to Vinegar for Keurig Descaling
If you prefer not to use vinegar for descaling your Keurig, several effective alternatives can keep your machine clean and running smoothly.
Commercial descalers are specifically formulated to remove mineral buildup without strong odors, though they tend to cost more than vinegar.
Citric acid, a natural compound available in food-grade form, is another powerful option that breaks down limescale effectively and safely.
Using filtered water regularly can also minimize mineral deposits, reducing how often you need to descale.
While lemon juice and baking soda can help with minor scale and odor, they’re less effective for heavy buildup compared to vinegar or commercial products.
Choosing the right alternative depends on your preference for natural ingredients, cost, and the severity of scale in your Keurig.
Tips for Keeping Your Keurig Clean and Scale-Free
Choosing the right descaling method is just one part of keeping your Keurig in top shape. To prevent mineral scale buildup, use filtered water and clean the water reservoir weekly with warm, soapy water.
Regularly clean the needle and K-Cup holder to avoid clogs and maintain consistent brewing. After using any descaling solution, run a water-only flush to remove residues and maintain flavor integrity.
Schedule descaling every 3 to 6 months, adjusting for your water hardness.
| Task | Frequency | Tips |
|---|---|---|
| Use filtered water | Every brew | Reduces mineral scale |
| Clean needle & K-Cup | Weekly | Prevents clogs and bad taste |
| Wash water reservoir | Weekly | Removes odors and residues |
| Descale with solution | Every 3-6 months | More often if water is hard |
| Flush with water only | After descaling | Clears cleaning agent residues |
Frequently Asked Questions
Can I Use Apple Cider Vinegar Instead of White Vinegar?
You can use apple cider vinegar, but it’s not the best choice for descaling your Keurig.
Apple cider vinegar doesn’t have strong acidity, so it won’t break down mineral buildup as effectively as white vinegar.
Using it might leave residues and odors that could affect the taste.
For vinegar alternatives, it’s best to stick with distilled white vinegar and follow the recommended descaling frequency.
Cleaning your machine regularly helps keep it running smoothly and your coffee tasting great.
Will Descaling With Vinegar Void My Keurig Warranty?
Worried that vinegar might void your Keurig warranty coverage? It can, especially if the manufacturer requires approved descaling solutions. To protect your warranty, check your model’s terms before using vinegar.
Consider vinegar alternatives recommended by Keurig and follow proper descaling frequency to avoid damage.
Regular maintenance tips, like cleaning removable parts, also help keep your machine running smoothly without risking warranty issues.
When in doubt, contact customer service for advice.
How Long Does the Descaling Process Usually Take?
The descaling process usually takes about 1.5 to 2 hours, including brewing vinegar cycles, soaking, and rinsing.
To keep your machine running smoothly, follow maintenance tips like regular descaling every 3 to 6 months.
If vinegar isn’t your preference, there are alternatives like commercial descaling solutions.
Regular cleaning benefits your Keurig by preventing mineral buildup, improving taste, and extending its lifespan.
Is It Safe to Drink Coffee Immediately After Descaling?
Don’t jump the gun. Drinking coffee immediately after descaling isn’t safe.
Vinegar residue can linger, causing off coffee taste and potential health concerns if ingested.
You need to run 4-6 fresh water cycles to flush out any vinegar before brewing.
Also, waiting at least an hour after rinsing helps guarantee no sour flavors remain.
Keep this in mind to maintain great coffee taste and manage descaling frequency effectively.
Can I Descale My Keurig if I Have Hard Water?
Yes, you can descale your Keurig if you have hard water. Hard water effects like mineral buildup require more frequent descaling every 1 to 3 months to keep your machine running smoothly.
While vinegar works well, alternative descalers are also available if you prefer.
To reduce maintenance, use filtered water and regularly clean your machine. Following these maintenance tips helps prevent clogs, guarantees better brew times, and extends your Keurig’s lifespan.
Conclusion
Descaling your Keurig with vinegar is like giving your machine a fresh start, clearing out mineral buildup to keep every cup tasting perfect. By following these simple steps regularly, you’ll extend your Keurig’s life and avoid costly repairs.
Remember, consistency is key. Don’t wait until your coffee tastes off. Keep your machine clean and well-maintained, and you’ll enjoy smooth, delicious brews every time, hassle-free and ready to go.