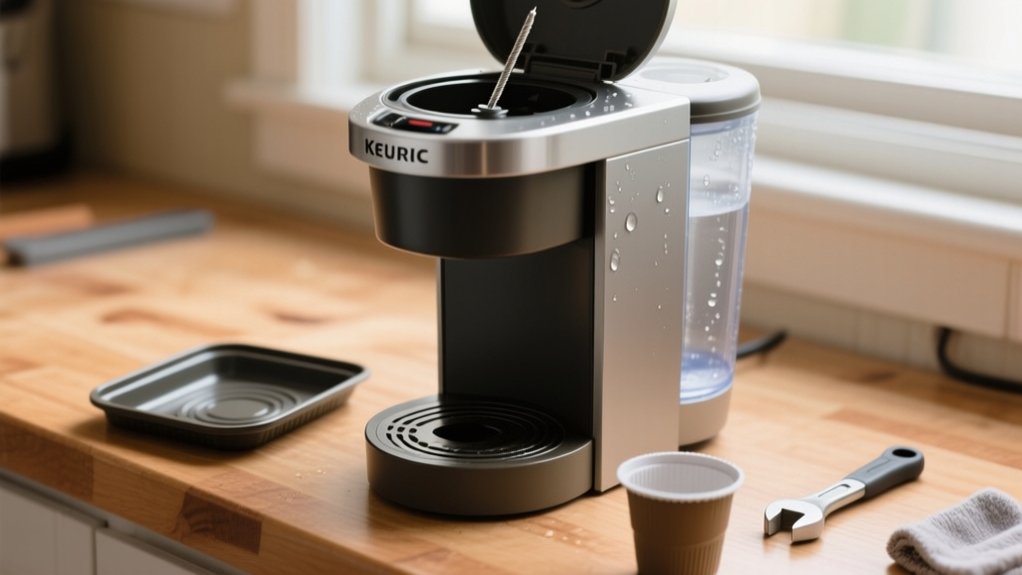
How To Fix A Keurig Coffee Maker – Troubleshooting Guide
To fix your Keurig coffee maker, start by ensuring the water reservoir is filled above the minimum line and properly seated. Clean the entrance and exit needles to clear blockages. Then run a system purge and descale with vinegar to remove mineral buildup.
Check power sources if it won’t turn on, and reset the machine by unplugging briefly. Regular cleaning and maintenance prevent most issues. You can explore detailed steps and troubleshooting techniques to restore your brewer’s performance.
How To Diagnose Common Keurig Coffee Maker Problems
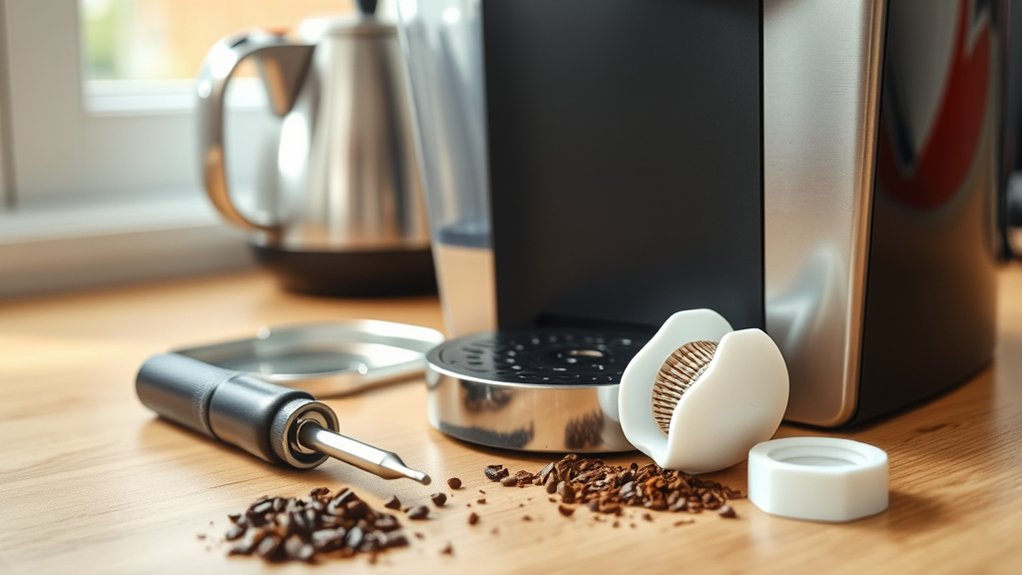
How do you pinpoint issues with your Keurig coffee maker? Start by checking the water reservoir. Make sure it’s filled above the minimum line and properly seated to guarantee a secure connection.
Begin troubleshooting your Keurig by ensuring the water reservoir is filled and securely positioned.
If your brewed coffee contains grounds or clogs, clean the entrance and exit needles to remove debris that may obstruct flow.
For persistent problems, run a system purge cycle and descale the machine using vinegar to clear mineral buildup.
Although power issues are common, focus on diagnosing brewing problems first. Avoid redundant checks like unplugging unless you confirm the outlet is functional.
Leveraging community forums can provide model-specific advice.
What To Do When Your Keurig Won’t Turn On
First, make sure the power source is working by testing the outlet with another device.
Also, take a quick look at the power cord to see if there’s any damage or loose connections.
Next, check that your Keurig is plugged into a dedicated circuit.
It’s best if it’s not sharing the outlet with high-power appliances that could cause interference.
Finally, try resetting the machine.
Just unplug it, wait about 30 seconds, and then plug it back in.
This can help clear any energy-saving modes or minor electrical glitches.
Check Power Source
One key step in troubleshooting a Keurig that won’t turn on is to verify the power source. Without stable power, your machine won’t respond, similar to how JavaScript requires a proper environment to execute.
Begin by confirming the outlet supplies power. Test it with another device.
Then, make sure the Keurig is switched on and not in energy-saving mode. Press the power button to wake it.
Check that the Keurig runs on a dedicated circuit, avoiding interference from other appliances.
Finally, inspect your electrical panel for tripped breakers or blown fuses and reset them accordingly.
- Test the wall outlet with a different device
- Confirm the brewer’s power button is active
- Verify circuit exclusivity for stable power
- Reset tripped breakers or replace blown fuses
Inspect Power Cord
After confirming the power source is stable and the outlet works, focus on the power cord itself. First, make sure the power cord is securely connected to both the Keurig brewer and the electrical outlet to avoid disabled connections.
Inspect the entire length of the power cord for visible damage such as fraying, cuts, or kinks that could interrupt power flow. If the cord shows damage, replace it immediately to prevent the machine from being disabled.
Verify the brewer isn’t plugged into a high-draw appliance circuit, as this can compromise power delivery.
Finally, press the power button to rule out energy-saving mode disabling the unit.
A thorough inspection of the power cord helps isolate issues when the Keurig won’t turn on.
Reset Machine Power
If your Keurig won’t turn on, unplug it from the power source and wait at least five minutes to let the internal systems reset. This pause allows the machine’s electronics to clear any temporary faults.
After waiting, plug it back in and press the power button to see if it will run normally.
If it still won’t power on, confirm you:
- Check the power cord for damage or loose connections
- Verify the wall outlet works with another device
- Inspect your electrical panel for tripped breakers or blown fuses
- Reset breakers or replace fuses as needed
Performing these steps methodically helps identify whether the issue is internal or external, confirming your Keurig’s power reset is effective.
How To Fix a Keurig That Won’t Brew Coffee
First, make sure the water reservoir is filled above the minimum line and is seated securely.
Then, take a look at the needles that puncture the pods—they can get clogged sometimes. Clearing any blockages there can really help because if they’re blocked, the machine won’t brew properly.
These simple checks ensure that water flows correctly and the pod makes good contact for your coffee to brew just right.
Check Water Reservoir
Start by verifying that the water reservoir is filled above the minimum line to guarantee sufficient water supply for brewing.
Next, check water reservoir placement by removing and reseating it to confirm proper connection.
Inspect for air bubbles or blockages in the water lines, which can hinder water flow.
If your Keurig has been in a cold environment, let it warm to room temperature before brewing.
Finally, lift and close the pod holder handle to reset the brew state, potentially clearing internal errors.
- Frustration fades when water flow is restored.
- Anxiety lessens knowing the reservoir is secure.
- Confidence grows as blockages clear.
- Relief comes with every successful brew.
Clear Needle Clogs
Once you’ve confirmed the water reservoir is properly filled and seated, the next step is to address potential needle clogs that may prevent your Keurig from brewing. First, unplug the machine to guarantee safety.
Inspect both the entrance and exit needles for debris or coffee grounds. Use a small wire or paperclip to gently clear needle clogs, especially in the exit needle, which often accumulates residue.
Remove and clean the pod holder regularly to eliminate residual oils contributing to blockages.
If your Keurig coffee still won’t brew, perform a descaling procedure using vinegar to dissolve mineral buildup affecting needle function.
After clearing needle clogs and descaling, run several water-only cycles to flush the system and restore proper operation. This methodical approach helps maintain consistent brewing performance.
How To Fix Keurig Heating Problems
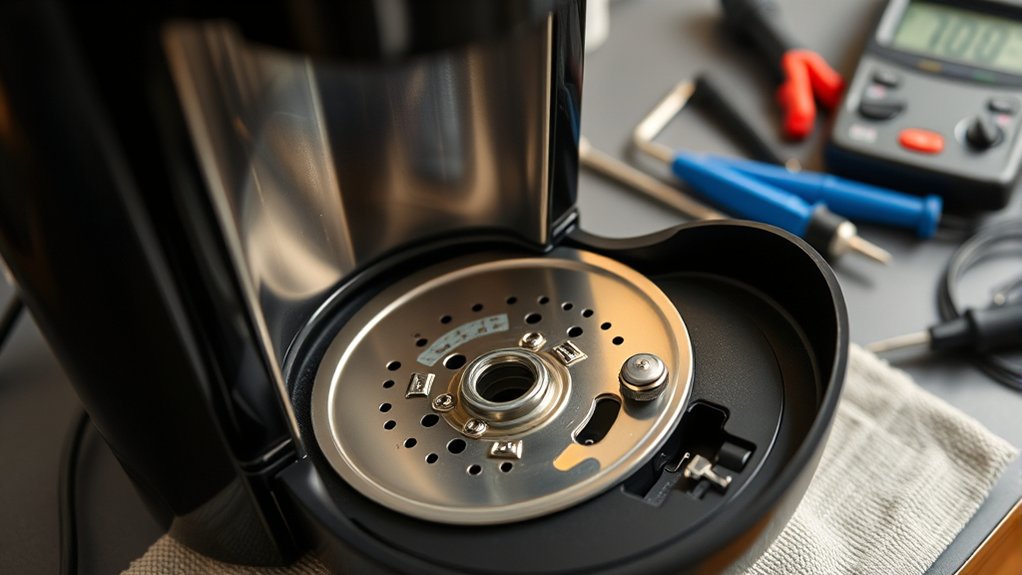
Although a Keurig coffee maker might seem unresponsive when it fails to heat water, you can methodically troubleshoot this issue by verifying power connectivity, ensuring the water reservoir is adequately filled, and performing a power reset.
When your Keurig won’t heat, check power, water levels, and try a simple reset to fix the issue.
Start by confirming your machine is plugged in and the outlet works. Test another device to be sure.
Then, check the water level; insufficient water prevents heating.
Unplug the Keurig for a few minutes to reset internal systems. If heating still fails, consider descaling to remove mineral buildup affecting the heating element.
- Feel the frustration fade as you regain control
- Avoid the stress of unexpected cold coffee
- Gain confidence in your Keurig account troubleshooting skills
- Get help with a Dr. Keurig’s support if problems persist
How To Clear Keurig Clogs By Cleaning Needles and Pod Holder
Regularly clearing clogs in your Keurig involves cleaning the entrance and exit needles along with the pod holder.
Start by removing the pod holder and rinsing it under warm water to eliminate coffee oils and grounds causing blockages.
Use a small piece of wire to gently clear the entrance needle, guaranteeing it punctures the pod correctly without damaging the filter.
Inspect the exit needle carefully; if clogged, clean it thoroughly to prevent grounds in your brew and maintain normal function.
After cleaning needles and the pod holder, securely reseat the pod holder and fill the water reservoir above the minimum line.
These steps guarantee unobstructed water flow and consistent brewing performance, minimizing disruption and extending your Keurig’s lifespan.
How To Remove Coffee Grounds From Your Keurig Brew
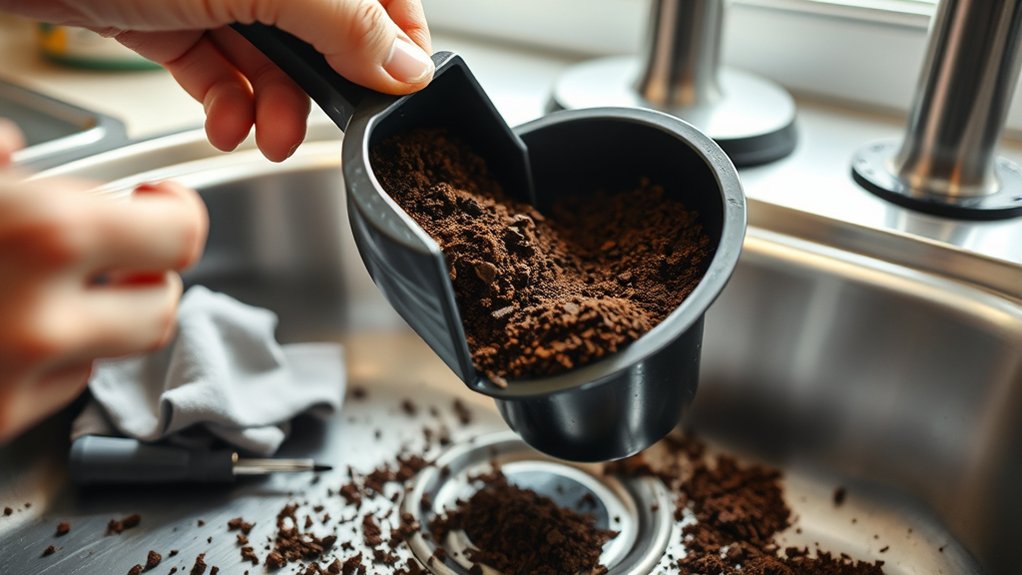
To get coffee grounds out of your Keurig brew, the first thing you want to do is give the exit needle a good clean. This helps prevent tearing the pod filter, which can cause grounds to leak through.
After that, make sure to clear the entrance needle too. If it’s blocked, it can push grounds right into your cup, which nobody wants.
Doing these little maintenance steps regularly really helps keep grounds from building up and ensures you get a nice, clean brew every time.
Cleaning Exit Needle
A clean exit needle is essential for your Keurig to brew smoothly and avoid clogged coffee grounds. Start by unplugging the machine and removing the pod holder to access the exit needle.
Use a paper clip or thin wire to carefully dislodge any coffee grounds blocking the needle.
After cleaning, reassemble the pod holder and run a water-only cycle to flush out residual particles.
Regular maintenance of cleaning the exit needle prevents brewing issues and prolongs your Keurig’s life. Remember to inspect frequently for peak performance.
No more frustrating weak brews or leaks.
Maintain the rich coffee flavor you love.
Avoid costly repairs by proactive cleaning.
Keep your machine running like new longer.
Clearing Entrance Needle
While your Keurig is unplugged, remove the pod holder to access the entrance needle easily. Use a paperclip or small wire to gently poke through the entrance needle, removing any coffee grounds or debris lodged inside. This cleaning step is essential to prevent pod filter tears and guarantee smooth water flow during brewing.
After clearing the entrance needle, reassemble the pod holder securely. Then, run a water-only brew cycle to flush out any remaining particles and verify proper functionality.
Performing this maintenance every few weeks or after several dozen brews keeps your machine operating at peak performance. Regular inspection and cleaning of the entrance needle reduce clogging issues and improve brewing consistency, making it a fundamental part of your Keurig’s routine upkeep.
Preventing Grounds Buildup
Three essential practices help you prevent coffee grounds from contaminating your Keurig brew. Focus on preventing grounds buildup by maintaining key components.
First, clean the entrance needle regularly to guarantee it punctures pods without tearing them. Tearing causes grounds to escape.
Second, clear the exit needle using a paperclip to remove debris that blocks proper flow.
Third, descale your machine every few months to eliminate mineral deposits that disrupt brewing.
Fourth, always use fresh, intact coffee pods to avoid grounds breaking free.
- Clean the entrance needle to maintain pod integrity
- Clear the exit needle to prevent clogging
- Descale regularly to guarantee consistent brewing pressure
- Use fresh, undamaged pods for ideal extraction
These steps keep your Keurig brewing clean coffee, free from unwanted grounds.
How To Descale Your Keurig To Remove Mineral Buildup
Because mineral buildup can impair your Keurig’s performance, you’ll need to descale it regularly using a mixture of equal parts white vinegar and water.
To descale your Keurig, fill the water reservoir with this solution. Run brew cycles without a K-Cup, allowing the solution to flow through the machine and into a cup. Repeat until the reservoir is empty. This process effectively removes mineral buildup from internal components.
After descaling, refill the reservoir with fresh water and run multiple brew cycles to rinse out any remaining vinegar.
While descaling, clean the exit needle and removable parts to prevent clogs and improve brewing quality.
Descale your Keurig every 3 to 6 months, based on water hardness, to maintain peak performance and extend the brewer’s lifespan.
How To Reset Your Keurig Quickly
Regular maintenance like descaling helps keep your Keurig running smoothly, but occasional glitches may still occur. When these happen, a quick reset can help restore functionality.
Start by unplugging your Keurig for a few minutes to let internal systems reset. Make sure the power cord is securely connected and test the wall outlet with another device if it won’t power on. Press the power button to wake the brewer if it’s unresponsive.
If problems persist, check your electrical panel for tripped breakers or blown fuses and address them accordingly. After resetting, brew a cup to confirm the issue is resolved.
- Feel confident troubleshooting without stress
- Gain control over unexpected machine errors
- Avoid costly repairs with simple resets
- Quickly return to enjoying your coffee routine
Essential Tools You Need To Fix Your Keurig
Five essential tools will make fixing your Keurig more efficient and precise. As a Keurig customer, you’ll find that applications cannot run without the right equipment to access and repair internal components.
The Narwhal 6-in-1 Driver, Pro Tech Toolkit, small screwdrivers, tweezers, and cleaning supplies form this critical set. Each tool targets specific repair needs, ensuring you handle delicate parts carefully and clear clogs effectively.
| Tool | Purpose |
|---|---|
| Narwhal 6-in-1 Driver | Access and repair various components |
| Pro Tech Toolkit | Disassemble without damaging delicate parts |
| Small Screwdrivers | Remove screws and covers |
| Tweezers | Retrieve small parts, clear hard-to-reach clogs |
Maintenance Tips To Keep Your Keurig Running Smoothly
Having the right tools at hand sets the foundation for effective repairs, but maintaining your Keurig guarantees it runs smoothly between fixes.
To keep your machine in peak condition, you must clean the needle that pierces the pods regularly to prevent clogs.
Moreover, descale your Keurig machine every 3 to 6 months using a vinegar solution to remove mineral buildup and maintain brewing efficiency.
Focus on these maintenance tasks:
- Clean the needle that pierces to avoid blockages and guarantee proper flow
- Descale your Keurig machine to eliminate mineral deposits that impair performance
- Keep the water reservoir filled above the minimum line and reseat it correctly
- Clean the removable pod holder to remove coffee oils and grounds that affect taste
Consistent upkeep prevents malfunctions and extends your machine’s lifespan.
When To Contact Keurig Customer Support
When should you reach out to Keurig Customer Support? If you’ve tried basic troubleshooting like power resets, cleaning, and descaling without fixing persistent issues, it’s time to contact support.
Persistent problems like repeated clogs after multiple descaling attempts or brewing failures need professional help.
Also, if your machine shows electrical problems such as unusual noises or won’t power on despite correct setup, contact support right away.
If your Keurig is still under warranty, reaching out ensures proper service without extra cost.
Plus, for specific model questions or inquiries about parts and accessories, Keurig Customer Support offers tailored guidance.
Tips To Avoid Future Keurig Problems
To maintain your Keurig’s performance and prevent future issues, you should regularly clean key components like the needle and pod holder to avoid clogs.
Regularly cleaning key parts like the needle and pod holder helps keep your Keurig clog-free and running smoothly.
Make it a habit to clean the needle that pierces the pod, removing any residual grounds that could block water flow.
Descale your Keurig every 3 to 6 months using a vinegar solution to eliminate mineral buildup affecting functionality.
Furthermore, keep your water reservoir filled above the minimum line to guarantee consistent brewing.
Store your Keurig in a stable, room-temperature environment to avoid damage.
Follow these tips to safeguard your machine:
- Clean the needle that pierces pods to prevent blockages
- Descale your Keurig biannually to maintain peak performance
- Maintain water levels above the minimum fill line
- Store in a temperature-controlled, stable location
Frequently Asked Questions
Can I Use Any Water Type for My Keurig Machine?
You shouldn’t use just any water type for your Keurig. Avoid hard water because its high mineral content causes clogs and damages your machine.
Instead, use filtered water to reduce scale buildup and improve flavor.
Distilled water lacks minerals, which can dull taste, while flavored or carbonated water can harm your brewer.
Regularly descaling your Keurig with filtered water helps maintain peak performance and prolongs its lifespan.
How Do I Replace the Keurig Water Filter?
To replace the Keurig water filter, remove the reservoir and take out the old filter holder.
Soak the new filter for 5 minutes, then insert it into the holder.
Align the holder with the reservoir’s notches and push until it snaps securely.
Refill the reservoir and run a cleansing cycle.
For effective filter installation and maintenance, replace the filter every two months or after 60 tank refills to guarantee the best coffee taste.
What’s the Best Way to Store a Keurig When Not Used?
Think of your Keurig as a delicate treasure needing careful coffee storage.
You’ll want to empty and clean the water reservoir thoroughly to prevent stale water buildup.
Unplug the machine and remove any pods to avoid clogs.
Clean the needle components methodically for proper machine maintenance.
Store it in a cool, dry place and use its original packaging or protective cover to shield it from dust and physical damage.
Are There Compatible Reusable Coffee Pods for Keurig Machines?
Yes, you’ll find reusable coffee pods designed for Keurig pod compatibility. These pods fit most Keurig models, but you should verify compatibility before purchase.
Reusable pod benefits include cost savings, reduced waste, and the ability to customize coffee strength and flavor.
Made from stainless steel or BPA-free plastic, they guarantee durability and safety.
Some come with built-in filters; others need separate filters to prevent grounds from clogging your machine.
How Do I Update the Firmware on My Keurig?
To update your Keurig’s firmware, connect it to Wi-Fi first.
Tap the gear icon on the touchscreen to access settings, then select firmware updates. Follow the on-screen prompts to check for and install any available updates.
Keep the machine plugged in during the process to avoid interruptions.
After the update, your Keurig restarts automatically. Confirm the new firmware version in settings.
Regular firmware updates are essential troubleshooting tips to maintain peak performance.
Conclusion
Fixing your Keurig is like tuning a finely crafted instrument. Precision and care make all the difference. By diagnosing issues methodically, cleaning components regularly, and using the right tools, you’ll keep your coffee maker brewing smoothly.
If problems persist, don’t hesitate to contact customer support. With consistent maintenance and quick troubleshooting, you can avoid future breakdowns and enjoy a perfect cup every time. This ensures your Keurig performs reliably day after day.