How To Roast Coffee Beans – Step-By-Step Guide For Perfect Roasting
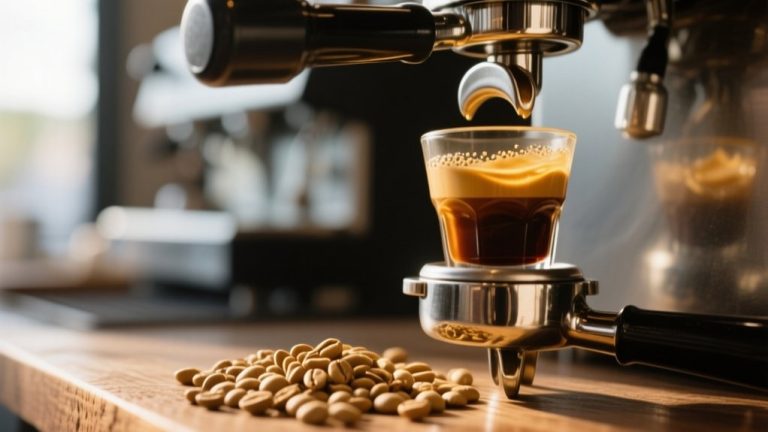
To roast coffee beans perfectly at home, start by choosing quality green beans based on origin and moisture content. Use suitable equipment like a skillet or electric roaster, measure about half a cup, and preheat to around 400°F-500°F.
Monitor color changes and listen for the first crack, adjusting time. Roast for 7-9 minutes for light roasts and 10-11 for dark. Cool beans quickly to lock in flavors and avoid common issues by stirring and controlling temperature.
Keep going to uncover detailed tips for each roasting stage.
Choose Green Coffee Beans By Origin And Quality
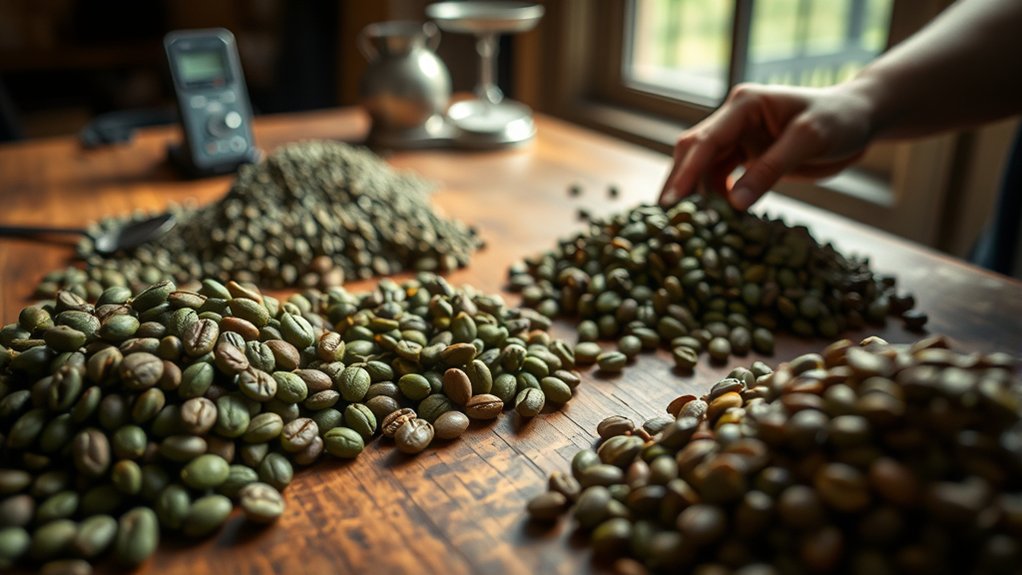
When you choose green coffee beans, start by considering their origin, as it greatly shapes the flavor you’ll achieve. Beans from Ethiopia often burst with fruity notes, while Colombian beans deliver a balanced flavor profile with nutty undertones.
Elevation plays a key role, too. Higher altitude beans bring more complex flavors and vibrant acidity.
Always look for specialty coffee, which meets strict quality standards and often comes from renowned regions.
Check the moisture content carefully; ideal green coffee beans hold about 10-12% moisture to guarantee even roasting without burning.
Also, explore different processing methods like washed or natural, as these impact the flavor profile considerably.
Choose Your Home Coffee Roasting Method And Equipment
Selecting the right green coffee beans sets the stage, but how you roast them at home shapes the final flavor profile.
For home coffee roasting, choosing the right roasting equipment is vital. You can start with simple tools like a skillet or electric popcorn popper, which offer hands-on control and even heat.
Selecting roasting equipment like a skillet or popcorn popper gives beginners hands-on control and even heat.
Dedicated roasters such as Fresh Roast or Behmor provide superior temperature control, fundamental for guiding the first and second crack stages. Managing batch size, around half a cup, is ideal for beginners. This allows you to monitor the roast closely and adjust as needed.
Maintaining consistent temperature, ideally starting near 500°F for pan roasting, guarantees even development without underroasting.
Your choice impacts flavor balance, so select equipment that matches your skill and desired roast precision.
Prepare Your Workspace And Measure Your Beans
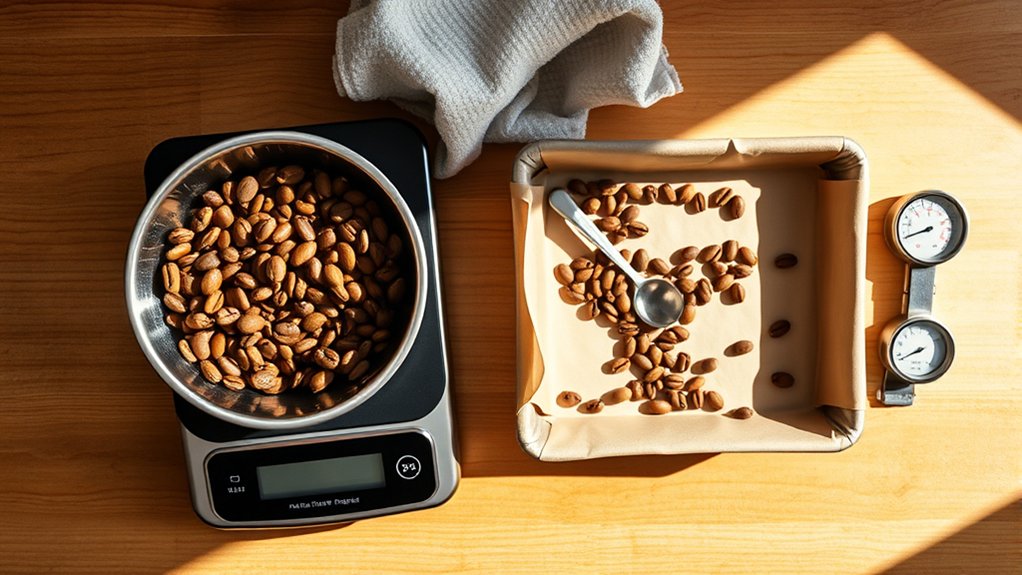
Pick a well-ventilated area to set up your workspace, ensuring smoke can escape and you stay safe throughout the roasting process.
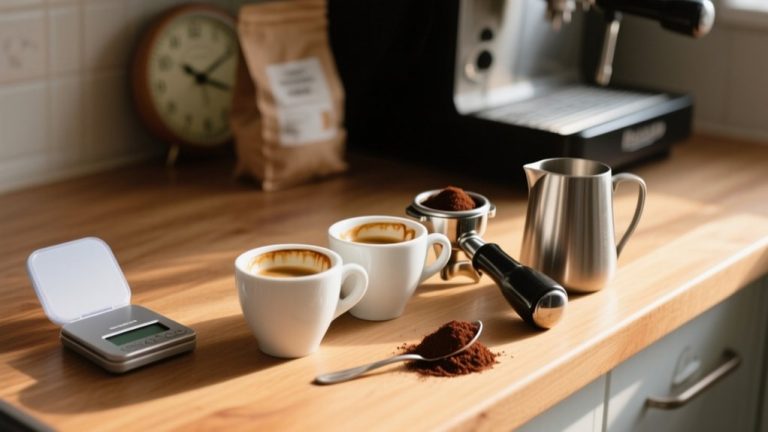
Before you start roasting, measure about 1/2 cup (85 grams) of green beans for an ideal batch size that roasts evenly.
Prepare your roasting equipment and preheat it to the recommended temperature to achieve consistent results.
Don’t forget your cooling tools, like a colander, to quickly stop the beans from cooking once roasted.
Here’s what to have ready:
- Accurately measure green beans for precise batch control.
- Preheat your roasting equipment to about 500°F (260°C) for pan roasting.
- Set cooling tools nearby to rapidly cool beans and lock in flavor.
A well-prepared workspace and measured beans set the foundation for perfect roasting.
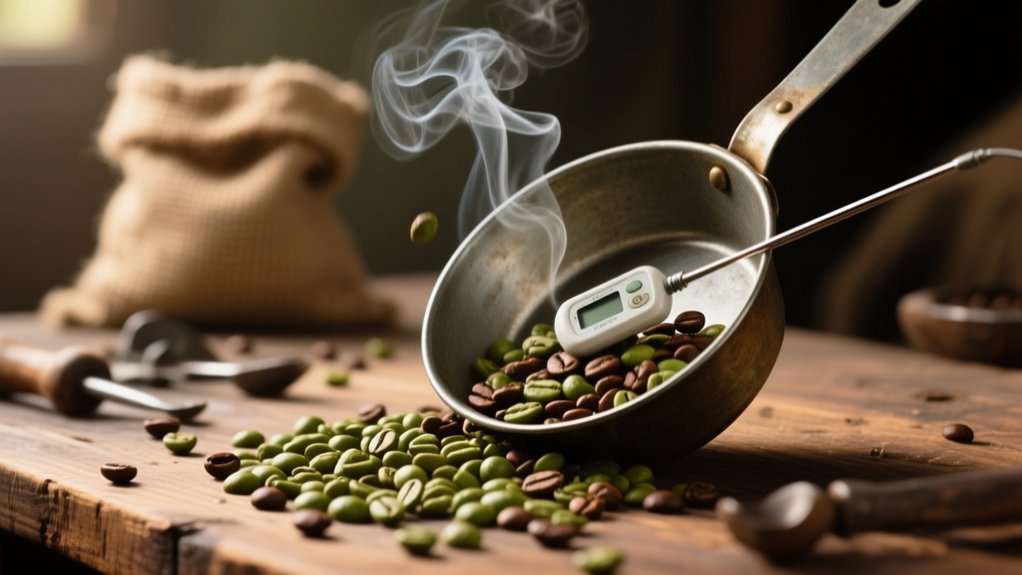
How To Preheat Your Coffee Roaster And Why Charge Temperature Matters
You need to preheat your coffee roaster to the right charge temperature—usually between 400°F and 500°F—to ensure even roasting and keep your beans’ flavor intact.
This step is super important because it controls how quickly heat transfers to the beans, which directly shapes your roast profile.
Getting the hang of preheating techniques can help you avoid those annoying stalls and consistently bring out the flavor notes you’re aiming for.
It’s all about setting the stage just right before the beans even start roasting.
Importance Of Charge Temperature
Although it might seem like a simple step, preheating your coffee roaster to the right charge temperature is essential for accessing the full potential of your beans.
The charge temperature sets the stage for an even roast and proper flavor extraction, directly affecting your roasting profile.
By carefully monitoring this temperature, you guarantee the beans start roasting immediately, avoiding underdevelopment.
Here’s why it matters:
- Consistent charge temperatures lead to predictable, repeatable results.
- It prevents roasting stalls, guaranteeing uniform heat exposure.
- It enhances the clarity and complexity of your coffee’s flavor.
Mastering charge temperature means you control the roast’s pace and flavor nuances, turning simple beans into a deliciously balanced cup every time.
Preheating Techniques Explained
Since achieving the perfect roast starts the moment your beans hit the drum, preheating your coffee roaster is a critical step you can’t skip. Preheating establishes the ideal charge temperature, typically around 500°F, ensuring your beans begin roasting immediately and evenly.
This process promotes moisture elimination and equal heat distribution. It prevents underdeveloped or unevenly roasted beans. By monitoring preheat time, usually 5 to 10 minutes, you guarantee the roaster reaches the desired temperature before charging.
Maintaining a consistent charge temperature directly impacts roast consistency. It helps you replicate successful batches every time. Skipping or rushing preheating risks uneven roasting and unpredictable results.
Embrace precise preheating techniques to set the foundation for outstanding roasts that showcase your beans’ full potential.
Effects On Roast Profile
Mastering the preheat phase directly shapes your roast’s flavor journey. By controlling the charge temperature, you set the stage for even roasting and ideal flavor development.
The roasting process accelerates or slows depending on this initial heat, influencing how quickly beans reach the first crack and how flavors evolve.
- A higher charge temperature speeds up roasting but risks uneven roasting or burnt notes.
- A lower charge temperature promotes gradual flavor development, enhancing complexity.
- Proper preheating guarantees the drying stage completes before the first crack, vital for a balanced roast profile.
Adjusting charge temperature based on bean type helps you craft a precise roast profile.
This way, you reveal the full potential of your beans and elevate your coffee’s flavor every time.
Monitor Coffee Bean Color Changes And Key Roast Stages
When you monitor coffee beans closely during roasting, you’ll notice them shift from green to yellow around 327°F. This signals the start of the Maillard reaction that develops their complex flavors.
As roasting progresses, the color of the beans changes from light brown to darker shades, guiding you through key roast stages. For a light roast, watch for a lighter brown hue, preserving bright acidity and original bean characteristics.
Color shifts from light to dark brown mark roast stages, with light browns preserving bright acidity and bean character.
Dark roast beans turn deep brown, delivering rich, smoky notes. Monitoring these color changes helps you control the roasting process precisely, ensuring you hit your desired roast profile.
Always keep a close eye on the beans’ color to avoid over-roasting and bring out the best flavors in your coffee.
Recognize First Crack In Coffee Roasting
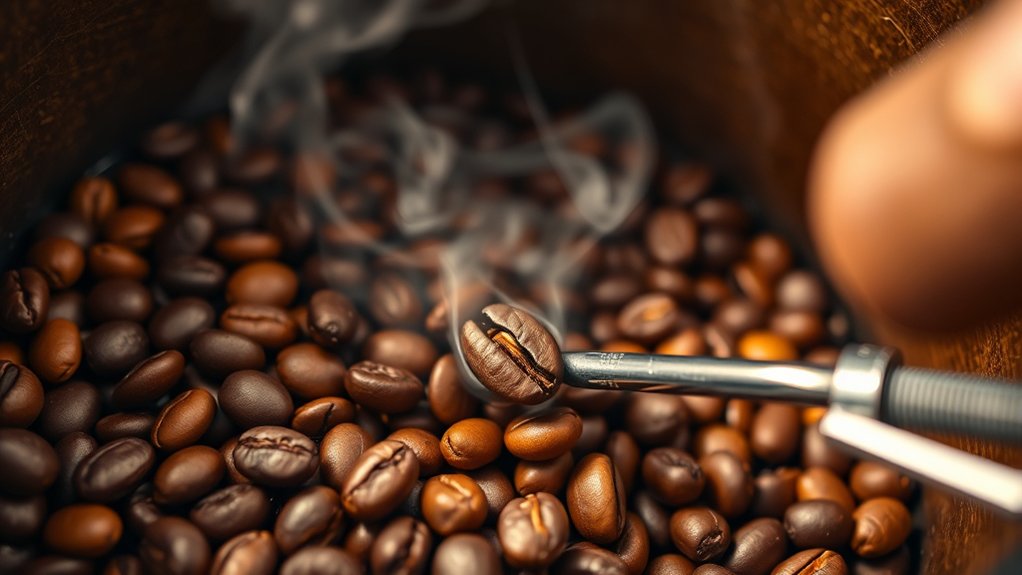
As you watch the beans darken and develop, you’ll soon hear a distinctive popping sound known as the first crack. This moment, occurring around 393°F (200°C), signals the shift into the development stage where the true flavors begin to emerge.
Recognizing the first crack is essential for monitoring roasting coffee beans and achieving the ideal roast level.
Pay close attention to these cues:
- A sharp, popcorn-like popping sound that lasts several seconds.
- Visible expansion and small fissures forming on the bean surface.
- A noticeable change in aroma as the sugars caramelize and flavors intensify.
Mastering this stage helps you avoid underdeveloped or burnt notes, ensuring your roast highlights the coffee’s unique flavors perfectly.
Adjust Roast Timing And Control Temperature And Airflow
Although recognizing the first crack is essential, adjusting your roast timing and controlling temperature and airflow will ultimately shape the coffee’s final character.
Aim to adjust roast timing carefully, around 7 to 9 minutes for light roasts and 10 to 11 for darker ones, to release ideal flavors without over-roasting.
Control temperature precisely, especially around the first crack at 393°F, to avoid stalling the roast and causing off-flavors.
Manage airflow by starting low to promote even roasting, then increase it as beans darken to prevent uneven heat distribution.
Keep a close eye on the Rate of Rise and don’t let it drop below zero for long to maintain steady roast progression.
Use bean color and oil appearance to guide your adjustments and nail your desired roast levels every time.
Know When To Stop The Roast For Your Desired Level
You’ll want to keep an eye out for key roast stages, like the first and second cracks, to know exactly when to stop roasting.
Timing it just right lets you lock in the flavor profile you’re after—whether that’s bright and acidic or bold and smoky.
Also, pay close attention to the color of the beans and the oils on their surface.
Those little details are your best clues for hitting the perfect roast level every time.
Recognizing Roast Stages
When roasting coffee beans, recognizing the distinct stages is essential to achieving your perfect flavor profile. The roast evolves as the beans start to change color and crack, signaling shifts in flavors and aromas.
Watch closely for these key stages:
- First Crack (around 393°F): Beans start popping, shifting from light to medium roast. Flavors brighten, and it’s time to monitor closely.
- Second Crack (around 444°F): A deeper, more intense roast emerges with bolder flavors and richer aromas.
- Color Changes: From yellow to light brown, then dark brown, each color reflects the roast levels and the flavors developing.
Understanding these milestones helps you stop the roast at your ideal point, avoiding burnt or undesirable tastes.
Timing Roast Completion
Since timing your roast completion is essential, you’ll need to closely monitor both temperature and visual cues to hit your desired roast level perfectly.
Watch for the first crack around 393°F (200°C); this signals a light roast, guiding your roasting duration.
Light roasts usually finish between 7-9 minutes, while medium roasts take 10-11 minutes.
Keep an eye on the rate of rise (ROR); avoid letting it drop below zero for too long, or your roast stalls, affecting flavor.
Use visual cues—light brown for light roasts, medium brown for medium, and dark brown to black for darker profiles—to gauge progress.
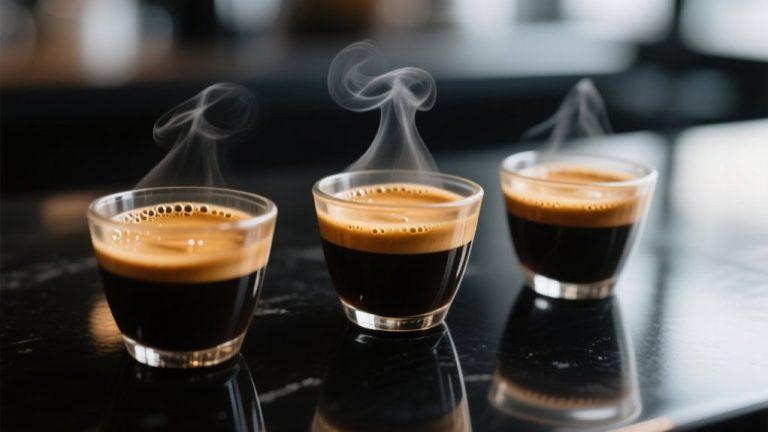
Once you reach your target roast completion, cool the beans rapidly, aiming to drop below 40°C within 4 minutes to lock in flavor and stop roasting precisely.
Cool Your Beans Quickly To Preserve Flavor
Although the roasting process brings out rich flavors, you must cool your coffee beans quickly to lock in those aromas and prevent overcooking. Rapid cooling preserves the delicate aromatic compounds and stops residual heat from continuing the roast, which can cause bitterness.
Aim to cool your beans below 40°C within 4 minutes to maintain ideal flavor and freshness.
To achieve effective cooling:
- Spread the beans in a colander or cooling tray to maximize airflow.
- Stir constantly to promote even temperature reduction and prevent clumping.
- Avoid sealed containers during cooling to prevent pressure buildup and flavor loss.
Keep an eye on weight loss during cooling. Darker roasts lose 20-22%, which influences flavor intensity.
Proper rapid cooling is essential to preserve your roast’s full potential.
Troubleshoot Common Home Coffee Roasting Problems
You’ll often run into uneven roasting if you don’t keep an eye on your batch size or stir the beans consistently.
It’s really important to control the temperature carefully, too, so you don’t end up with underdeveloped or over-roasted flavors.
If you track your process and tweak things as you go, you’ll be able to get a reliable, delicious roast every time.
Uneven Roast Causes
When roasting coffee beans at home, uneven roasting often results from inconsistent heat distribution. This means you need to stir the beans regularly to guarantee every bean gets equal exposure.
Uneven roasting can also stem from improper batch sizes. Small batch sizes react faster and require attentive control.
Moreover, neglecting to clean roasting equipment impacts heat transfer, causing hot spots and uneven roast blends.
To avoid uneven roasting, focus on stirring consistently to maintain uniform heat distribution across all beans. Monitor bean temperature closely to prevent underdevelopment or overheating.
And clean equipment thoroughly to ensure efficient heat flow and consistent roasting.
Master these steps, and your coffee will roast evenly, yielding perfectly balanced flavors every time.
Temperature Control Tips
Since maintaining consistent temperature is vital, you’ll want to keep your charge temperature around 500°F to secure even heat distribution and prevent your roast from stalling.
As you roast coffee, closely monitor the temperature and Rate of Rise (ROR) to avoid dips below zero, which can cause underdevelopment.
Pay special attention to key milestones like the first crack at about 393°F; this signals significant chemical changes.
After the yellowing stage, adjust the heat gradually to coax out fruity and floral notes without risking over-roasting.
Proper ventilation is essential. Use a fan or promote good airflow to manage heat buildup and smoke, keeping your roasting coffee environment stable.
These temperature control tips will help you troubleshoot common home roasting problems and craft a balanced, flavorful roast.
Managing Roast Consistency
Maintaining a steady temperature sets the foundation, but achieving consistent roast quality requires careful attention to several other factors. To get even much better roasted coffee every time, focus on these essentials:
- Monitor temperature closely between 385°F and 420°F. Adjust as needed to avoid burning or under-roasting.
- Remember, batch size matters. Smaller batches roast faster, and larger batches need more energy. Don’t overload your roaster.
- Adjust airflow during roasting. Start low to prevent uneven heating, then increase airflow as beans darken for a uniform roast.
Also, keep your roasting environment clean. Regularly cleaning equipment removes residue that can affect flavor consistency.
Mastering these steps will help you troubleshoot common home coffee roasting problems and enjoy perfectly roasted coffee every time.
Frequently Asked Questions
How Long Should Roasted Coffee Beans Rest Before Grinding?
You should let your roasted coffee beans rest for about 12 to 24 hours before grinding. This resting period allows the bean moisture to stabilize, enhancing flavor development and aroma enhancement.
During this cooling process, gases released from roasting dissipate, ensuring you get a smoother, more balanced cup.
Proper grinding timing is essential. Grind too soon, and you lose complexity; wait too long, and freshness fades.
Can Roasted Beans Be Frozen to Preserve Freshness?
Of course, you can freeze roasted beans because who wouldn’t want their coffee to taste like a chilly iceberg?
But seriously, freezing methods can actually help with flavor preservation if you’re mindful.
To maintain bean freshness, freeze in airtight containers shortly after roasting, respecting the roasting timeline.
Limit storage duration to a few weeks for best aroma retention.
Thaw properly before grinding to enjoy your coffee’s full, vibrant character.
What Is the Ideal Storage Container for Roasted Beans?
The ideal container for your roasted beans has an airtight seal to lock in freshness and flavor.
You can go with a glass jar, which lets you see the beans, or choose a ceramic canister that doesn’t absorb odors.
A metal tin works well, too, especially if it has a vacuum seal to remove excess air.
Whatever you pick, make sure it’s airtight. Your coffee deserves nothing less.
How Does Altitude Affect the Roasting Process?
You might think altitude doesn’t matter much, but it actually changes how you control temperature during roasting.
At higher altitudes, lower air pressure means water boils at a lower temperature, which affects aroma development and flavor profiles.
You’ll need to adjust roasting techniques and equipment settings to suit specific bean varieties.
Mastering this guarantees you access the perfect balance of flavors and aromas, making your roasting process truly precise and passionate.
Are There Health Benefits to Home-Roasted Coffee?
Yes, home roasting offers health benefits by maximizing antioxidant benefits and preserving freshness factors often lost in commercial roasting.
You control caffeine levels and reveal unique flavor profiles tailored to your taste.
Plus, fresh beans enhance your brewing techniques, ensuring a richer, more vibrant cup.
When you roast at home, you enjoy not only superior taste but also a boost in coffee’s natural health properties, making every sip more rewarding.
Conclusion
So, you’ve survived roasting your own coffee beans. Congratulations! Now you’re officially a caffeine alchemist, turning humble green beans into liquid gold.
Remember, mastering roast timing and temperature isn’t just science; it’s art and a little bit of magic. If you burn your batch, don’t panic. Just blame the beans, try again, and savor every imperfect cup.
Perfect roasting is a journey, not a destination. Keep experimenting, and soon you’ll impress even the snobbiest baristas.